|
Let's start the lesson.Open the Color-Palette

-
Set your foreground color to #cbc7e7
-Set your background color to #140977
-
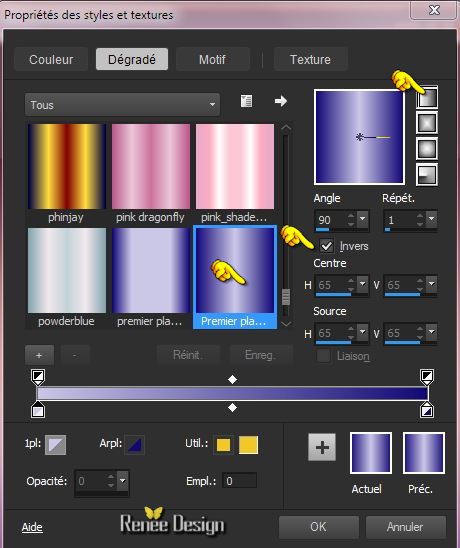
Set your foreground to gradient 'Foreground-background' -Prepare a linear gradient configured like this.
1.
Open the Backgroundimage ‘’fond_mercury’’ /Window - Duplicate (or shift+D) - Close the original and proceed on the copy -Promote Background Layer =Raster 1
2. Layers- New raster layer
-
-Activate Flood Fill Tool and fill the layer with the gradient
3.
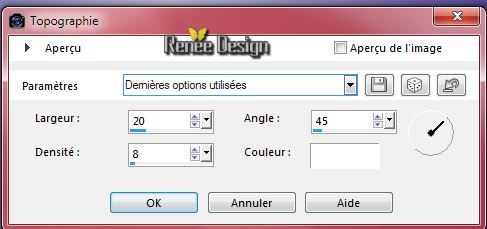
Effects- Artistic Effect-Topography with these settings
4.
Image Resize with 75% (Resize all the layers not checked)
5.
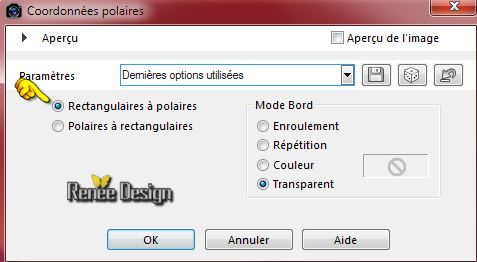
Effects- Distortions Effects-Polar Coordinates-Rectangular to Polar
6.
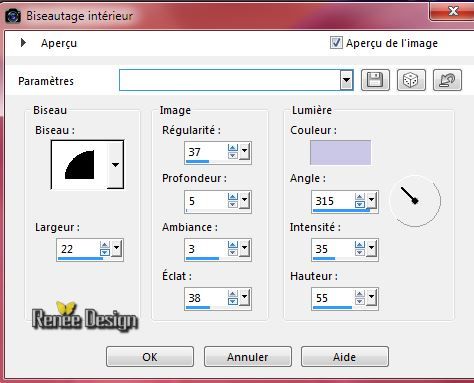
Effects- 3D Effects- Inner Bevel with these settings-FG-Color
7.Effects- Plugins - EyeCandy 5 –Impact - Glass –
tab Settings/User settings choose my preset:
‘’ mercury_glass’’
8.
Activate your Pick Tool (K) –Click on Preset “Preset_Pick_mercury’’/ ok - the effect will apply

-
Hit the M key of your Keyboard to remove the Nodes
- Activate the bottom of the layer palette (Raster 1)
9. Layers- New raster layer
-Activate Flood Fill Tool and fill the layer with black
10.
Layers- New Mask layer from Image and select Mask » ‘’masque_mercury_1’’
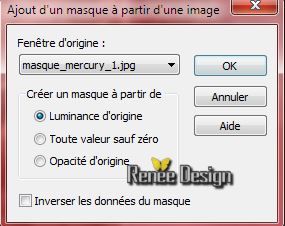
- Layers- Merge- Merge- Gruppe
11. Effects- User Defined Filter– Emboss 4 using the default setting
12. Double click on this layer and set the Blendmode to Overlay -Set the layer opacity of this layer to 91%
13. Activate the bottom of the layer palette= Raster 1
14.
Selections Tool (S) Custom selection with these settings
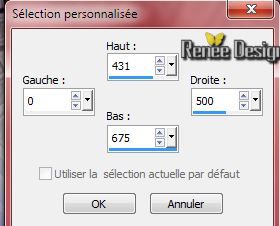
15.
Selections- Promote selection to layer
Selections- Deselect All
16. Effects-Plugins –Unlimited 2.0 –Toadies
– metallic Onion
using the default settings
177/53
17.
Effects- Plugins - Unlimited 2.0- Filter Factory Gallery A-Marble Madness
One
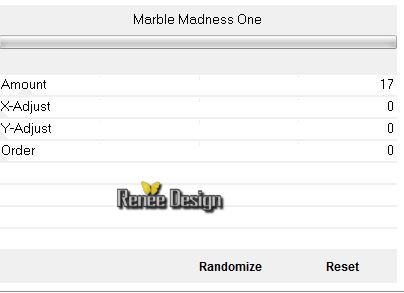
18.
Effects- Distortions Effects-Polar Coordinates-Rectangular to Polar
19. Layers- Duplicate
20. Image-
Mirror
- Layers- Merge- Merge- Down
21. Double click on this layer and set the Blendmode to Screen
The result
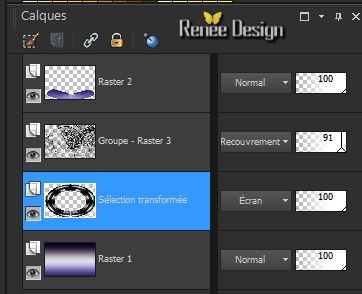
-
Activate the top of the layer-Palette
22.Layers- New raster layer
23. Open the Pattern ''mercury ''/ in your PSP
-
Properties Foreground: foreground to pattern with these settings
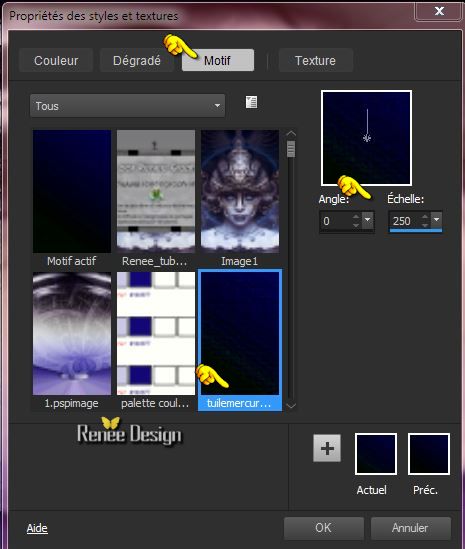
- Food Fill Tool: fill the layer with the pattern
24.
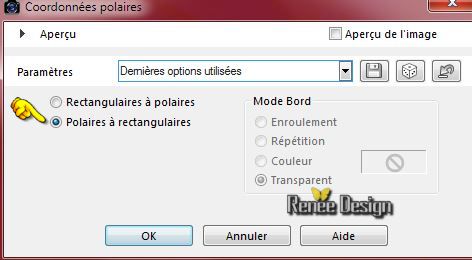
Effects- Distortions Effects-Polar Coordinates-Polar to Rectangular
25.
Effects- Plugins –Unlimited 2.0 - Filter Factory Gallery E-Transparent
Bullseye..all= 0
26.
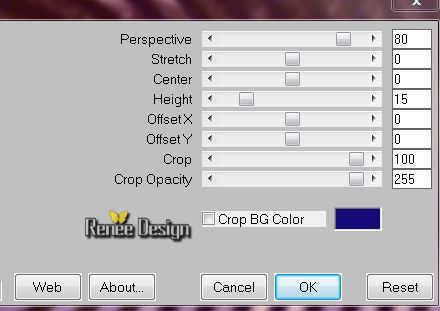
Effects- Plugins - Mura’s Meister – Perspective
Tilling
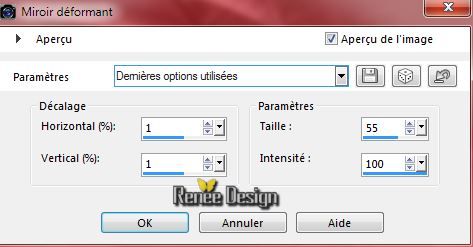
27. Effects-Distortion Effects- Warp with these settings
28.
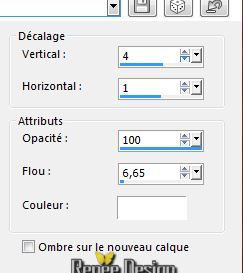
Effects- 3 D Effects- Drop Shadow with these settings-
29. Activate the tube » mercury_image _1 »
- Edit/ Copy-Edit - Paste as new layer on your working area
-
With the move tool, move it in the upper left corner
30. Layers- Duplicate
31. Image -
Mirror
32. Layers- Merge- Merge- Down
33.
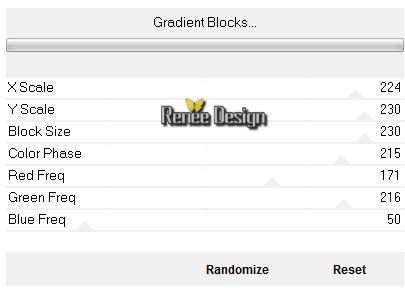
Effects- Plugins – Unlimited 2.0 - Filter Factory Gallery E-Gradient
Blocks..with these settings.
34.
Effects- Edge Effects- Enhance
- Set your foreground color to #fefff9 -Set your background color to #140977
35. Layers- New raster layer
36.
Selections - load/save selection - load selection from disk and select my file: ‘’mercury_1’’
37. Activate Flood Fill Tool and fill the selection with the background color as shown in the example below
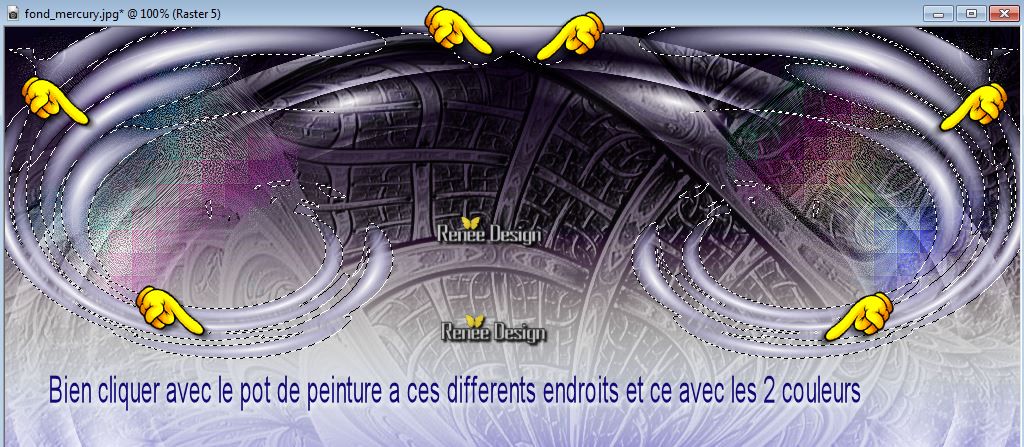
- On the same layer!!! Activate Flood Fill Tool and fill the selection 1 click- with the foregroundcolor
Selections- Deselect All
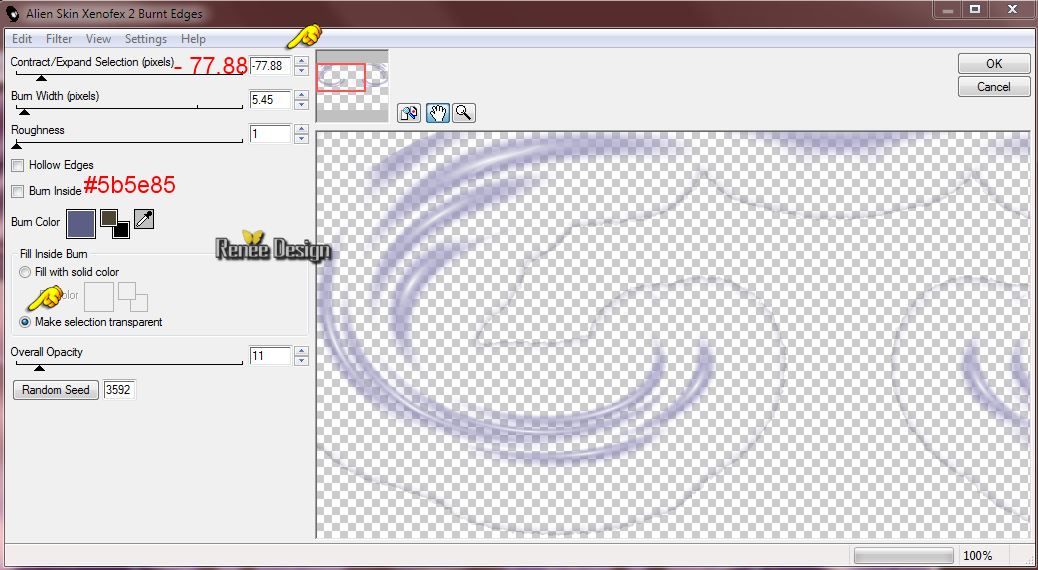
38. Effects-Plugins - Alien Skin Xenofex2- Burn Edges
with these settings (attention- First step: -Contract/Expand Selection (pixels) = -77.88 negative
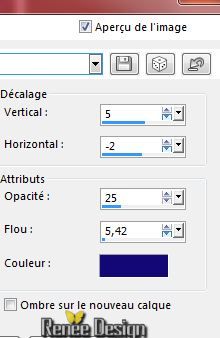
39. Effects- 3 D Effects- Drop Shadow with these settings-BG-Color
40. Activate the tube ‘’ mercury_image_2’’
- Edit/ Copy-Edit - Paste as new layer on your working area
-Do not move it is in the right place
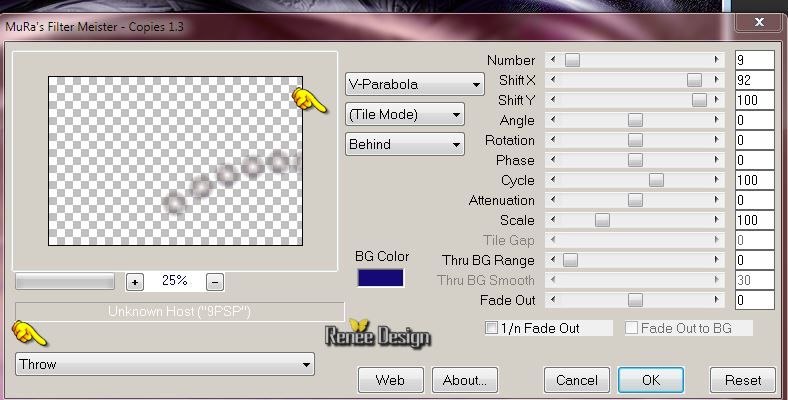
41. Effects-Plugins – Mura’s Meister – Copies with these settings
42. Layers- Duplicate- Image Mirror
43. Layers- Merge- Merge Down
44. Image
Flip
45. Activate the tube ‘’ Renee_tube_Mercury.pspimage’’
Activate layer ‘’mercury’’ of this tube
(You may minimize your tube for a moment, but do not close, we will need it again soon
)
- Edit/ Copy-Edit - Paste as new layer on your working area
-
Move Tool - place your tube on the bottom
46. Layers- Arrange- Move Down
- Activate the top of the layer-Palette
- On the same tube ‘’Renee_tube_Mercury.pspimage’’
47. Activate layer ‘’nenuphar’’
- Edit/ Copy-Edit - Paste as new layer on your working area
-Move Tool - move the tube to the left
48.
Effects-Plugins – EyeCandy 5 Impact – Perspective
shadow-
tab Settings/User settings choose my preset: ‘’mercury_shadow’’
49. Layers- Duplicate
50. Image
Resize with 75 % - (Resize all the layers not checked)
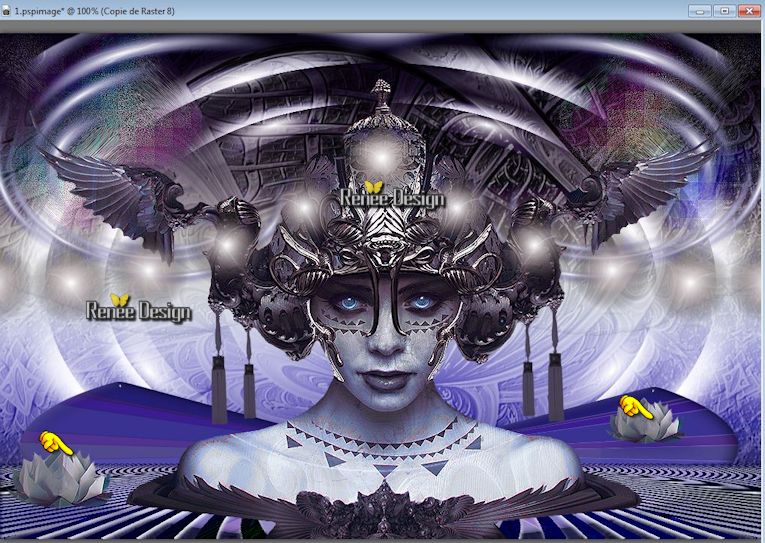
- Move Tool - move the tube to the right side as shown in the example below
51. Activate the tube ‘’mercury_image_3’’
- Edit/ Copy-Edit - Paste as new layer on your working area
- With your move tool:move to the bottom
- Set your foreground color to
#83b4f9
-In the layer palette activate raster 5 ( below the tube of the woman)
52. Layers- New raster layer
53.
Selections - load/save selection - load selection from disk and select my file: ‘’mercury-2’’
- Activate Flood Fill Tool and fill the selection with the foregroundcolor
Selections- Deselect All
- Activate the top of the layer-Palette
54. Layers- New raster layer
55.
Selections - load/save selection - load selection from disk and select my file: ‘’ mercury_3’’
56.
Pot of Paint: Change the opacity of the color at 65% – Activate Flood Fill Tool and fill the selection with the foregroundcolor
Selections- Deselect All
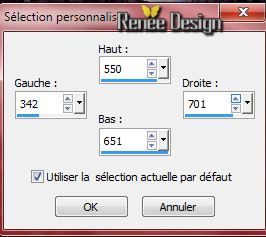
57. Selections Tool (S) Custom selection with these settings
58. Adjust-Blur-Gaussian Blur: Radius 5
Selections- Deselect All
59. Layers- New raster layer
60.
Selections - load/save selection - load selection from disk and select my file: ‘’ mercury_4’’
61.
Pot of Paint: Change the opacity of the color at 65% -Activate Flood Fill Tool and fill the selection with color white ( 3
click in the selection )
Selections- Deselect All
62. Layers- New raster layer
-
Set your foreground color to#83b4f9
63.
Selections - load/save selection - load selection from disk and select my file: ‘’ mercury_5’’ ( 3 clicks in the selection) Activate Flood Fill Tool and fill the selection with the foregroundcolor
Selections- Deselect All
64. Eraser Tool-Size 20 and erasing on the 2 layers/slight effects to these two places to have a similar result as shown in the example below

65. Activate the tube ‘’Renee_tube_Mercury.pspimage’’
- Activate layer ‘’boule’ of this tube
- Edit/ Copy-Edit - Paste as new layer on your working area and move
66. Layers Duplicate 2x and move
67. Image - Add borders-Symmetric checked:1 pixels color 2
68. Image - Add borders-Symmetric checked:20 pixels color4
69. Image - Add borders-Symmetric checked:1 pixel color 1
70. Image - Add borders-Symmetric checked:40 pixels color 4
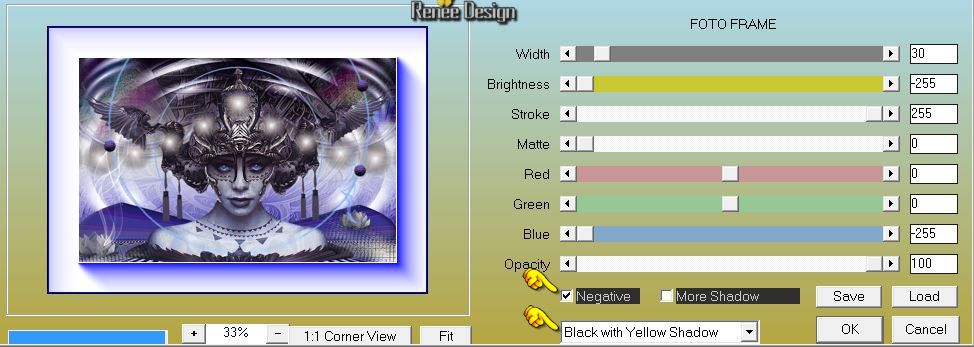
71. Effects- Plugins AAA –Foto Frame with these settings
72. Activate the tube ‘’titre ‘ Edit /Copy -Edit - Paste as new layer on your working area and move. Ore write your own text.
73. Image
Resize with 995 pixels Width
Save as JPG
I hope you enjoyed this lesson
Renée
This lesson was written by Renée 24/02/2015
Placing
2015
Any resemblance with an existing lesson is merely a coincidence *
* Don't forget to thank the people who work for us and with us. I named the tubeurs - Testers and the translators.
Thanks Renée.
*
|