|
Let's begin
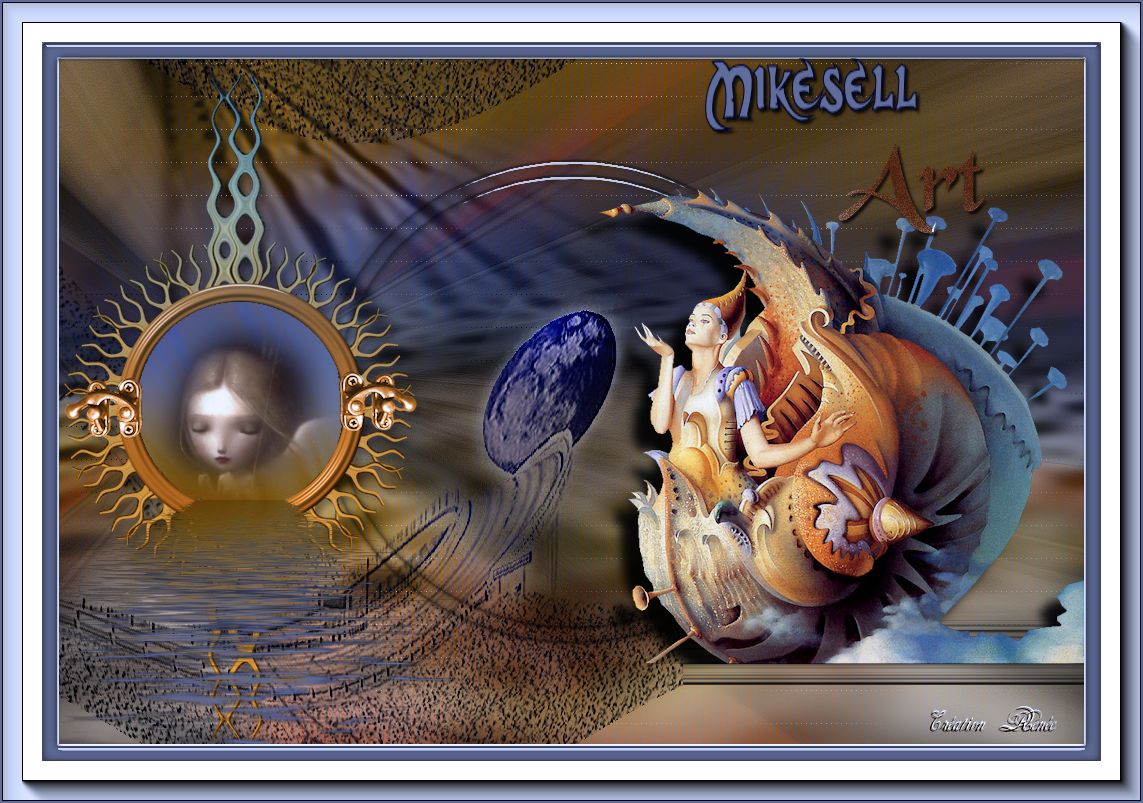
1. Open the image "fond.jpg"
Window/ Duplicate and then close the original - we will
work with the copy
2. Layers - duplicate
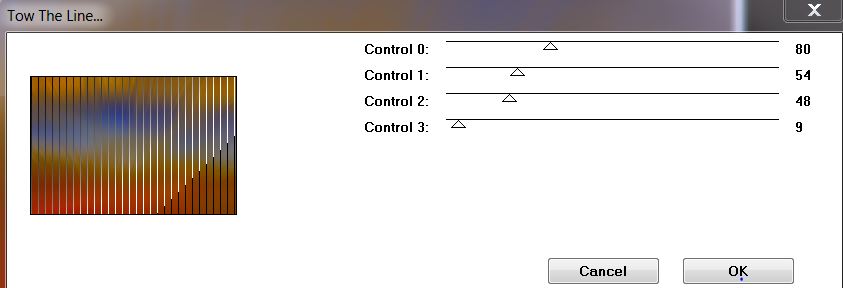
3. Effects - Tramages - Tow the lines
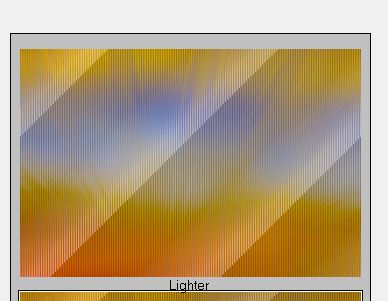
4. Effects - Adjust - Variations/ Lighter
5. Open the tube "Michele
Mikesell_Bea_tubes_divers_07_2013'' - Copy and and paste
as a new layer
6. Effects - Image effects - Seamless tiling
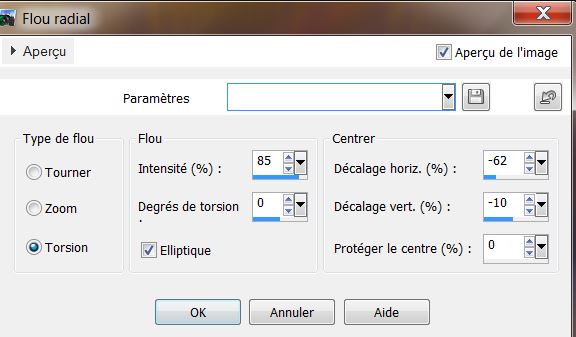
7. Adjust - Blur - Radial Blur
8. Effects - Edge effects - Enhance
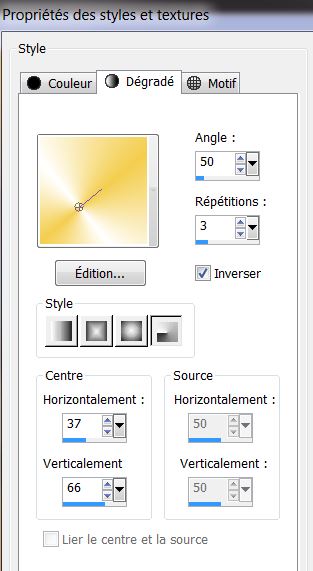
9. Color palette - Change the foreground color to #ffffff
and background to #f0c532
Prepare a Radial Gradient configured like this:
10. Layers - Add a new layer
11. Selections - Load Selection from disk
"mikeselle_sel_1" and fill with the gradient / select
none
12. Tool - mesh warp "preset_mikesell_grill" ok or hit
the apply arrow (put this preset in the default
settings)
13. Adjust - blur - gaussian blur to 24
14. Layers - add a new layer / fill with the color
#686c83
15. Effects - L and K's - Zitah default
5/33/37/47/69/66/57/32
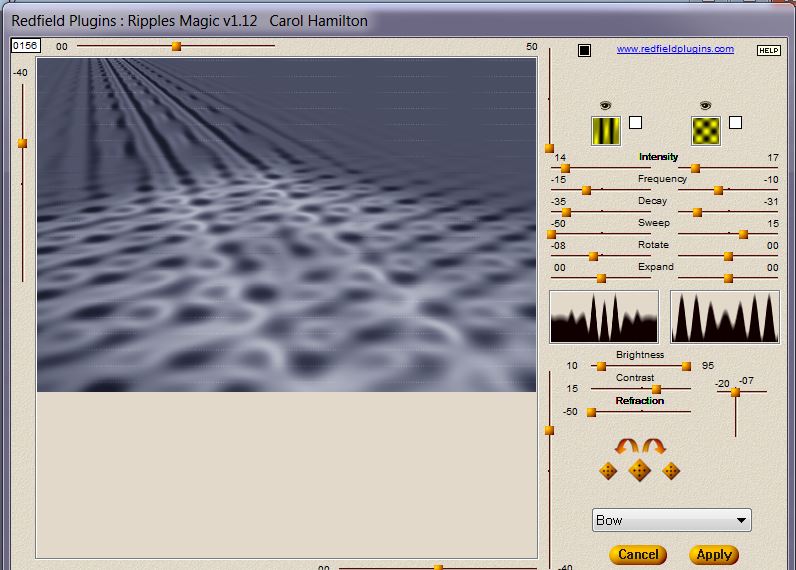
16. Effects - Redfield - Ripples Magic
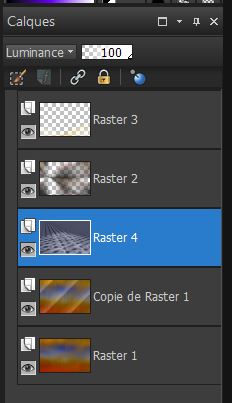
17. Layers - Arrange move down twice and change the
blend mode to Luminance Legacy
You are here:
* Click on the top layer of the Layers palette
18. Layers - add a new layer and fill it with color
#000326
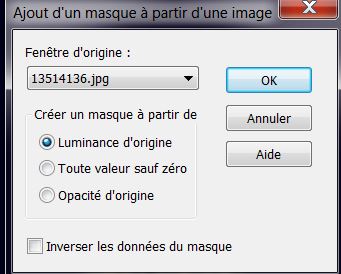
19. Open ''13514136.jpg" Layers - new mask layer from an
image
Layers
- merge group
20.
Effects - USer Defined Filter / Emboss 3 default
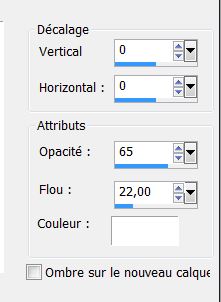
21. Effects - EyeCandy 5 Impact - Perspective shadow -
Preset "mikesell_persp"
22. Effects - 3 D Effects - Drop Shadow
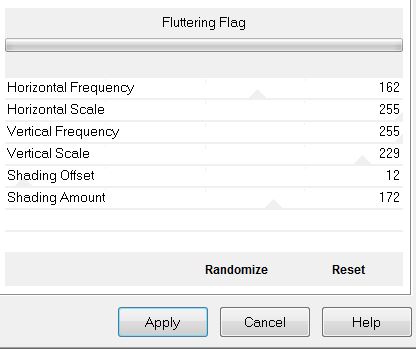
23. Effects - Filters Unlimited 2.0 - Filter Factory
B-Fluttering Flag
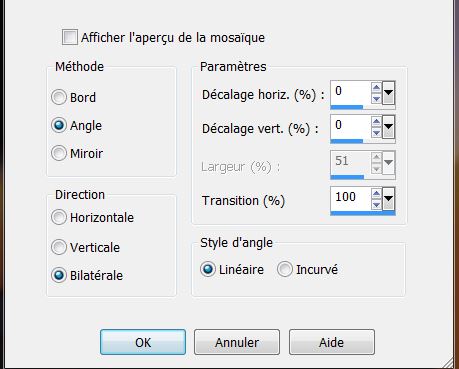
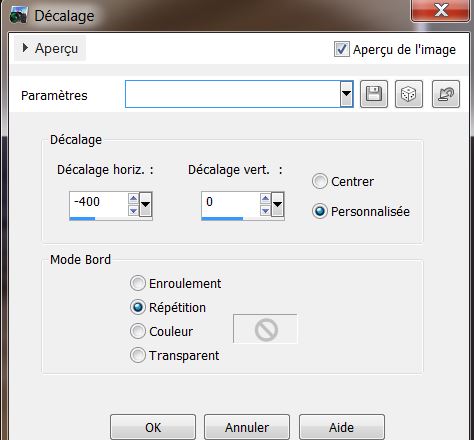
24. Effects - Image effect - Offset
25. Layers - Add a new layer
26. Selections - load the selection "mikeselle_sel_2"
27. Effects - EyeCandy 5-Impact/ Glass - Clear Preset /
Basic in: Bevel Width down to 8.10
28. Selections - Modify/ Contract by 15 pixels
29. Effects - EyeCandy 5-Impact/ Glass - Clear Preset /
Basic in: Bevel Width was 8.10
30. Selections - deselect
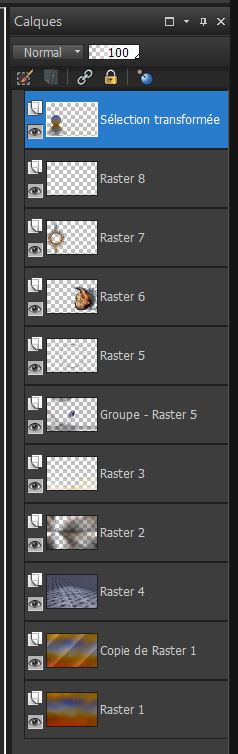
Your palette should look like this:
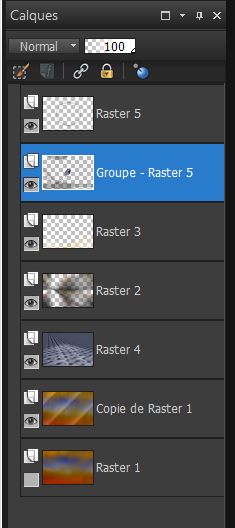
31. Click on the layer 'Group - Raster 5''
Effects - Illumination effect - Lights

32. Open the tube "escargot_lady_bea_07_2013 _ Nikita"
Image - resize to 75%
33. Image - Mirror - Edit/copy - Edit Paste as new layer
Move into place like this:
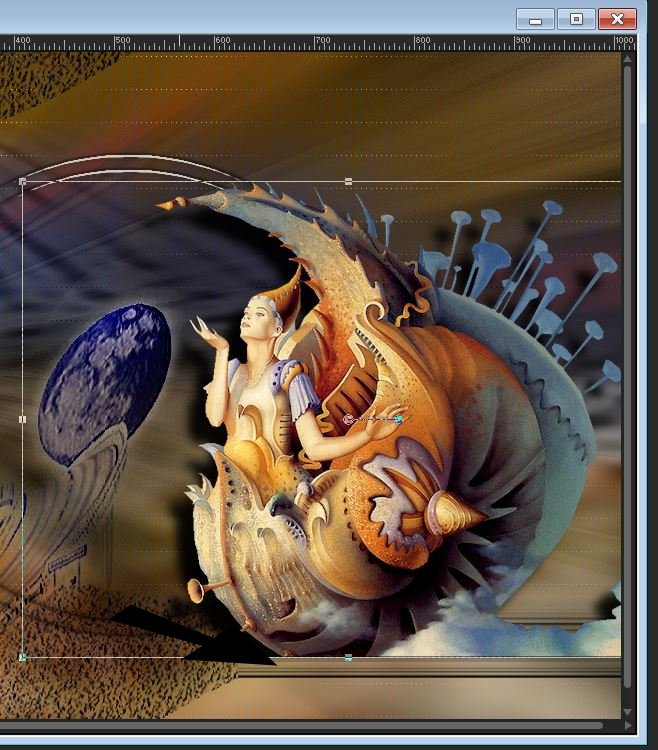
34. Open the tube "hublot_soleil" and paste as a new
layer. Move into place as shown
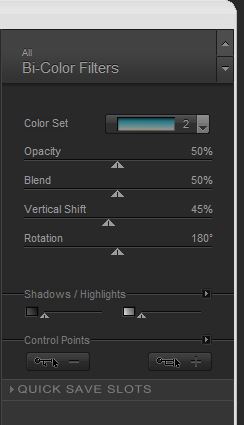
35. Effects - Nik software - Color Effex Pro 3.0 - Bi-Color
- Color set / Cool warm 2
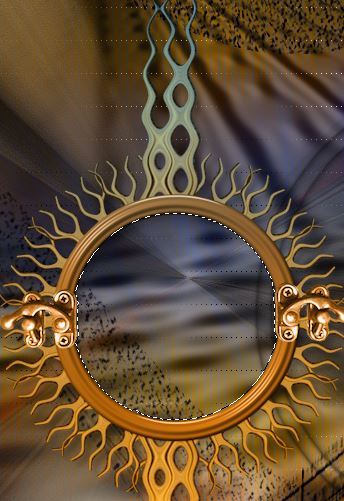
36. With your magic wand set like this

- Select the center of the sun like this:
37. Click on the bottom layer (Raster 1)
38. Selections - convert selection to layer
39. Selections - select none
40. Layers - arrange - Bring to the top
41. Effects - Flaming pear - Flood
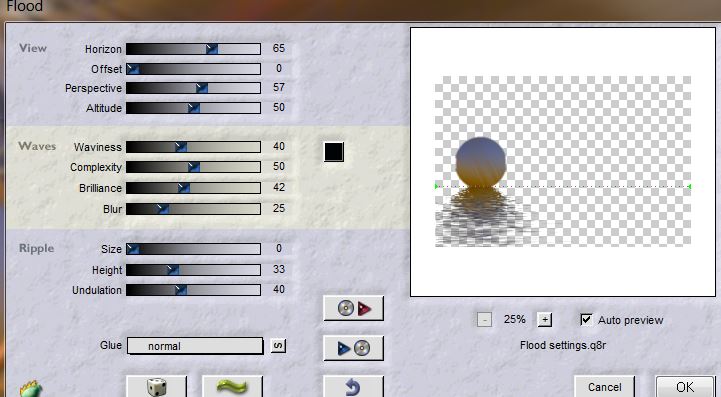
Your palette should look like this
43 Click on raster layer 7 - select the inside of the
circle as before
44. Click on the top of the Layers palette
KEEP ACTIVE SELECTION
45. Layers - Add a new layer
46. Open the tube "JHanna_88b" and paste into the
selection
47. Selections - select none
48. Layers - merge visible
49. Image - add borders 3 pixels in white
50. Image - add borders 15 pixels #686c83
51. Select the 15 pixels edge with your magic wand
52. Effects - EyeCandy 5 Impact - Glass - Clear - in
Preset Basic: Bevel Width still 8.10
53. Image - add borders 40 pixels white
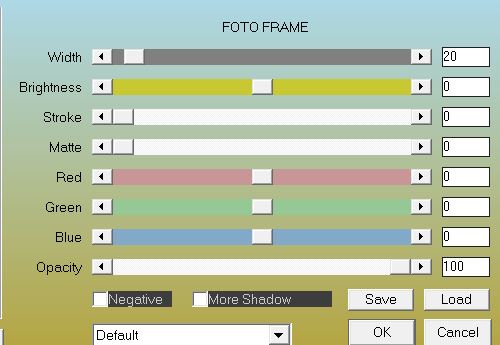
54. Effects - AAA Frame - Foto Frame
55. Image - add borders 3 pixels #686c83
56. Open the tube "titre" Paste as new layer
This is not a mandatory - It is up to you if you want to
apply use it or not
I did
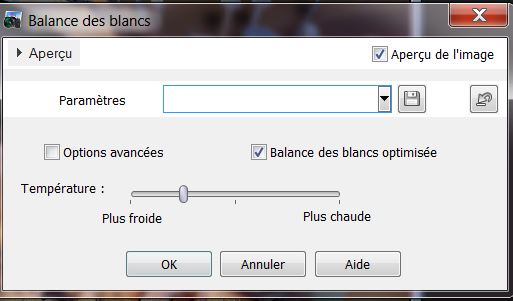
57. Adjust the white balance (color balance in older
versions PSP) / put the cursor half way to the cooler
side
All finished
Thanks Sally
 |