|
Let's start the lesson
-
Color Palette- Set your foreground color to #c7bc93
- Set your background color to #474141
-
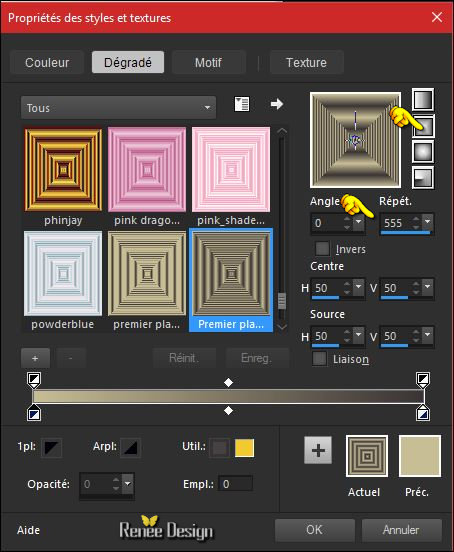
Set your Foregroundcolor to foreground-background rectangular gradient configured like this
1.
File: Open a new transparent image 1105 x 650 pixels
- Activate Flood Fill Tool  and fill the layer with the gradient and fill the layer with the gradient
2.
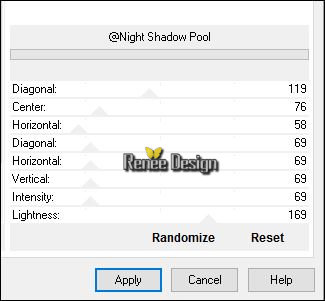
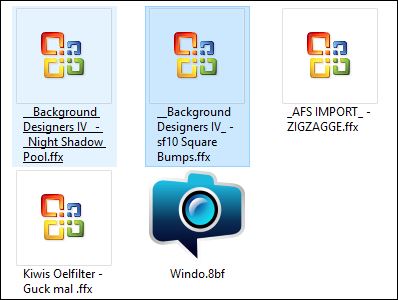
Effects –Plugins - Unlimited - &<Background Designers
IV>-@Night Shadow Pool
3.
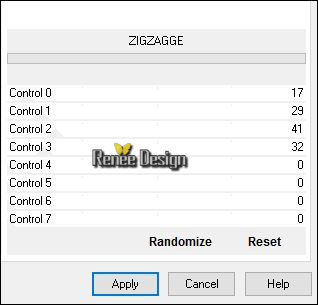
Effects –Plugins - Unlimited - [AFS IMPORT]- ZIGZAGGE
4.
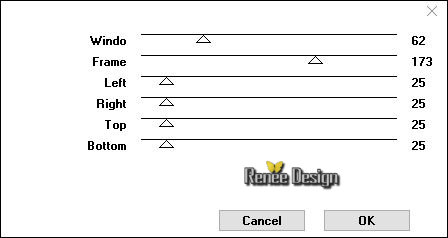
Effects –Plugins – Mock – Window
5.
Layers- Duplicate
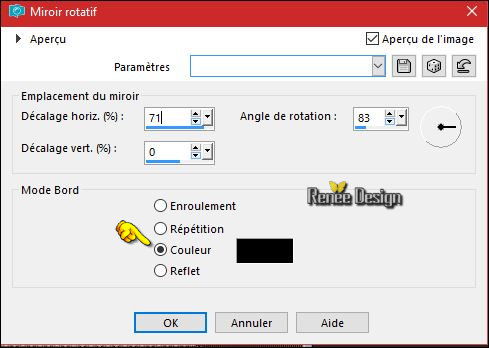
6. Effects –
Reflection Effects- Rotating Mirror
7. Activate the Magic Wand with these settings -select the two black parts

DELETE
Selections- Deselect All
8. Effects –Plugins - (Unlimited) – Simple
- 4 Way Average
9. Effects –
3D Effects –Drop Shadow with these settings : 0/0/100/34 black
10. Layers-Properties-Set the Blend Mode to " Exclusion"
11. Effects
–Plugins- Unlimited - It@lian Editors Effect - Effetto Fantasma 127/41
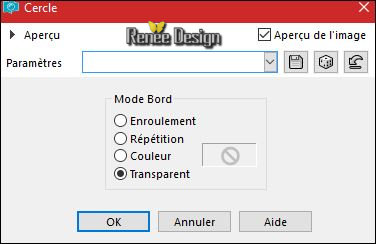
12. Effects- Geometric Effects – Circle
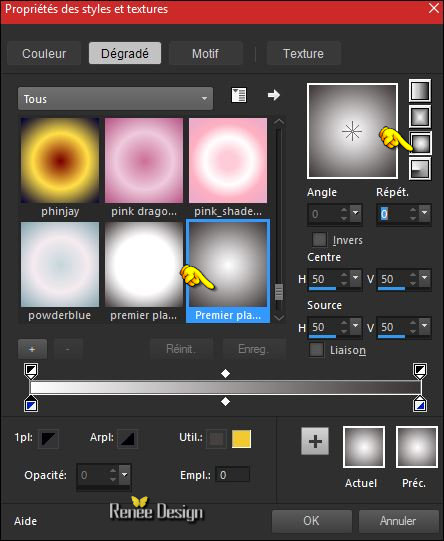
- Properties Foreground; Set your Foregroundcolor to #ffffff
- Set your Foregroundcolor to foreground-background sunburst gradient configured like this
13. Layers- New Raster Layer
14. Activate Flood Fill Tool and fill the layer with the gradient
15.
Effects –Plugins – Simple – Blintz
16.
Effects – Plugins – Simple -Left Right
Wrap
17.
Effects – Plugins-Unlimited - Kiwis Oelfilter - Guck mal ... using the default settings 148/0/128/128
18. Layers-Properties-Set the Blend Mode to " Hard Light "
19. Layers- Duplicate
20. Image
Resize to 75% resize all layers not checked
- Layers-Properties-Set the Blend Mode to "Multiply"
21. Open the tube ‘’ Renee_tube_oeil_image1 »
- Edit - Copy- Activate your work -Edit - Paste as a new layer
22. Effects- Image Effects- Offset with these settings: H = - 14 and V = - 152
- Color Palette- Set your foreground color to #831100 - Set your background color to #ffffff
23. Layers- New Raster Layer
24.
Selections –load/save selection –load selection from disc and select my selection: ‘’ Mon_oeil »
25. Pot of Paint: opacity of the color at 100% and fill the selection with the background color #ffffff
Selections- Deselect All
26. Layers- New Raster Layer
27.
Selections –load/save selection –load selection from disc and select my selection: ‘’ Mon_oeil_1’’
28. Pot of Paint: Change the opacity of the color at 60% and fill the selection with the background color #ffffff
Selections- Deselect All
29. Layers- New Raster Layer
30.
Selections –load/save selection –load selection from disc and select my selection: ‘’ Mon_oeil_2’’
31. Pot of Paint: Change the opacity of the color at 100% and fill the selection with the foreground color #831100
32.
Selections - Modify– Contract 10 pixels
33. Effects
– 3D Effects – Drop Shadow with these settings 0/0/100/34 black
Selections- Deselect All
-
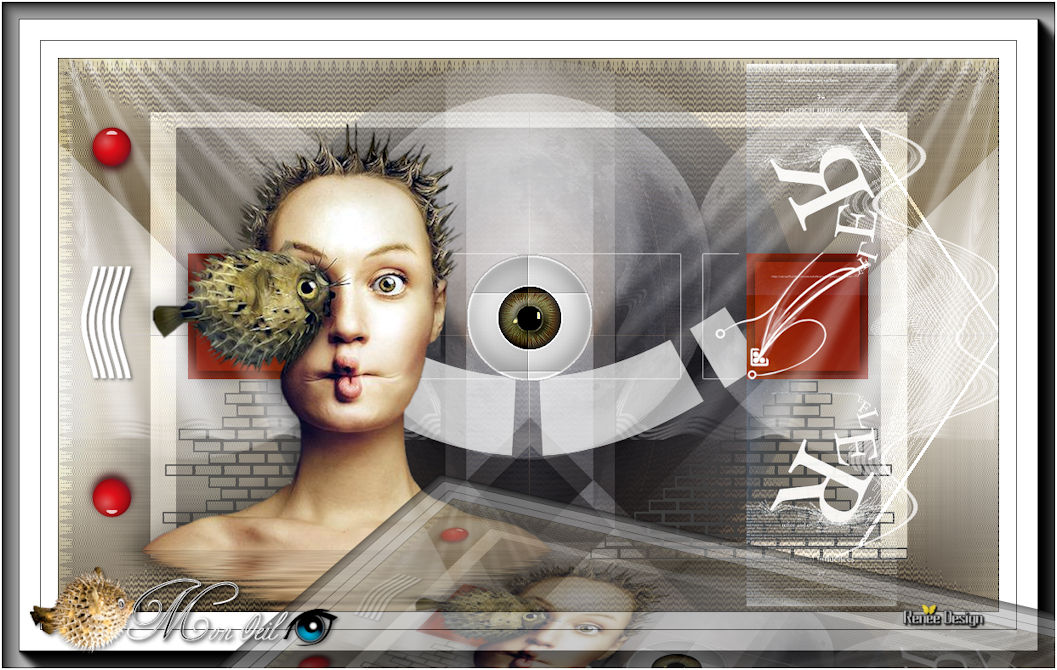
Your work and Layer Palette look like this now-You should have this result
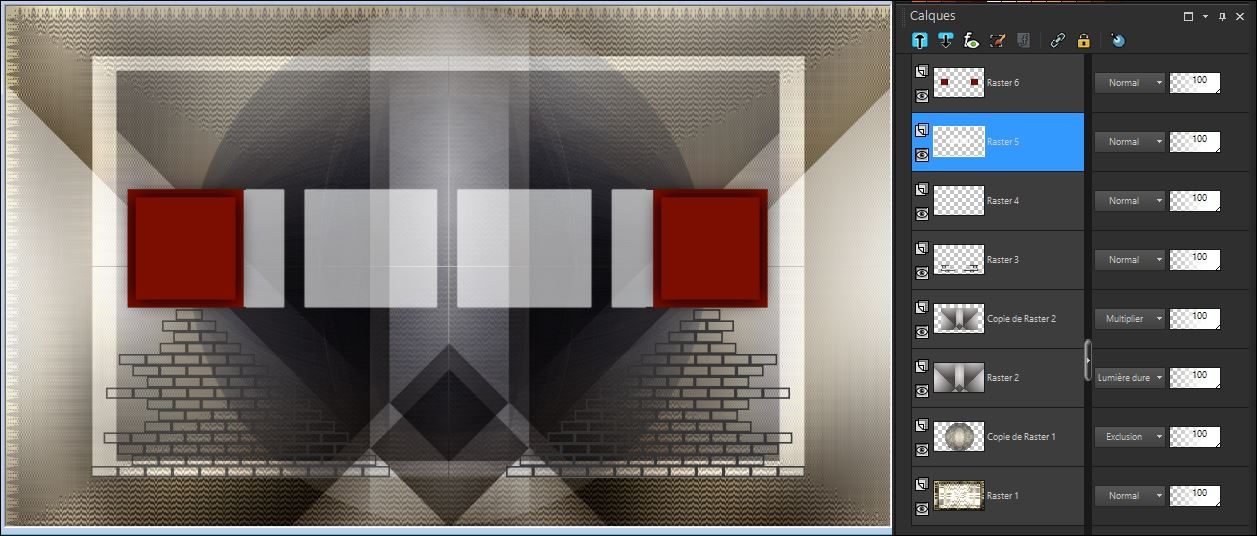
- In the Layer Palette: activate the layer underneath = (Raster 5)
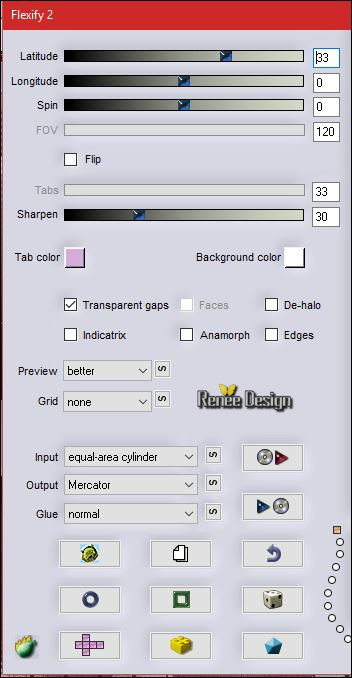
34. Effects
– Plugins– Flaming Pear – Flexify 2
- Tips and Trucs
Flaming Pear Flexify 2 has many presents to choose from. – If you are
having difficulty finding the correct one, on your keyboard, enter the
first letter of the preset and keep tapping that letter until the correct
preset appears.
Example: Say you want to use the preset >> e >>equal-area
On your keyboard enter the letter "e" and keep tapping the "e" until >>equal-area >>appears.
This
works with any preset - just enter the letter that it begins with and tap, tap
tap until it appears.
-
Repeat for Mercator (taper m)
- Activate the top layer in the layer palette
35. Open the tube « Renee_tube_oeil_image2.pspimage »
- Edit - Copy- Activate your work -Edit - Paste as a new layer and move to the right (see finished image )
36. Open the tube ‘’ Renee_tube_oeil_image3.pspimage’’
- Edit - Copy- Activate your work -Edit - Paste as a new layer
37. Image
en Negative Image
38. Effects- Image Effects- Offset with these settings: H = 0 and V = 69
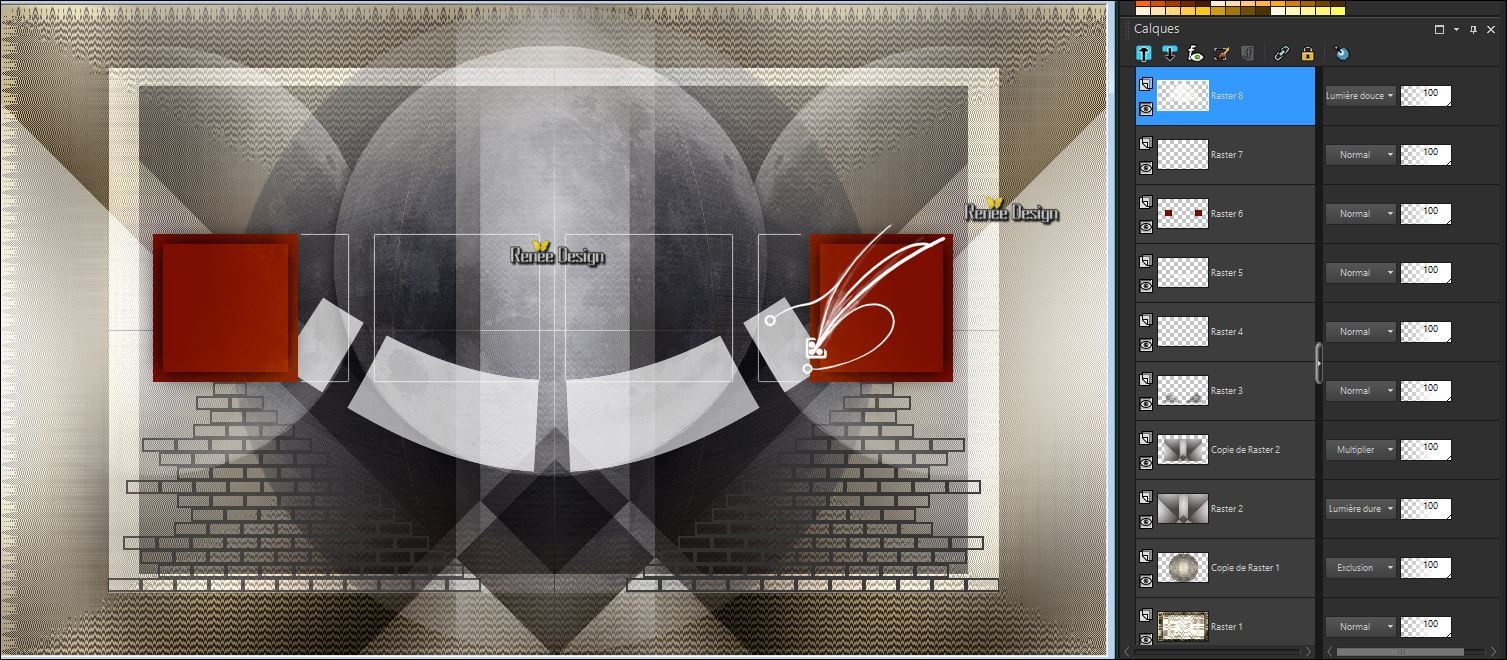
- Layers-Properties-Set the Blend Mode to " Soft Light"
- Your work and Layer Palette look like this now-You should have this result
39. Layers- New Raster Layer
40. Activate Brush Tool and choose the brush: « MON
_oeil-WaveEffects1 »( File- Export Custom Brush (Give it a name) )
- Stamp your brush at the bottom right side by using your background color #ffffff (see example)
41. Layers- Duplicate
- Image –
Mirror (CTRL+B)
- Layers- Merge- Merge Down
42. Layers-Properties-Set the Blend Mode to " Hard Light "
43. Open the tube ‘’œil’’
- Edit - Copy- Activate your work -Edit - Paste as a new layer
- With your move tool place it in the right place (see example)
44. Layers- Duplicate
45.
Effects –Plugins – EyeCandy 5 Impact –
Blacklight-tab Settings/User settings choose my Preset ‘’
Blacklight_mon_oeil.f1s”
46.
Layers- Arrange- Move Down
- Layers-Properties-Set the Blend Mode to " Hard Light " -Set the Opacity of this layer to 65%
- To replace the top of the layers palette =( Raster 10)
47.
Effects –Plugins- Unlimired2.0 - &<Background Designers
IV>-sf10 Square Bumps 48/36
48. Effects- Edge Effects- Enhance
49. Open the tube ‘’Renee_tube_poisson-14.pspimage »
- Image
Resize to 75%
- Edit - Copy- Activate your work -Edit - Paste as a new layer
- Place against the bottom edge of your image
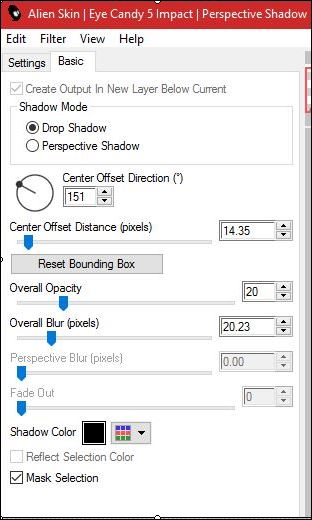
50.
Effects- Plugins – EyeCandy 5 Impact –
perspective shadow -tab Settings/User settings choose my Preset
« « Mon_oeil_shadow »
51.Effects
–Plugins – Flaming Pear – Flood /Preset ‘’
Mon_oeil_Flood settings.q8r’’
Click on the red arrow and select my file-preset ‘’ Mon_oeil_Flood settings.q8r’’  can be used in any folder of your choice by clicking it. can be used in any folder of your choice by clicking it.
Or manual settings as shown in the example below
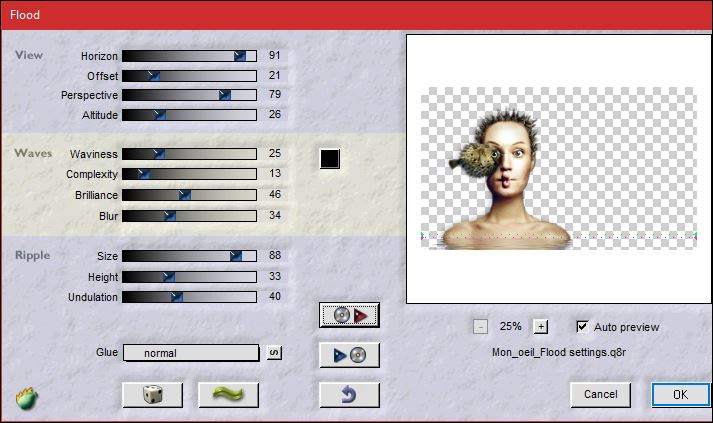
- Repeat this filter but settings "Horizon" at 86
52. Open the tube ‘’ Renee_tube_oeil_image4.pspimage’’
- Edit - Copy- Activate your work -Edit - Paste as a new layer
- Move as shown in the example below
53. Layers- Duplicate
54. Images
– Flip (CTRL+I)
- Layers- Merge- Merge Down
55. Layers- New Raster Layer
56.
Selections –load/save selection –load selection from disc and select my selection: »
Mon_oeil_3 »
57. Activate Flood Fill Tool and fill the selection with #ffffff
Selections- Deselect All
58. Effects- Reflection Effects- Feedback
59. Effects-Edge Effects- Enhance
60.
Layers-Properties-Set the Blend Mode to "Overlay "
61. Layers- Duplicate
62. Effects- Distortion Effects- Wave use settings below

63.
Layers-Properties-Set the Blend Mode to " Screen " -Set the Opacity of this layer to
77%
64. Open the tube ‘’ Renee_tube_oeil_image5.pspimage’’
- Edit - Copy- Activate your work -Edit - Paste as a new layer
- Move tool / place your tube on the left side of your image
65. Image - Add borders-Symmetric checked:1 pixel black
66. Image - Add borders-Symmetric checked:20 pixels #ffffff
67. Image - Add borders-Symmetric checked:1 pixel black
68. Image - Add borders-Symmetric checked:45 pixels #ffffff
69. Effects
–Plugins - AAA Frame –Foto Frame use settings below
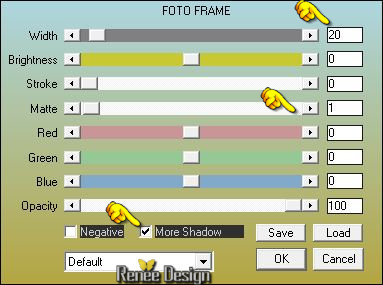
70. Repeat Foto Frame with the same settings but "unchecking" - More
shadow
-
Promote Background Layer =Raster 1
71. Layers- Duplicate
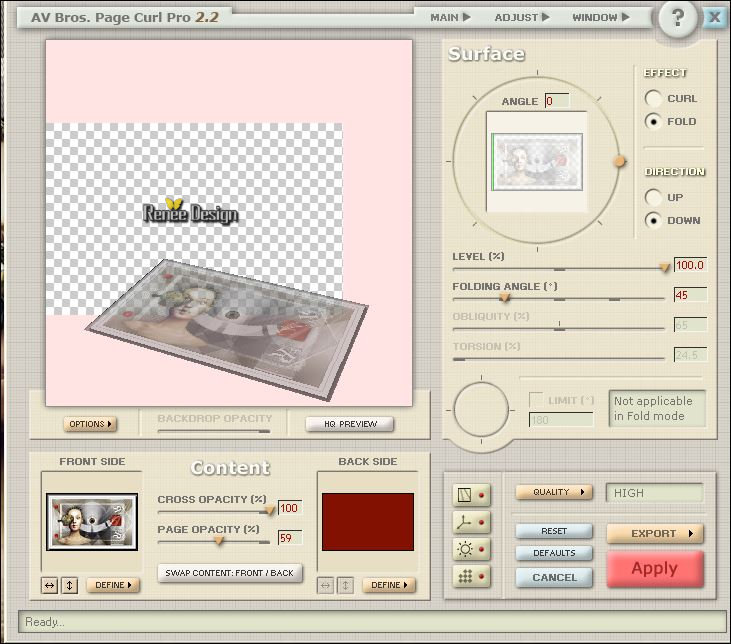
72. Effects
–Plugins - AVBros – Page curl2.2
- For this plugin tic on
Main
- Load
Settings (relative)>>>>>click on the Preset (can be used in any folder of your choice by clicking it.) 
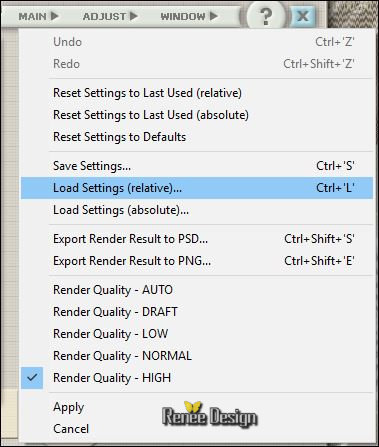
the settings are correct
Click
Apply
73. Image - Add borders-Symmetric checked: 1 pixel #ffffff
74. Open the tube " titre
"(Renee_tube_tuto_mon_oeil.png)-Edit/ Copy-Edit - Paste as new layer on your working image and move
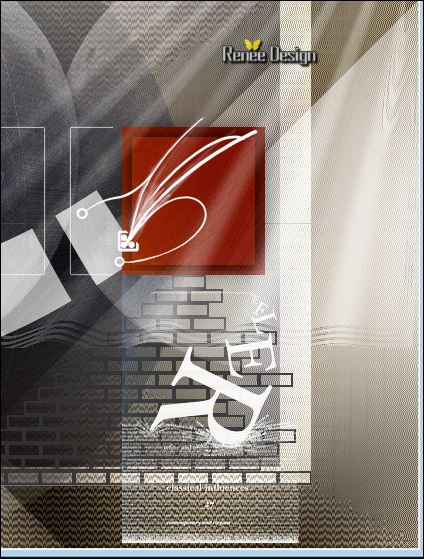
75. Image
Resize to 85 % all layers checked
Save as JPG
Lesson over
14/08/2016
I hope you enjoyed this lesson
Renée
This lesson was written by Renée 14/08/2016
Edited and Update
2016
*
Any resemblance with an existing lesson is a coincidence
* Do not forget to thank the people who work with us and for us I have appointed the tubeurs and translators
Thanks Renée *
*
| 

 Translations


 If a plugin supplied appears with this icon it must necessarily be imported into Unlimited *

 All rights reserved