|

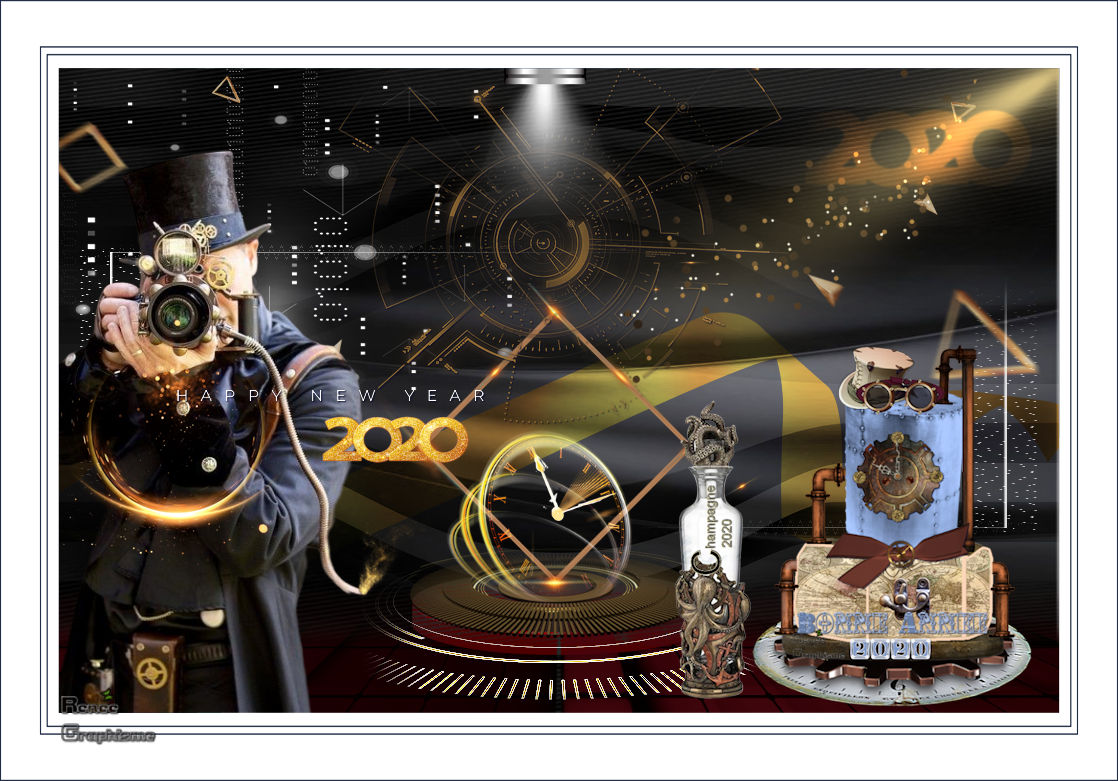
Happy New Year 2020- Steampunk
1. Open the Image ‘’ Fond-NY-2020-Steampunk.jpg’’- Window - Duplicate (or shift+D) - Close the original and proceed on the copy -Promote Background Layer =Raster 1
2. Layers- Duplicate
3. Effects –Plugins- Unlimited 2.0 – VM Extravaganza – Ray
Transmission 128/128/44
4. Adjust-Blur- Gaussian Blur; Radius 30
5. Effects – Plugins-Unlimited 2.0 - Visual Manipulation –
Transmission 202/126/0
6. Effects – Distortion Effects- Warp using the default settings
7. Layers-Properties-Set the Blend Mode to " Screen " – Reduce the Opacity of this layer to 28%
8. Layers- New Raster Layer
9. Selections - Load/Save Selection - Load Selection From Disk and select my Selection : ‘’NY-STP-2020’’
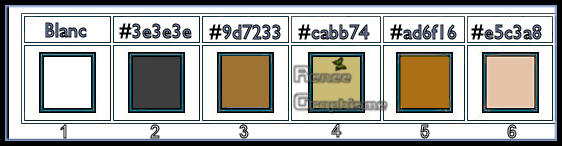
10. Color Palette: Set your Foreground color to color #ffffff=1
Activate Flood Fill Tool  –
Fill the selection with the Foreground Color =1 –
Fill the selection with the Foreground Color =1
Selections- Deselect All
11. Open the tube ‘’ST_2020_New-Year’’ -Edit - Copy- Activate your work -Edit - Paste as a new layer
12. Objects – Align- Bottom
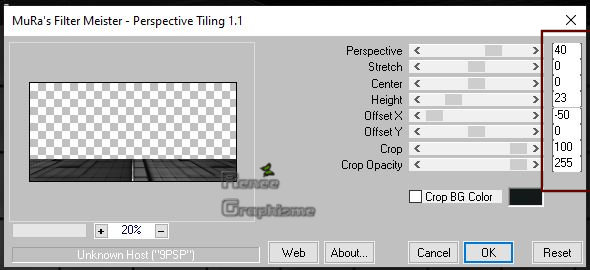
13. Effects – Plugins – Mura’s Meister-Perspective Tiling use the settings below
14. Selections - Load/Save Selection - Load Selection From Disk and select my Selection :
‘’NY-STP-2020-1’’
Press once the Delete button on your key board

15. Adjust-Blur- Gaussian Blur: Radius 30
Selections- Deselect All
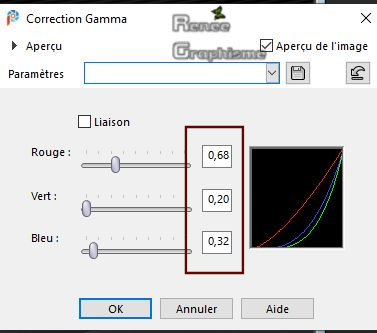
16. Gamma Correction ( Shift+ G ) with these settings
17. Open the tube ‘’ST_2020_New-Year-socle.png’’ -Edit - Copy- Activate your work -Edit - Paste as a new Layer
18. Pick Tool: (K) on your keyboard -Enter these parameters for the X: 306,00 and Y:473,00 positions on the Toolbar 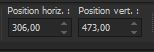
19. Layers-Properties-Set the Blend Mode to "Luminance"
20. Layers- New Raster Layer
21. Selections - Load/Save Selection - Load Selection From Disk and select my Selection :
‘’NY-STP-2020-2’’
22. Color Palette: Set your Foreground Color to Color #9d7233=3
Activate Flood Fill Tool
–
Fill the Selection with the Foreground Color =3
Selections- Deselect All
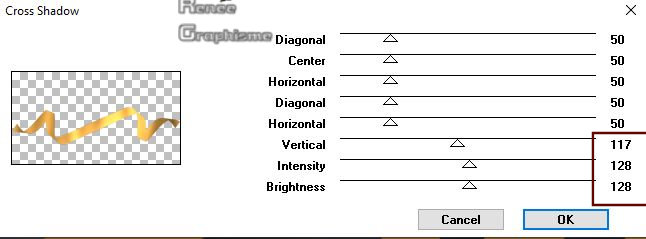
23. Effects – Plugins – Graphic Plus – Cross
Shadow use the settings below
24. Layers-Properties-Change the Blend Mode to " Overlay "
25. Open the tube ‘’ST_2020_New-Year-graphic.png’’ Edit - Copy- Activate your work -Edit - Paste as a new layer
26. Ojects – Align -Top- Objects – Align - Left
27. Layers- Properties- Reduce the Opacity of this layer to 75%
28. Layers- New Raster Layer
29. Selections - Load/Save Selection - Load Selection From Disk and select my Selection :
‘’NY-STP-2020-3’’
30. Color Palette: Set your Foreground Color to Color #cabb74=4
Activate Flood Fill Tool
–
Fill the Selection with the Foreground Color = 4 (click 2 or 3 times)
31. Effects – Effects- Edge Effects– Enhance
Selections- Deselect All
32. Open the tube ‘’ST_2020_New-Year- Image 1’’ -Edit - Copy- Activate your work -Edit - Paste as a new layer
-
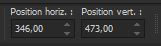
Pick Tool: (K) on your keyboard -Enter these parameters for the X: 346,00 and Y:473,00 positions on the Toolbar
33. Layers- New Raster Layer
34. Selections - Load/Save Selection - Load Selection From Disk and select my Selection :
‘’NY-STP-2020-4’’
35. Color Palette: Set your Foreground color to color #ffffff=1
Activate Flood Fill Tool
-Fill the selection with the Foreground Color=1
Selections-Deselect All
36. Layers- Duplicate
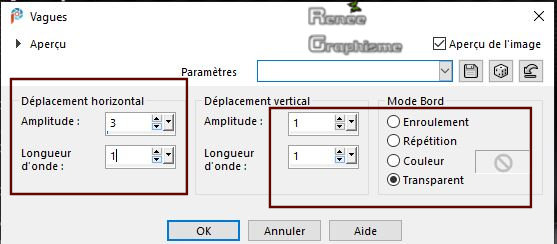
37. Effects – Distortion Effects – Wave use the default settings
38. Layers- Merge- Merge Down
39. Open the tube ‘’ST_2020_New-Year- Image 2.png’’ -Edit - Copy- Activate your work -Edit - Paste as a new layer
-
Pick Tool: (K) on your keyboard -Enter these parameters for the X:78,00 and Y:190,00 positions on the Toolbar
40. Open the tube ‘’Renee_TUBES_STeampunk-Photo.pspimage’’ -Edit - Copy- Activate your work -Edit - Paste as a new layer
-
Pick Tool: (K) on your keyboard -Enter these parameters for the X:-47,00 and Y:87,00 positions on the Toolbar
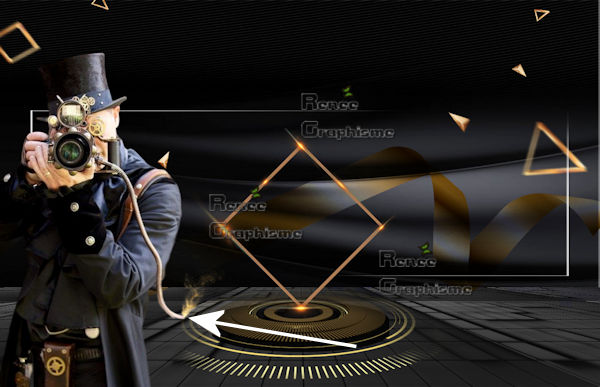
41.Open the tube ‘’ST_2020_New-Year- Image3.png’’ -Edit - Copy- Activate your work -Edit - Paste as a new layer
-
Move as shown in the example below .You should have this result
42. Layers- New Raster Layer
43. Selections - Load/Save Selection - Load Selection From Disk and select my Selection :
‘’NY-STP-2020-5’’
44. Color Palette: Set your Foreground Color to Color #cabb74=4
Activate Flood Fill Tool
-Fill the Selection with the Foreground Color=
4
Selections- Deselect All
45. Effects - 3D Effects - Drop Shadow with these settings : 1/1/100/2 Color Black
46. Open the tube ‘’ST_2020_New-Year- Image 4.png’’ - Edit - Copy- Activate your work -Edit - Paste as a new layer
-Pick Tool: (K) on your keyboard -Enter these parameters for the X:283,00 and Y: -74,00 positions on the Toolbar
47. Open the tube ‘’ST_2020_New-Year- Image 5.png’’ -Edit - Copy- Activate your work -Edit - Paste as a new Layer
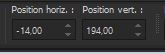
- Pick Tool: (K) on your keyboard -Enter these parameters for the X: -14,00 and Y:194,00 positions on the Toolbar
48. Layers-Properties-Set the Blend Mode to " Screen"
49. Layers- New Raster Layer
50. Selections - Load/Save Selection - Load Selection From Disk and select my Selection :
‘’NY-STP-2020-6’’
51. Color Palette: Set your Foreground Color to Color #ffffff=1
Activate Flood Fill Tool
– Fill the selection with the Foreground Color =1 (zoom if necessary)
Selections- Deselect All
52. Layers- Duplicate
53. Layers- Merge- Merge Down
54. Effects - 3D Effects - Drop Shadow with the same settings
55. Layers- New Raster Layer
56. Selections - Load/Save Selection - Load Selection From Disk and select my Selection :
‘’NY-STP-2020-7’’
57. Color Palette: Set your Foreground color to color #ad6f16=5
Activate Flood Fill Tool
– Fill the Selection with the Foreground Color= 5
58. Adjust-Blur- Gaussian Blur: Radius 14
Selections- Deselect All
59. Layers-Properties-Set the Blend Mode to "Dodge "
60. Open the tube ‘’ST_2020_New-Year- Image 6.png’’ - Edit - Copy- Activate your work -Edit - Paste as a new layer
-
Activate your Move Tool (M) move it in the right place (see finished image)

You may minimize your working area for a moment, but do not close.
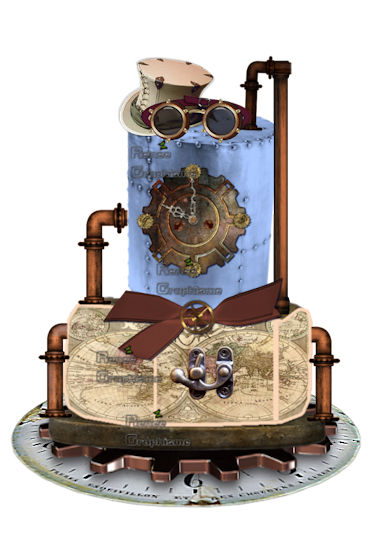
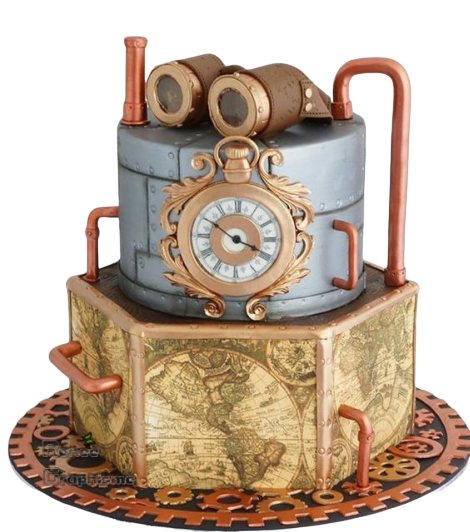
If you do not want to make a cake, skip this part and use the cake from the folder ‘’Renee_TUBES_Gateaux’’
-
We are going to make a cake
(
Tube Specifically for this lesson into the folder "TUBES POUR
CRÉER GATEAU")
61.File: Open a new transparent image of 550 x 800 Pixels
-
Open the tube base 1 -Copy it and Paste as a new layer and move
-
Open the tube base 2 –Copy it and Paste as a new layer and move
-
Open the tube base 3 –Copy it and Paste as a new layer and move
-
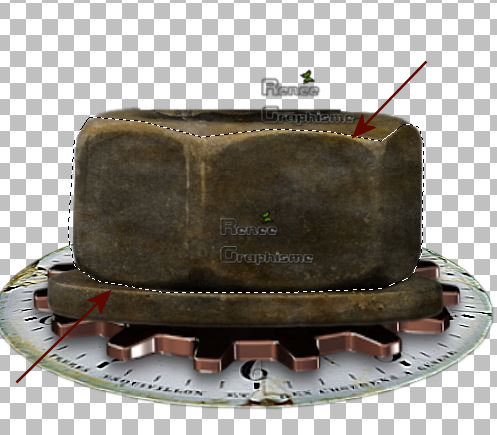
Activate Free hand Selection Tool =Lasso– Mode =Point to Point-Feather 2 -Smooting 2 -Select this part as shown in the example below

-
Open the Image ‘’Deco-monde’’ -Edit - Copy- Activate your work -Edit - Paste into Selection
-
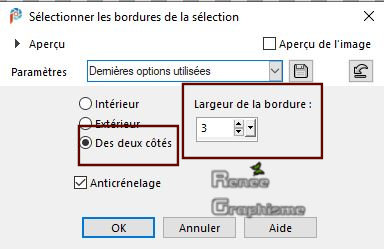
Selections- Modify- Select- Selection Borders with these settings
-
Color Palette: Set your Foreground Color to Color # e5c3a8=6
Activate Flood Fill Tool – Fill the selection with the Foreground Color=6
-
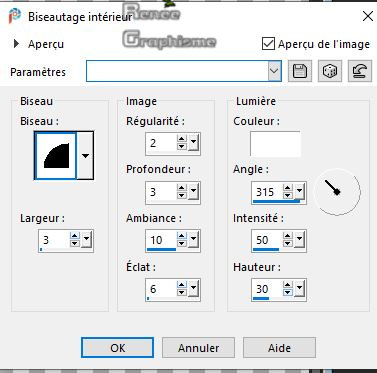
Effects – 3 D Effects– Inner Bevel use the settings below
Selections-Deselect All
-
Selection Tool (S)-Rectangle- Draw two stripes as seen on the screen below

-
Fill the selection with the Foreground Color=6
-
Effects – 3 D Effects– Inner Bevel with the same settings
Selections- Deselect All
-I used this elements of the file to obtain this result (or a tube of your choice), Copy it and Paste it as a new Layer and move in the right place
- You can choose other personal items to create the cake
-Make sure everything is at the right place
- Activate Text Tool -(I have six different fonts into the zip file) - Size and Colors to your taste -Write your text "Bonne Année 2020 " and place the text on the cake (see finished image )
62. Layers- Merge- Merge Visible
63. Image - Resize to your taste
65. Edit- Copy !!!!!
-
Activate your minimized Image of point 60
66. Edit - Paste as a new layer
-
Activate your Move Tool (M) move the cake to the bottom right side (see finished image )
If you use the tube supplied by Renée, resize to your taste
67.Open the tube ‘’ST_2020_New-Year-
Image 7’’-Edit - Copy- Activate your work -Edit - Paste as a new layer and move
Image - Resize to your taste
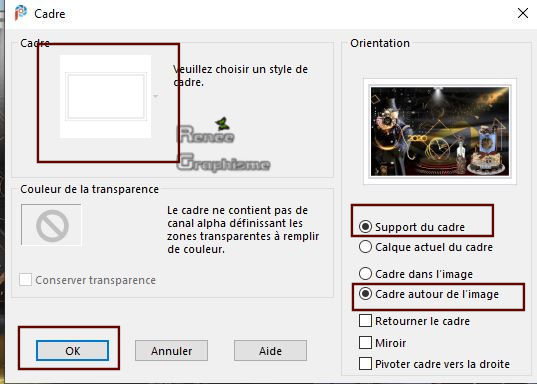
68. Image - Add borders-Symmetric checked: 1 Pixel Color Black
69. Image – Picture Frame and select Frame " Bonne_annee
2020.PspFrame " use the settings below ( Put this frame into the frames folder of Paint Shop)
OK
-
Layers- Merged- Merged All (flatten)
Save as JPG.
Apply your signature
I hope you enjoyed this lesson
Renée
We wish all of you a Happy New Year
Thank you all for making my lessons
I was surprised by your special creations and all your beautiful work
Greetings Renée.

This lesson was written by 13-11- 2019
Edited and Update
2019
*
Any resemblance with an existing lesson is merely a coincidence
* Do not forget to thank the people who work with us and for us. I have appointed the tubeurs and translators
Thanks
Renée
*
|

 Translations


 If a plugin supplied appears with this icon it must necessarily be imported into Unlimited *