|
Joyeux Noel 2014
Happy
Christmas
Buon Natale
Feliz Navidad
Fröhliche Weihnachten
Feliz Natal
Vrolijk Kersfeest

Let's start the lesson .
- Material Properties: Foreground color =#97aff7 Background color = :#19729e
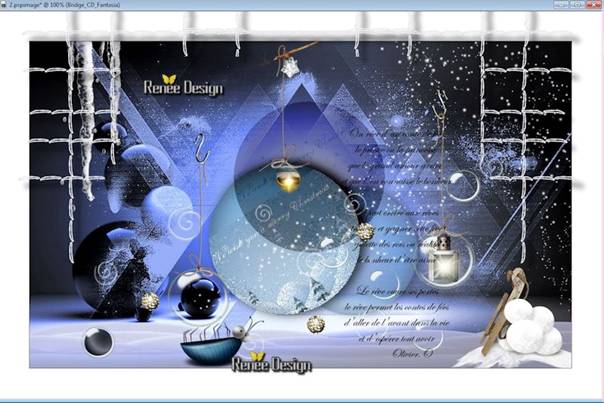
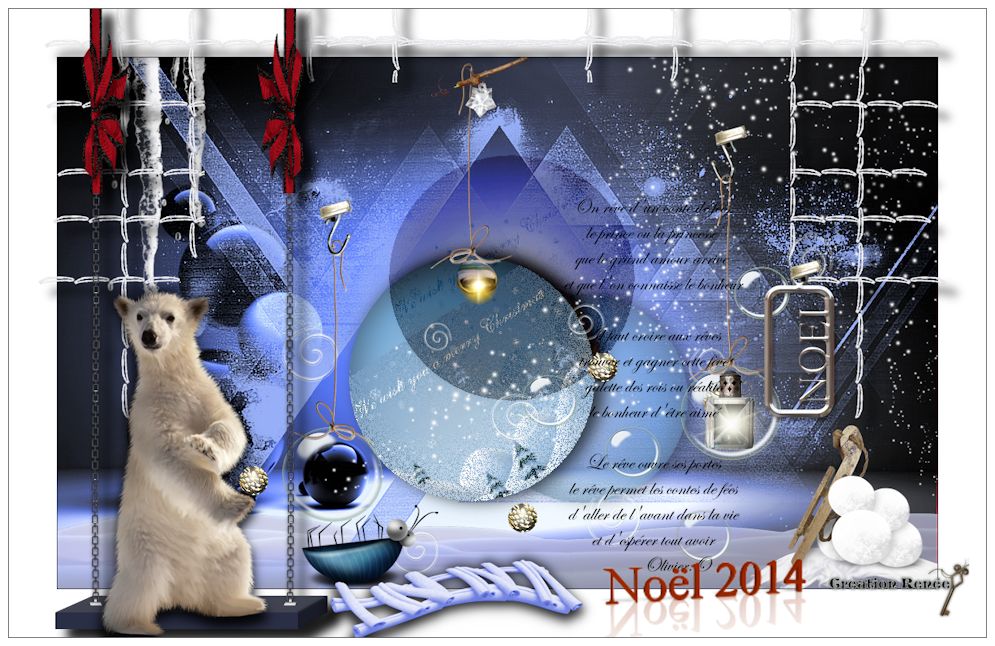
1. Open the image
''fond_renee_christmas_2014''/Promote Background layer =Raster 1
2. Layers- New Raster layer
-Activate Flood Fill Tool and fill the layer with the foreground color
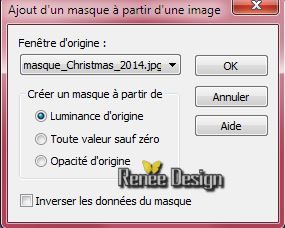
3. Layers-New Mask Layer From Image and choose Mask:''masque_Christmas_2014.jpg''
4. Effects- Edge Effects- Enhance More
5. Layers- Merge- Merge Group
6.Layers- New Raster layer
7. Selections - load/save selection - load selection from disk and choose my selection: ''christmas_renee_2014''
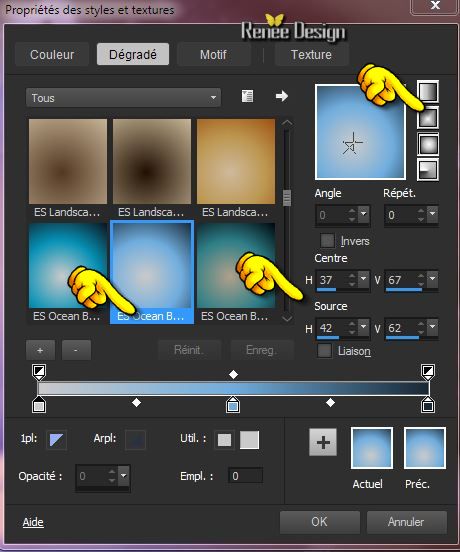
-Foreground Material - select my file in the list ''ES Ocean Breeze 002
''Prepare a Sunburst Gradient see print screen .
- Activate Flood Fill Tool and fill the selection with the gradient
8. Effects- Plugins - EyeCandy5_Impact _Glass-tab Settings/User Settings and choose my Preset- ''christmas_2014_glass"
-
Selections- Deselect All
9.
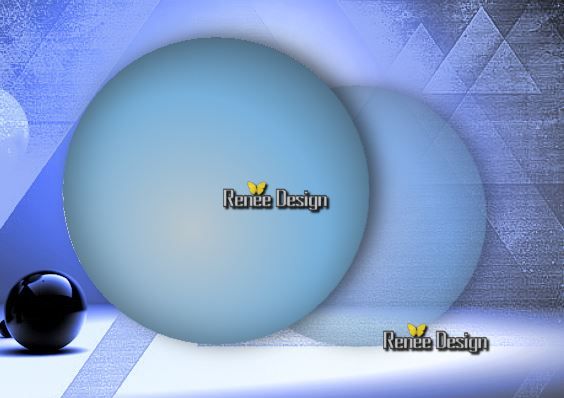
Layers- Duplicate -Image Resize 85% (Resize all layers not checked) Reduce the opacity of this layer to 55%
10.
Layers- Arrange- Move Down like this
Layer-Palette - highlight top layer
11.
Activate an image of your choice or take mine
''image_noel_3''
-
Edit/copy-Edit paste as a new layer on your working area
(to facilitate placement of picture /Reduce the opacity of the Christmas ball between 50 -60)
12.
Selections - load/save selection - load selection from disk and choose my selection: ''christmas_renee_2014''
- Selections/Invert -
Delete
- Layer palette, Blend Mode to Dissolve and layer opacity to 67%
Selections- Deselect All
13.Layers- Merge- Merge Down
-In the Layer palette, set Blend Mode to Normal
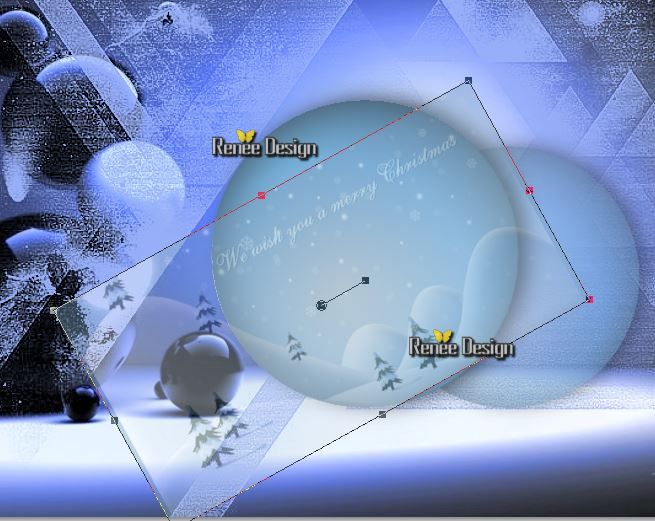
14. Layers- Duplicate -
Place a little higher (see example )
If you work with different colours => change the blend mode to Overlay in the layer palette
- My choice: I changed the blend mode to "Difference " and the Opacity 40%
15. Open your tube
''calques decoration -Noel_2014''
Activate the different layers - select the tubes that you like and paste them as new layers
(do not use the tube filet
yet -we will use it later)
-When all is arranged to your choice
16. Layers- Merge- Merge Visible
17.Image - Add borders-Symmetric checked: 1 pixel with color #2b2f45
18.Image - Add borders-Symmetric checked: 60 pixels color white
19. Open the
tube '' decoration_Noel_2014''again
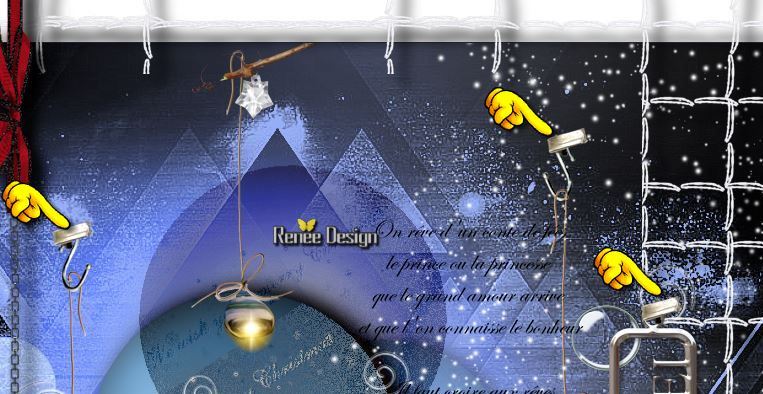
-activate tube ''filet'' - - Edit/copy-Edit paste as a new layer. With your move tool place it on the right place
- Your work looks like this
20. Layers- New Raster layer
21. Selection Tool ( S ) Custom selection with these values
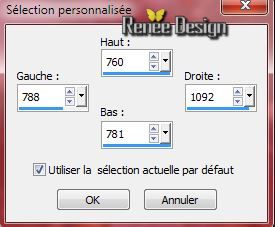
22. Activate Flood fill tool and fill the selection with this color#2b2f45
23. Effects- Plugins- EyeCandy 5 -Impact -Extrude -tab Settings/User Settings and choose my Preset-''noel_2014_extrude_renee''
24. Open the tube ''
cordes_noel_2014'' -Edit/copy-Edit paste as a new layer.
Put them in the right place to create the swing
25. Layers- Merge- Merge Down
- With your move tool move to the left side
26. Effects - 3D Effects - Drop shadow setting to your own choice
27. Open your tube
''e124_ks''- Edit/copy-Edit paste as a new layer. With your move tool place it in the right place
28. Open the tube ''bridge_CD_fantaisie''-
Edit/copy-Edit paste as a new layer. With your move tool place it in the right place
29. Open your tube ''noel_Medaillon''
-Edit/copy-Edit paste as a new layer. With your move tool place it in the right place
30. Activate the tube ''calques decoration -Noel_2014''/again
- Activate your tube ''attaches_pour
_deco''- Edit/copy-Edit paste as a new layer. With your move tool place it see example
31. Layers- Merge -Merge Visible
***************************************************************************
Insofta 3D text explanation
-Logiciel
Insofta 3 D
Is a program that stands on its own = not a plugin
1.
Extract the zip in a folder name: ""Insofta_3D"
2.
Open the text file Serials, in your taskbar.
3. Double-click the icon
4.
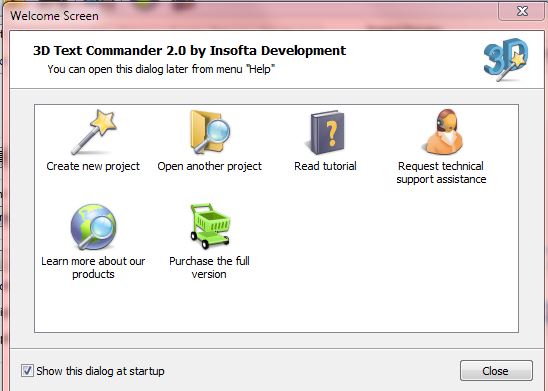
Close the welcome screen! Go to Help => Register ...
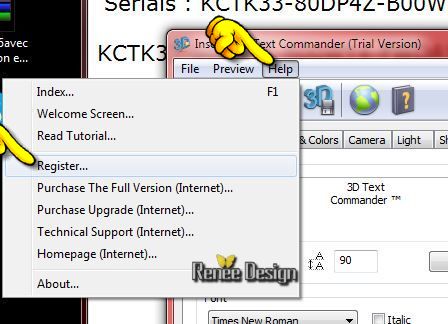
5.
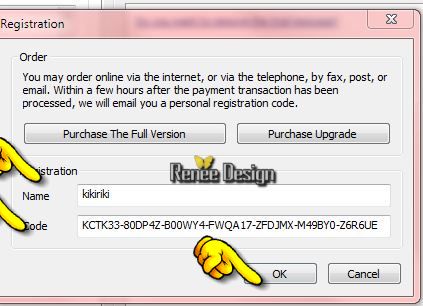
Copy this name => kikiriki from text file Serials
paste it into the registration window
Copy this number (or one of the others)
and paste it into the registration window.
Put the program just in your task bar until later on in the lesson
Go to the program Insofta 3D Text Commander 2.0. If you really can’t do it with the program, then you will find the text into the zipfile
********************************************
-
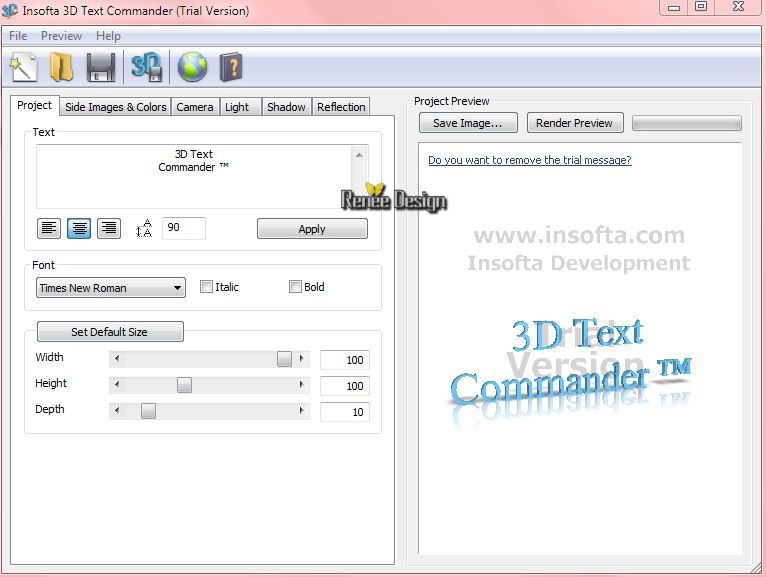
1. Click to remove the Welcome screen/Click on the yellow folder, and say NO to the question
- In the window / delete existing text and write your text
font choice - centering -size - perspective
-
 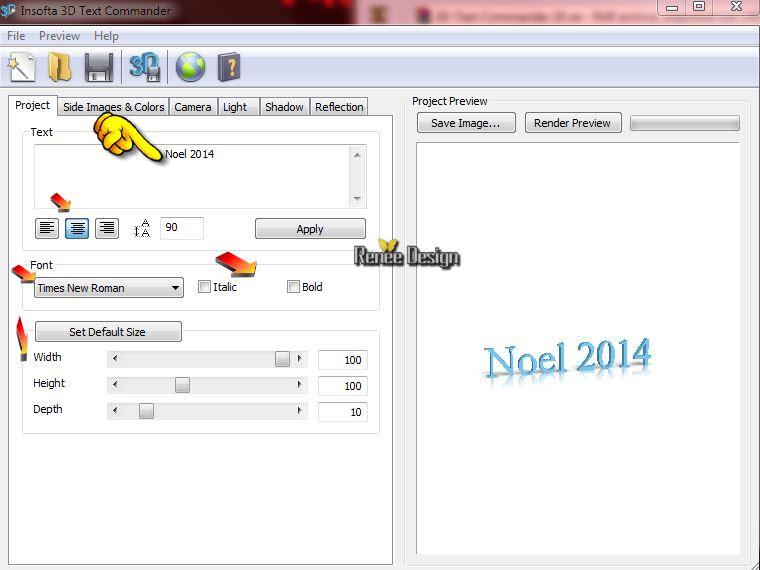
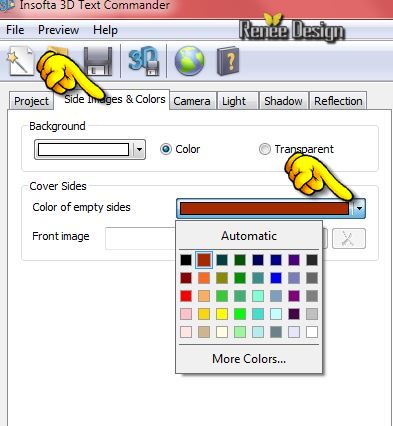
When you want to use another colour you can change it here: tab 'Side Images & Colors''
-
Saving => go to the first tab called Project
-
Click >Project
-
Click on the button Save Image

-Tick
Point 1= As visible in the
preview pane
Point 2= Png (transparency supported)
Point
3= Browse (Click the button Browse, and save the file in folder of your choice)
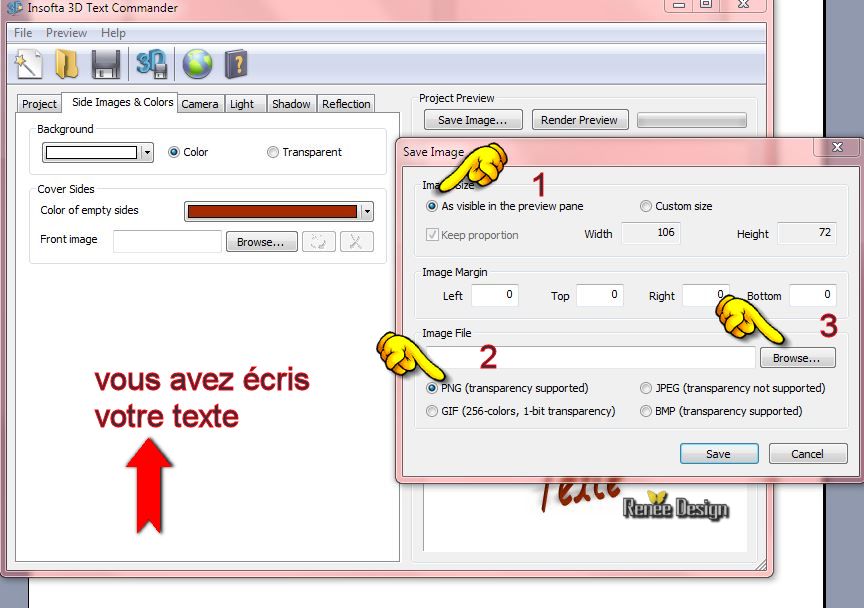
Give it a name =SAVE
-
Your work will be registered in PNG.
--------------------------------
We continue with the lesson
31.
Open your tube with the text Edit/copy-Edit paste as a new layer on your working area and move
32.Image - Add borders-Symmetric checked: 1
pixels color #2b2f45
33.Image - Add borders-Symmetric checked: 10 pixels color white
34. Image Resize -
995 pixels Width
Save as JPG

I hope you enjoyed this lesson
Renée
This lesson was written by Renée 2/10/2014
Created the
12/2014
*
Any resemblance with an existing lesson is merely a coincidence *
* Don't forget to thank the people who work for us and with us. I named the tubeurs - Testers and the translators.
Thanks Renée.
*
|
 Translations


 All rights reserved