|
Let's begin
Halloween Night
1. Open a new transparent image of 1025 X 625 pixels
2. Color palette - foreground color #026f36 and
background color #15368f
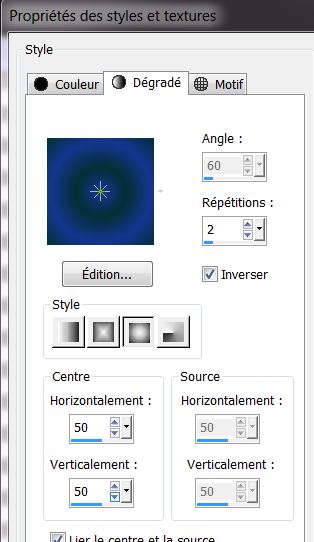
3. Create a sunburst gradient - fill the transparent
image
4: Effects - Distortion effects - polar coordinates -
tick polar to rectangular
5. Effects - Edge effects - enhance more
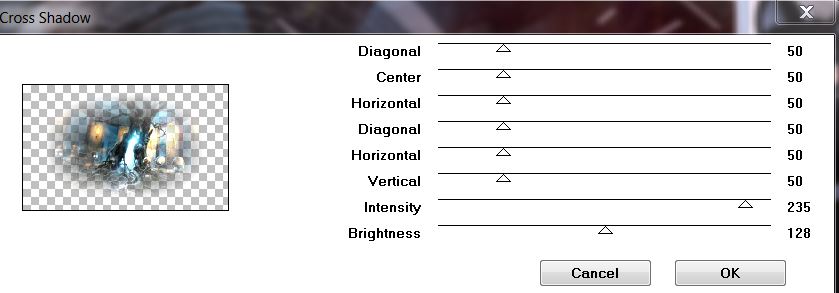
6. Effects - Graphics plus - Cross shadow Default
7. Open tube "Halloween_1" - paste as a new layer
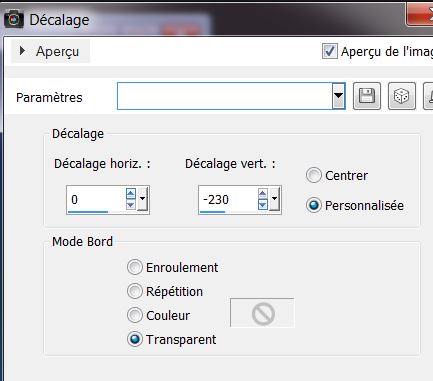
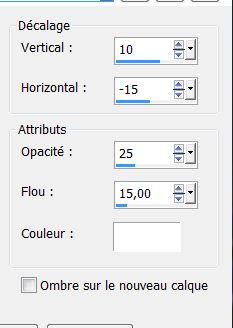
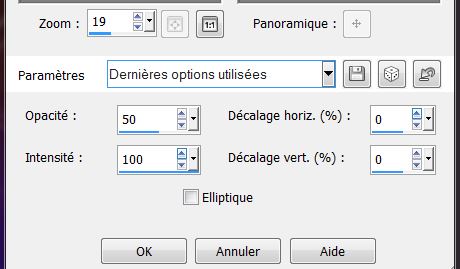
8. Effects - Image effects - Offset
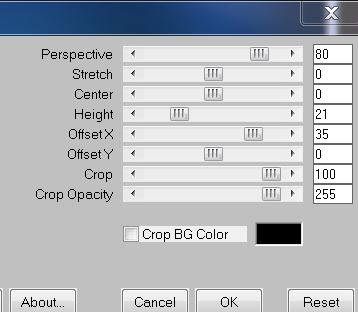
9. Effects - Mura's Meister - perpsective Tiling
10. Effects - 3D effects - Drop Shadow
11. Layers - new raster layer - selections - select all
12. Open tube "halloween_2.jpg" - paste into selection -
select none
13. Adjust - Move this layer down
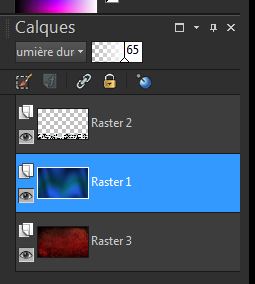
14. Back on raster1 - Change the layer mode to hard
light and opacity to 65
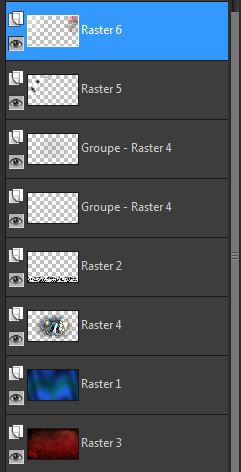
15. This is your pallet now:
16. Layers Palette - Click to activate the top layer
17. Layers - new layer - fill with color #dadbdc
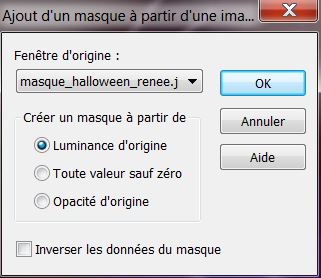
18. Layers - New mask layer from image/ "masque_halloween_renee"
19. Layers - delete/ yes / Layers - merge group
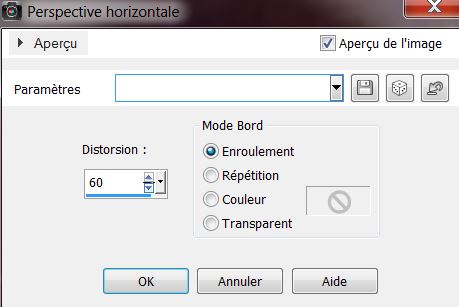
20. Effects - Geometric effect - Perspective Horizontal
21. Layers - new raster layer
22. Selections - load selection from disk -
"halloween_1"
23. With your flood fill tool - color white - opacity at
30 - fill the selection
24. Selections - select none
25. Effects - Reflection effects - feedback
26. Effects - Edge effects - enhance more
27. Open tube "c
wish_tree_by_vytiar_misted_na_11.09.2013" - paste as a
new layer - No need to move
28. Effects - Graphics Plus - Cross Shadow
29. Lower the opacity to 77
30. Move this layer below raster2
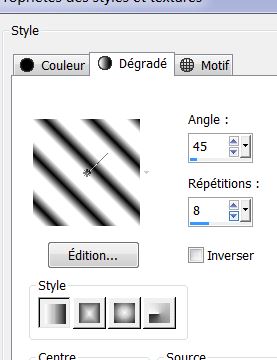
31. Color palette - white foreground color and
background color black - create a linear gradient
32. Click to activate the top layer
33. Layers - Add a new layer
34. Selections - load the selection ''halloween_2'' and
fill with the gradient (return the paint pot opacity to
100)
35. Selections - select none
36. Open the tube ''nuit_halloween_nuage'' /copy and
paste as a new layer - move it to a good place
37. Effects - Lumieres atmosphere - / A Bit Left Over
Gradient (BlueX between 180 and 188)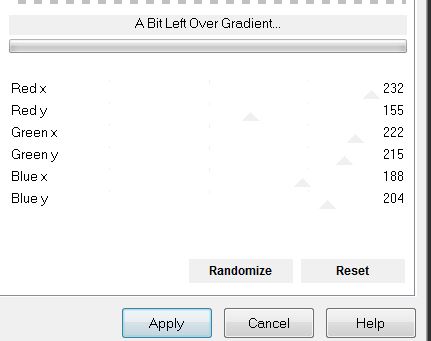
You are here
38. Open tube "psp 9634_ssgarvey_cat.psd" - Click to
activate "with moon" - edit copy / image mirror and
paste as new layer
39. Image - resize 65% all layers not checked - move to
the left as shown
40. Layers - new raster layer
41. Color palette - Change the foreground color to
#c0c0c0
42. Selections - load selection from disk "halloween_3"
- fill with the foreground color - selections - select
none
43. Effects - edge effects - enhance
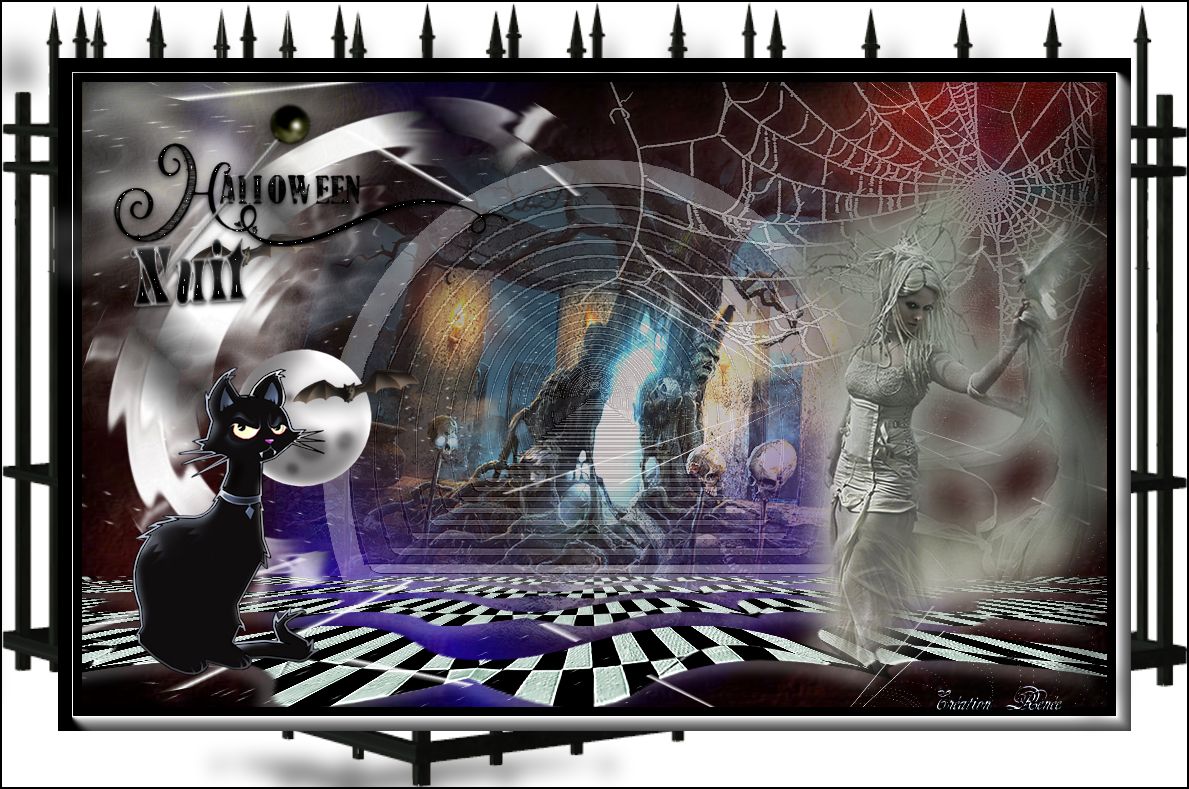
44. Open tube "sc_misted_fantasy_femme_a_o4_22_13" -
paste as a new layer - move into place - see the
finished image
45. Open tube "vleermuis_sissy" - paste as a new layer -
move into place - duplicate - well placed
46. Image - add borders 25 pixels black
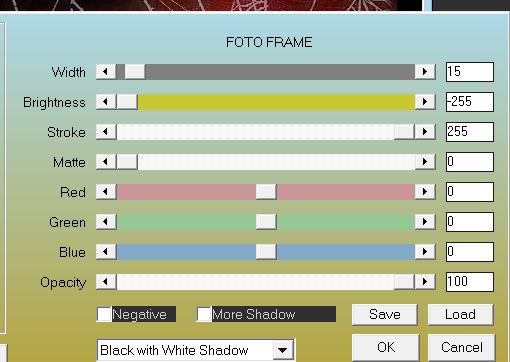
47. Effects - AAA frame - photo frame
48. Image - add borders 55 pixels white
49. With the magic wand select the 55 pixels border
50. Layers - Add a new layer
51. Copy ''la_iron fence.png " and paste into the
selection
52. Selections - select none
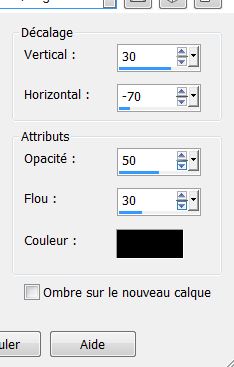
53. Effects - 3-D effects - Drop Shadow
54. Open tube "titre" - copy and paste as a new layer -
or write something of your choice
55. Image - add borders 2 pixels black
Lesson over
Thanks Sally
|