|
Let's start the lesson.
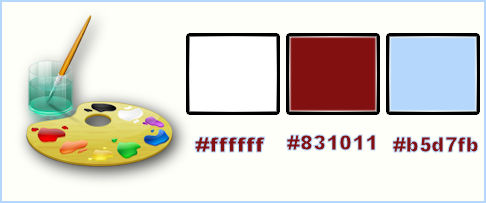
Color Palette :Set your foreground color to #ffffff - Set your background color to:#831011
1.
Open the background image ‘’ fond_nuit_horreur’’/Window - Duplicate (or shift+D) - Close the original and proceed on the copy -Promote Background Layer =Raster 1
2.
Layers-New Raster layer- Activate Flood Fill Tool and fill the layer with the foreground color
3.
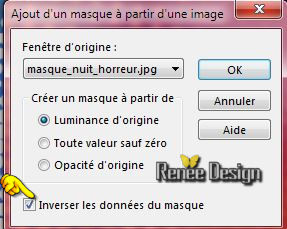
Layers- New Mask layer from Image and select Mask
-
Layers- Merge- Merge Group
4.
Effects –Plugins-Unlimited- &<Bkg Designer sf10 I>- Dice
It
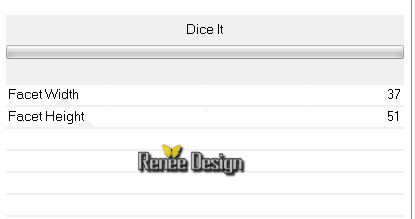
5. Effects- Plugins – Mirror Rave- Quadrant Flip using the default settings
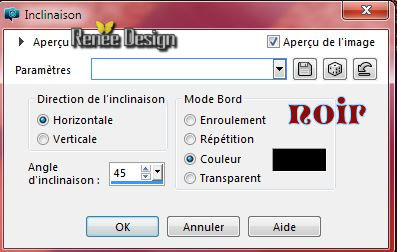
6. Effects- Geometric Effects- Skew with these settings-Color black
7.With the magic wand tool – select the two black parts
-
Selections- Promote selection to layer
Selections- Deselect All
8. Effects- Plugins – Medhi – Weaver with these settings
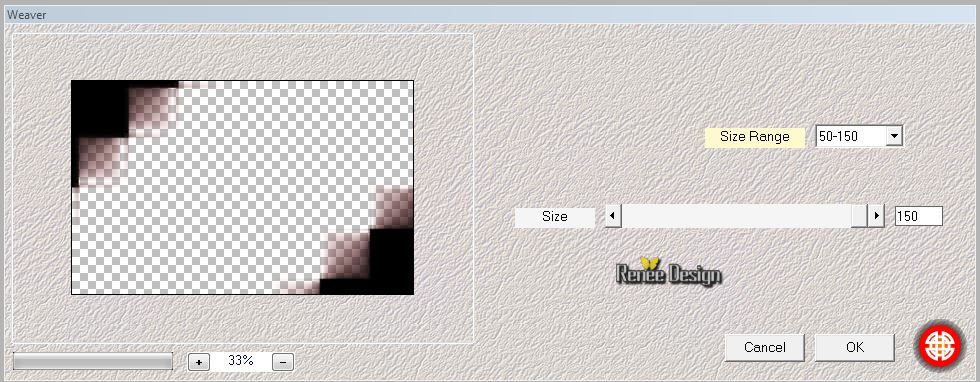
9. Effects- Edge Effects- Enhance More
10. Layers- Duplicate
11. Effects-Image Effects-Seamless Tiling with these settings
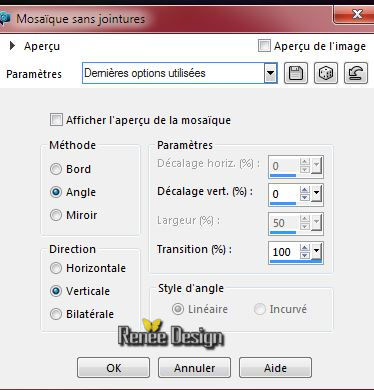
12. Layer Palette - Double click on this Layer and set the Blend Mode to "Screen "
13. Effects - 3D-Effects -Drop shadow with these settings -Background color
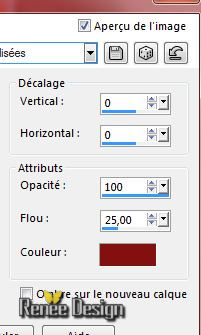
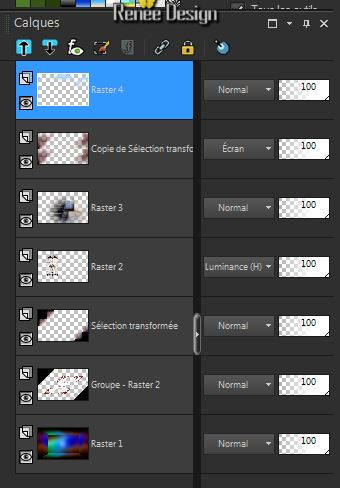
- Your Layer Palette look like this now:you should have this result:
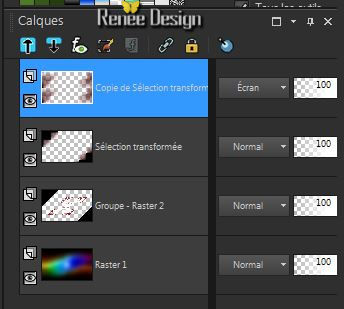
-
-Activate the bottom of the layer-Palette=Raster 1
14.
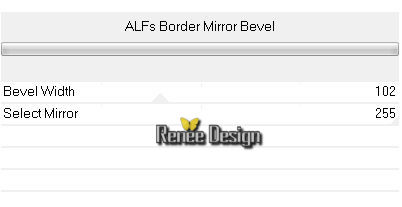
Effects –Plugins- Unlimited - &<Bkg Designer sf10 I>-ALFs
Border Mirror Bevel
- In the Layer-Palette: -activate" Promoted Selection" layer
15. Activate the tube ‘’ image-1_nuit_horreur’’
- Edit-Copy-Edit-Paste as a new layer on your working area
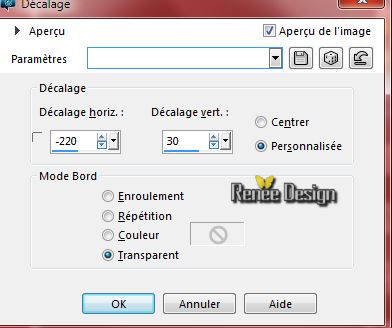
16. Effects- Image Effects- Offset with these settings
17. Double click on this Layer and set the Blend Mode to " Luminance -Legacy "
18. Activate the tube ‘’ Renee_tube_escalier _image2-nuit_horreur’’
- Edit-Copy-Edit-Paste as a new layer on your working area
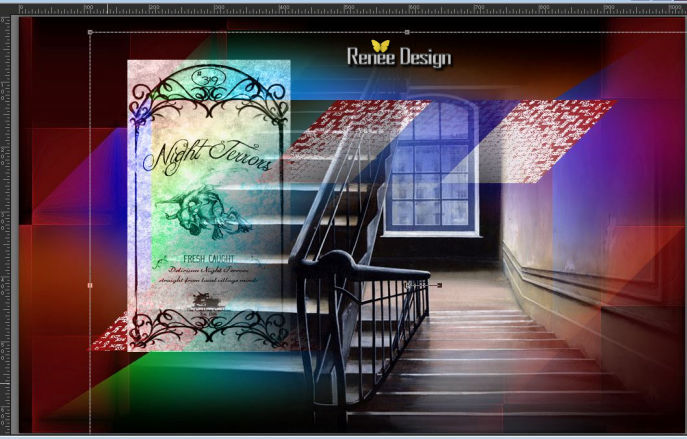
19. Activate your Pick Tool (K) place it in the right place as shown in the example below
- Activate the top of the layer palette
-Properties foreground -Put your foreground color to #b5d7fb
20. Layers- New Raster layer
21.
Selections –load/save selection –load selection from disc and choose: ‘’
nuit-horreur_1 »
22. Activate Flood Fill Tool and fill the selection with the foreground color #b5d7fb
Selections- Deselect All
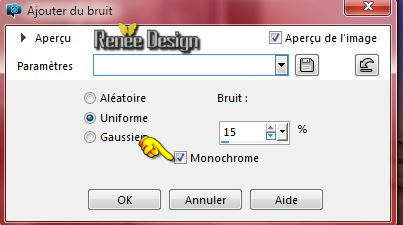
23. Adjust-Add/Remove Noise/Add Noise with these settings
Your Layer Palette look like this now:you should have this result:
24. Activate the tube ‘’ halloween-text.png’’
- Edit-Copy-Edit-Paste as a new layer on your working area
- Place on top of the stairs
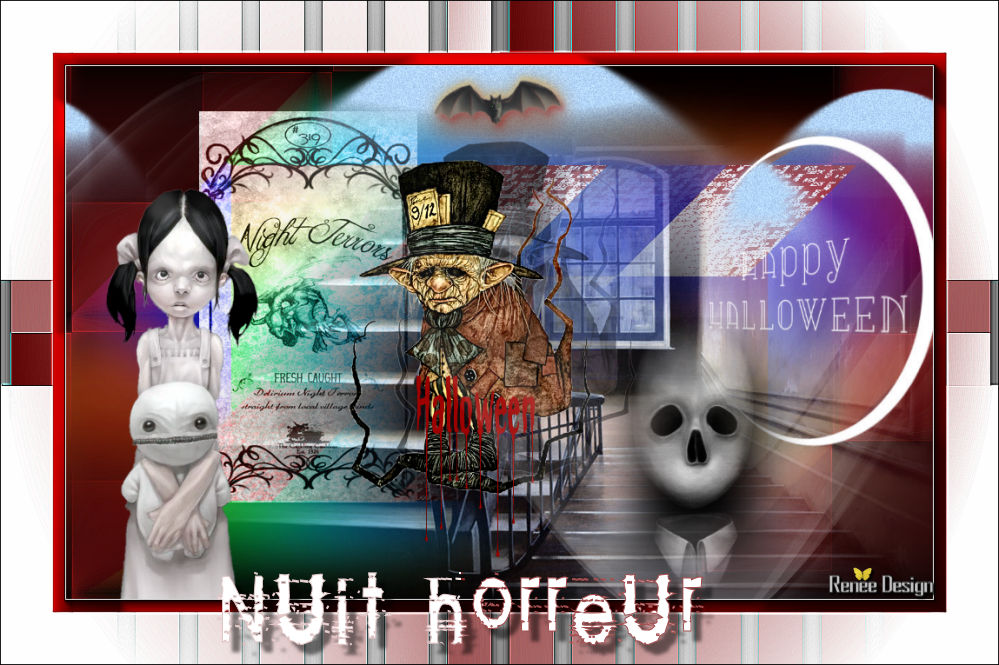
25. Activate the tube ‘’ image_3_nuit_horreur.pspimage’’
- Edit-Copy-Edit-Paste as a new layer on your working area
-With your move tool place it in the upper right corner
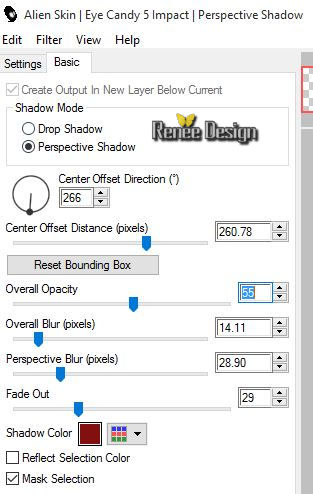
26. Effects- Plugins – EyeCandy 5 Impact – Perspective
shadow/-tab Settings/User settings choose my preset: ‘’nuit_horreur_shadow »
Or manual settings as shown in the example below
27. Activate the tube ‘’ halloween-chauve_souris.png’
- Edit-Copy-Edit-Paste as a new layer on your working area – Move tool / place your tube on the right side of your image (see finished image)
28. Activate the tube ‘’
Renee_tube_filette_gianlucamattia.pspimage’’
-Image Resize - 65 %
- Edit-Copy-Edit-Paste as a new layer on your working area
- Move tool / place your tube on the left side of your image
- Layer-Palette: Make Raster 4 active
29. Activate the tube ‘’ Renee_tube_1280.pspimage’’
-Image Resize - 65%
- Edit-Copy-Edit-Paste as a new layer on your working area
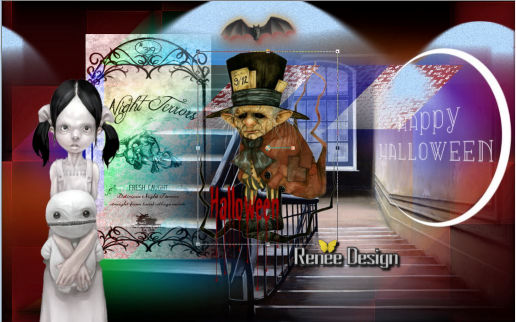
- Activate your Pick Tool (K) place it in the right place as shown in the example below
30. Layers- Duplicate
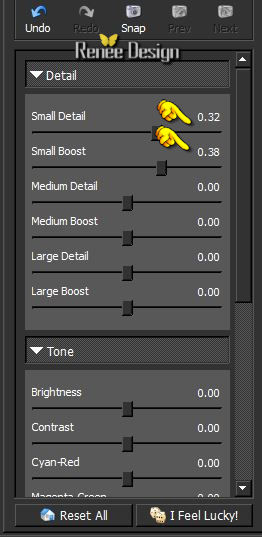
31. Effects- Plugins – Topaz Detail2 with these settings
32. Activate your Pick Tool (K) place it in the right place as shown in the example below
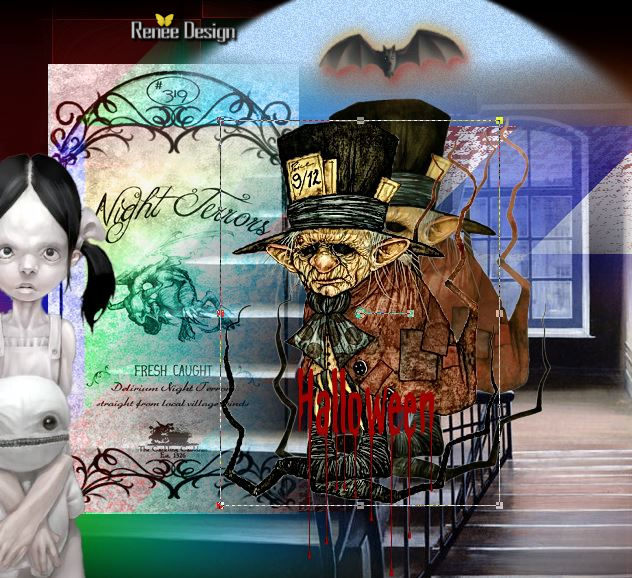
-Layer-Palette: activate the layer underneath
33. Double click on this Layer and set the Blend Mode to " Luminance " and set the Layer Opacity of this Layer to55
34. Activate the tube ‘’ image_4_nuit_horreur.pspimage’’
- Edit-Copy-Edit-Paste as a new layer on your working area
35.
Layer Palette - Double click on this Layer and set the Layer Opacity of this Layer to 53 %
-Activate the top of the Layer-Palette
36. Activate the tube ‘’
Renee_tube_horreur.pspimage’’
37. Image Resize -50%
- Edit-Copy-Edit-Paste as a new layer on your working area
38. Activate your Pick Tool -(K) -place it in the middle of the stairs
39. Layers- Merge- Merge- Visible
40. Image - Add Borders - Symmetric checked : 1 pixel black
41. Image - Add Borders - Symmetric checked 60 pixels #ffffff
42. Activate your Magic wand - select the border of 60 pixels
- Materialpalet:
Put the foreground color to #831011 -Put your background color to #ffffff
- Prepare a radial gradient configured like this.
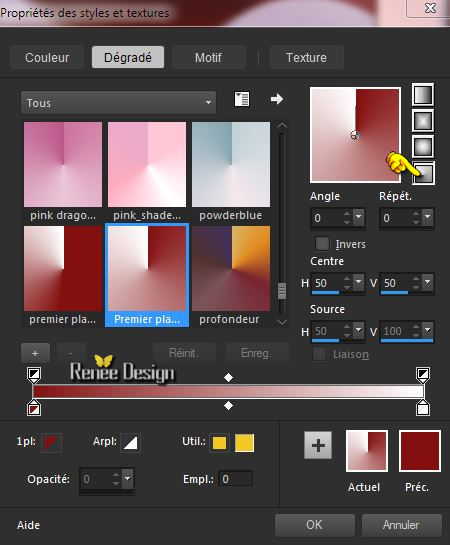
43. Layers- New Raster layer
44. Pot of Paint-Color Opacity 100% -Activate Food Fill Tool :fill the selection with the gradient
45.
Effects –Plugins-Unlimited –ICNETFILTERS - Special Effects 1-Jailed!/
16/41
46.
Effects- Plugins –Simple –Quick
Tile
47.Effects- Edge Effects- Enhance More
48.
Effects- Plugins – Adjust variations – click 1x More darker
49. Selections- Invert
- Activate the layer underneath
50. Effects- Plugins – AAA Frame – Foto Frame with these settings
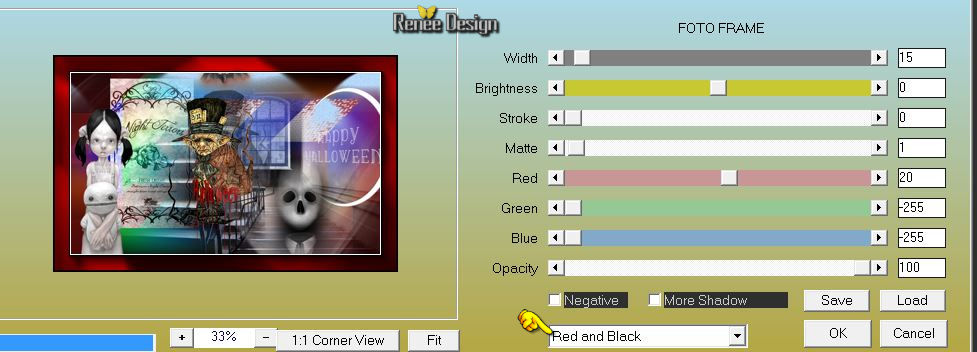
Selections- Deselect All
51.Image - Add Borders - Symmetric checked :1 pixel black
52.Image Resize 999 pixels width
53. Activate the Text Tool-Font- « TOMVA___ size 72 / Write your text« Nuit horreur »/ Effects- 3 D Effects- Drop Shadow-a choice
54.Layers- Merge- Merge All
Save as JPG
I hope you enjoyed this lesson
Renée
This lesson was written by Renée 14/09/2015
edited and update
2015
*
Any resemblance with an existing lesson is merely a coincidence *
* Don't forget to thank the people who work for us and with us. I named the tubeurs - Testers and the translators.
Thanks Renée.
| 
 Translations


 When you see this logo the filter is imported in Unlimited


 All rights reserved