|
Let's start the lesson.Open the color palette
Preparation: Color-palette:Set your foreground color to #930000-Set your background color to #000000

1. File - New - Open a new image of 1125 x 675 pixels black
2. Effects-Plugins – L and K’s- Zitah with these settings
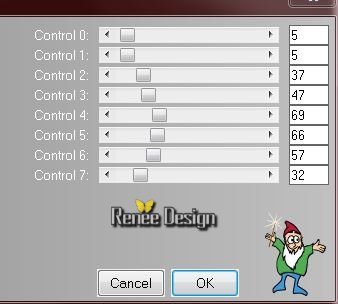
3. Repeat the same filter effect -L and K’s- Zitah
4. Adjust-Hue and Saturation-Colorize with these settings (red)
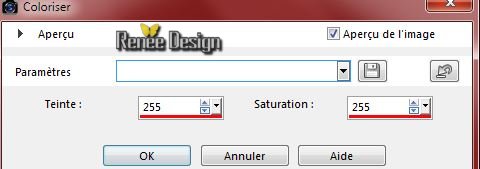
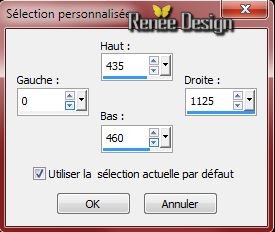
5.Selection Tool ( S ) Custom selection use settings below
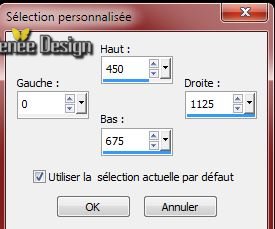
6.
Selections-Promote selections to layer
7. Effects-Plugins – Mura’s Meister- Perspective Tilling (click
reset )-and Ok
8. Effects-Edge Effects Enhance
Selections-Deselect All
9. Properties Forground; Set your Foregroundcolor to forground-background linear gradient, with these settings
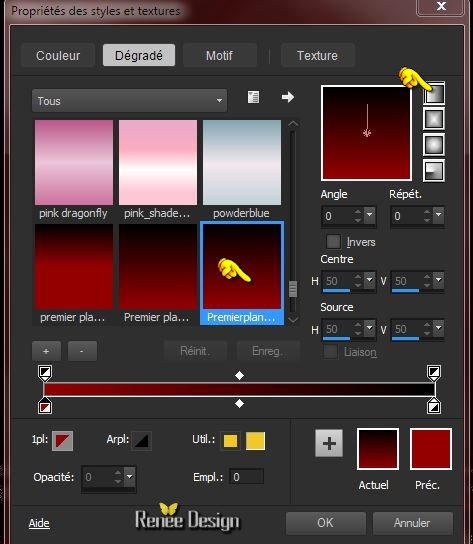
10. Layers- New raster layer
11.
Selection Tool ( S ) Custom selection use settings below
12. Activate Flood Fill Tool and fill the selection with the gradient
Selections-Deselect All
13.
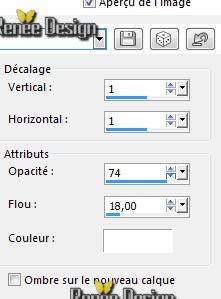
Effects-3D Effects-Drop Shadow with these settings -color white
14. Layers- New raster layer
15.
Selection Tool ( S ) Custom selection use settings below
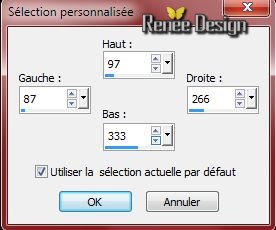
16. Activate the image '' image_chat’’
- Edit/ Copy-Edit - Paste into selection
17.
Selections-Modify-Select-Selection Borders with these settings
C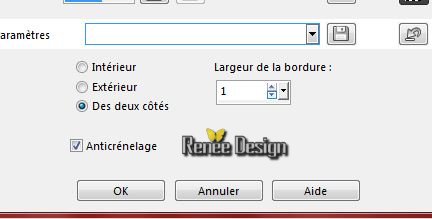
18. Activate Flood Fill Tool and fill the selection with the foreground color
Selections-Deselect All
19.
Effects/3D Effects-Drop Shadow with these settings :1/1/90/50 black
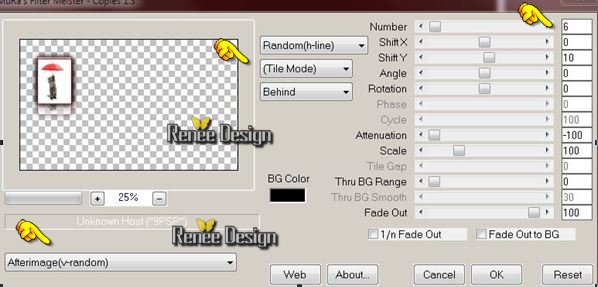
20. Effects-Plugins – Mura’s meister – Copies with settings below
Click on Reset and then put the settings
(It may be that the result is a little different, this is not important)
21. Layers- New raster layer
22.
Selections –load/save selection –load selection from disc and choose: ‘’
Original_Expressionnisme_1’’
23. Activate Flood Fill Tool and fill the selection with the foreground color
Selections-Deselect All
24. Layers- Duplicate
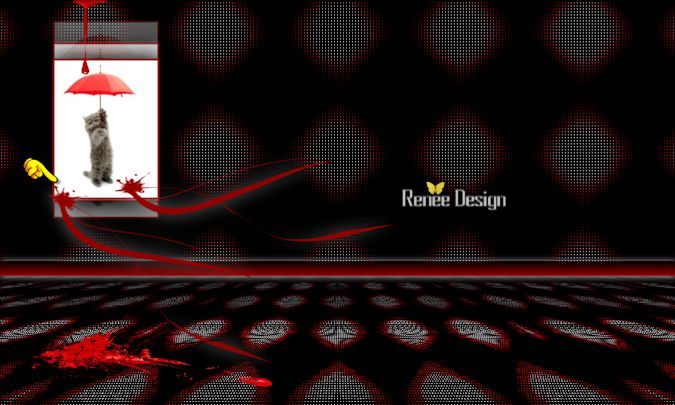
25. Image
Free Rotate 30° right
With your move tool place it as shown in the example below
26.
Effects-Plugins -Eye Candy 5 -_Perspective shadow_-tab Settings/User settings choose my preset:
Original_Expressionnisme_Perspectiveshadow
27. Activate the tube ‘’ Original_ Expressionnisme_ Abstrait_2
taches’’
- Edit/copy- Edit/ paste as new layer on your working image
- Move Tool: move to the left
28. Activate the tube ‘’ Original_Expressionnisme_Elements de
decoration’’
You may minimize your tube Original_Expressionnisme_Elements de decoration’’ for a moment, but do not close, we will need it again soon
- Activate the layer ‘’spot_1 »of this tube
29. Edit -Copy-Edit - Paste as new layer on your working area
Place above picture of the cat
-
Preparation:Set your foreground color to
#e3e3e3
30.Layers- New raster layer
31. Selections –load/save selection –load selection from disc and choose:
« Original_Expressionnisme_2 »
32. Activate Flood Fill Tool and fill the selection with the foreground color #e3e3e3
Selections-Deselect All
33.
Effects-Plugins –Toadies – What are you 255/19
34.
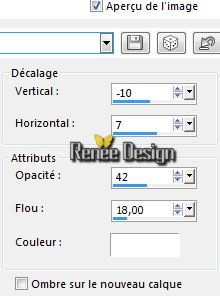
Effects-3D Effects-Drop Shadow with these settings-Color white
35.
Effects-Plugins – AP01- Lines
Silverling with these settings
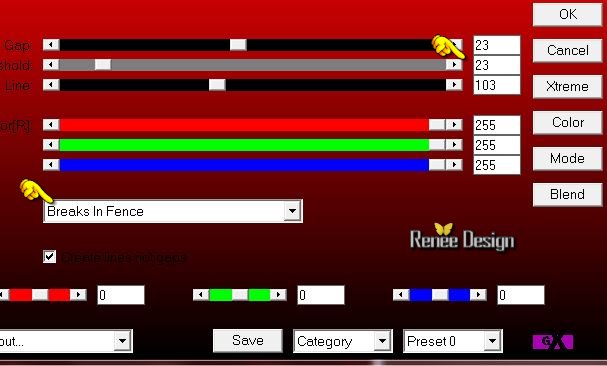
36. Double click on this layer and set the Blendmode to Hard Light
37.Selection Tool ( S ) Custom selection use settings below
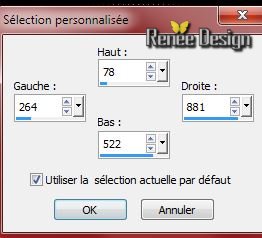
Hit the Delete Key of your Keyboard
Selections-Deselect All
38.
Effects-Plugins – Unlimited 2.0 - Andrew's Filter Collection 56- A Bit
Left Over Gradient...
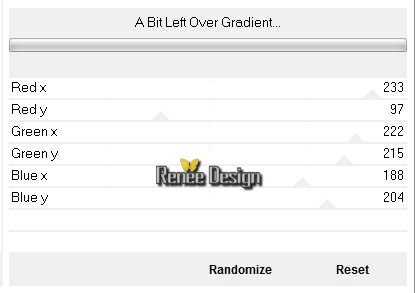
39. Activate the tube ‘’
Renee_tube_Expressionnisme_visage.pspimage’’
- Edit - Copy -Edit - Paste as new layer on your working area.
-
With your move tool place it as shown in the example below

-
Do not add a new layer
40. Activate Freehand Selection Tool - –Point to point- Draw a selection as shown below

41. Effects-3D Effects-Cutout with these settings /Color #e5c9a0
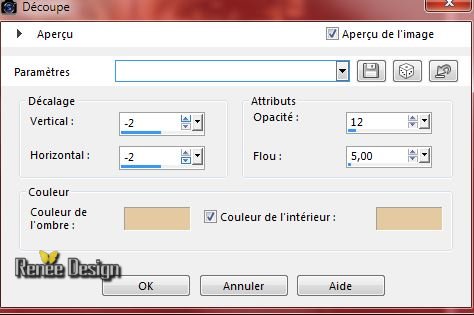
42. Effectst –
Texture Effects – Mosaic Glass with these settings
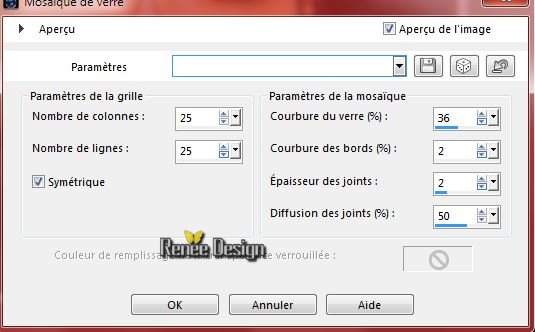
Selections-Deselect All
43. Activate again tube ‘’ Original_Expressionnisme_Elements de
decoration’’
- Activate the layer ‘’spot_2 ‘’of the tube
- Edit - Copy -Edit - Paste as new layer on your working area.
- With your Move Tool:move to the right side
44. Layers- New raster layer
45. Selections –load/save selection –load selection from disc and choose: ‘’
Original_Expressionnisme_3’’
- Color-palette:Set your foreground color to white
46. Activate Flood Fill Tool and fill the selection with the foreground color white (click 2 times in the selection )
Selections-Deselect All
47. Activate again the tube » Original_Expressionnisme_Elements de
decoration’’
- Activate the layer « peintre"of the tube
- Edit/copy- Edit/ paste as new layer on your working image
- Place on the woman's face -see finished image
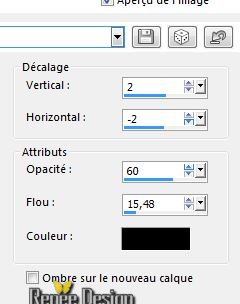
48.
Effects/3D Effects-Drop Shadow with these settings
49. Activate again tube ‘’Original_Expressionnisme_Elements de
decoration’’
- Activate layer ‘’texte "of the tube
- Edit/copy- Edit/ paste as new layer on your working image and move
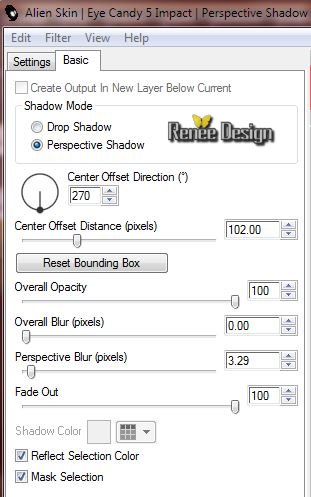
50. Effects-Plugins – EyeCandy 5 Impact – Perspective
shadow
-
Setting = Cast in front
-
Basic voir capture
51. Layers- New raster layer
52. Selections –load/save selection –load selection from disc and choose: ‘’
Original_Expressionnisme_4’’
53.*Pot of Paint: Change the opacity of the color at 30%-Activate Flood Fill Tool and fill the selection with the foreground color white
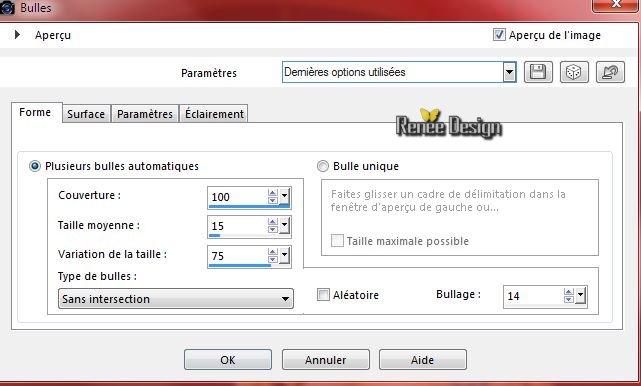
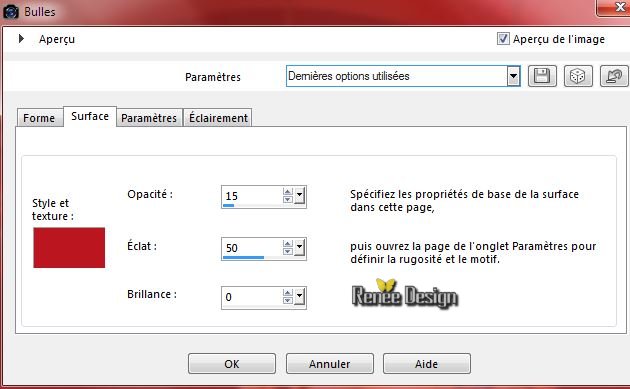
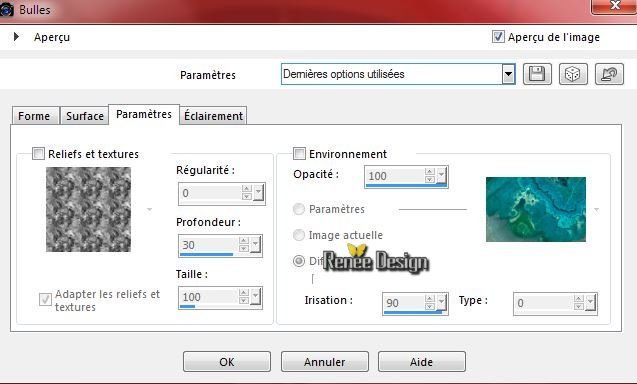
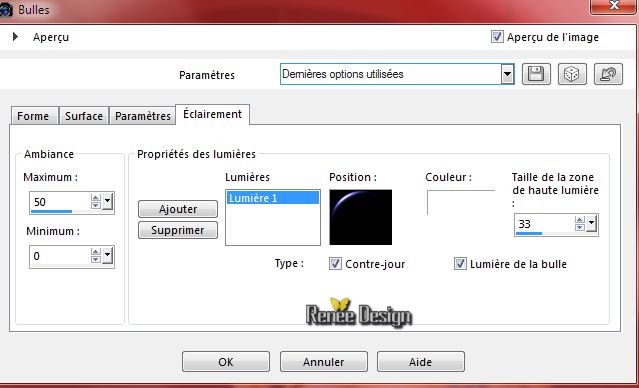
54. Effects-Artistic Effects-Balls and Bubbles-look for your preset- ‘‘Preset_BallsAndBubbles_Original_Expressionnisme’’
Or manual settings as shown in the example below
55. Effects-Edge Effects Enhance
Selections-Deselect All
56. Layers- New raster layer
57.
Selections –load/save selection –load selection from disc and choose: ‘’
Original_Expressionnisme_5’’
58.*Pot of Paint: Change the opacity of the color at 30%- Activate Flood Fill Tool and fill the selection with the foreground color white
Selections-Deselect All
59. Layers- Duplicate
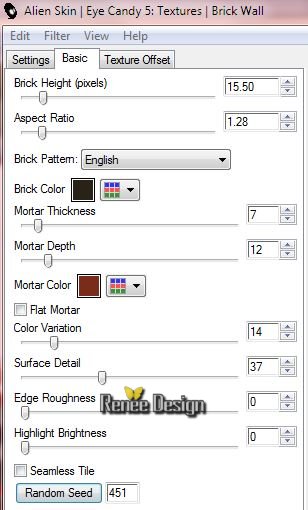
60. Effects-Plugins – EyeCandy 5- Textures – Brick walls-tab Settings/User settings choose my preset: ’’Original_express_Textures_Brickwalls’’
61. Effects-Edge Effects Enhance More
62. Layers-Merge- Merge- Down
63. Activate again tube "des éléments de décoration"
- Activate the layer ‘’ spot_3 »of this tube
- Edit -Copy-Edit - Paste as new layer on your working area
- With your move tool move to the bottom left ( see finished image)
64. Layers- New raster layer
65. Selections –load/save selection –load selection from disc and choose: ‘’
Original_Expressionnisme_6’’
66. *Pot of Paint: Change the opacity of the color at 100%
-Activate Flood Fill Tool and fill the selection with the foreground color white
Selections-Deselect All
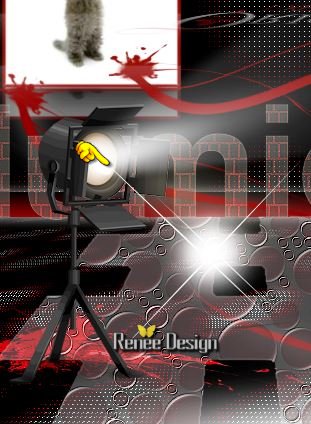
-If necessary, reposition the tube as shown in the example below
67.
Activate again the tube " éléments de décoration
"
- Activer
the layer ‘’ tache _rouge’’ of the tube
- Edit - Copy -Edit - Paste as new layer on your working area.
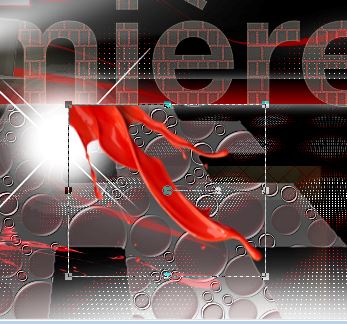
68. - Activate your Pick Tool (K) Mode Scale- place it in the right place as shown below
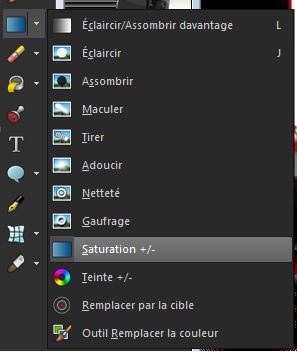
69. Activate-Saturation Brush-Saturation Up/Down
-
Then click with the right mousebutton on the tube as shown on the print screen
- Hit the M key of your Keyboard to deactivate
70. Layers- Merge- Merge- Visible
71. Image - Add borders-Symmetric checked: 1 pixel black
72. Image - Add borders-Symmetric checked: 30 pixels white
73. Image - Add borders-Symmetric checked: 1 pixel black
74. Image - Add borders-Symmetric checked: 10 pixels white
75. Activate again tube " éléments de décoration "
76. Activate layer ’’coin"of the tube
- Edit/copy- Edit/ paste as new layer on your working image
- With your Move Tool -move to the upper left corner ( see finished image)
77. Effects-Plugins – Simple –Top left Mirror
78. Double click on this layer and set the Blendmode to Multiply -Set the layer opacity of this layer to 83%
79. Layers- Merge- Merge- Visible
80. Effects-Plugins – Adjust Variation 1x click Lighter
81. Image
Resize 995 pixels Width
Save as JPG
I hope you enjoyed this tutorial .
Renée
This lesson was written by Renée 28/04/2015
edited and update
on 2015
Any resemblance with an existing lesson is merely a coincidence *
* Don't forget to thank the people who work for us and with us.
I named the tubeurs - Testers and the translators.
Thanks Renée.
*
|