|
Let's begin
1. Open your Image: fond
''passion_fruits_fond'' Background layer (Raster 1)
2. Material Properties: Foregroundcolor: #f2630a and your Backgroundcolor to color
#1e2f38
3. Layer - New raster layer. Flood Fill Tool: Fill the layer with your foregroundcolor
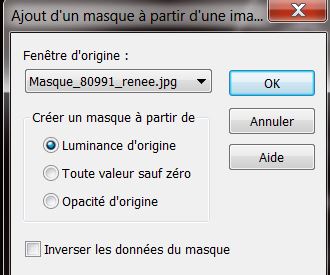
4. Layers-New mask layer from image and open mask
''Masque_80991_renee''
5. Effects - Edge effects- Enhance /Layers-Merge-Merge Group
6. Open the tube
''passion_fruits_image_pommes'' Edit/ copy-(pomme_double ) Edit/ paste as new layer
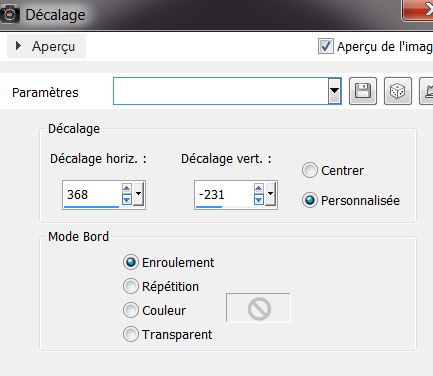
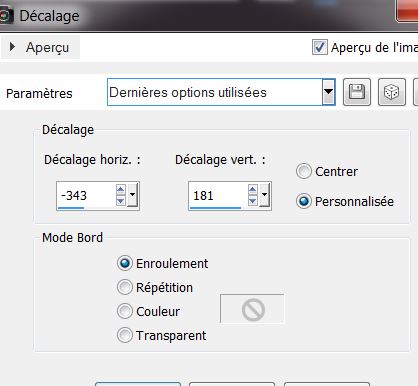
7. Effects - Image Effects-Offset
8. Layers-Duplicate /Blend Mode on this layer "Hard Light"
9. Layers-Merge-Merge Down
10. Effects- Plugins Eye Candy
5 Impact- perspective shadow and chooce my /Preset
''passion_fruits_perps''
11. Layer - New raster layer.
12 Material Properties: Foregroundcolor:#ffffff
13. Selections - load/save selection - load selection from disk and choose ''passion_fruits_1''. Flood Fill tool: Fill the selection with #ffffff (click 3 times in
selection)
14. Selections - Deselect all
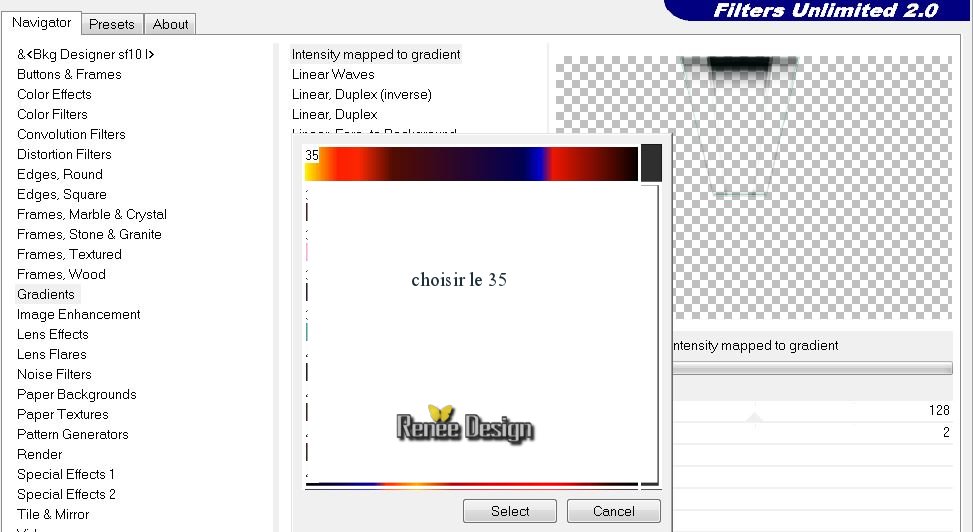
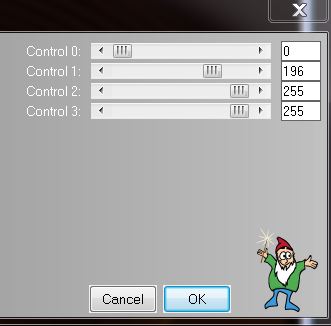
15. Effects -Plugins Unlimited
- Gradients/ Intensity mapped to gradient - in the menu: Take 35
16. Activate the bottom layer in your layer palette raster 1 ( fond)
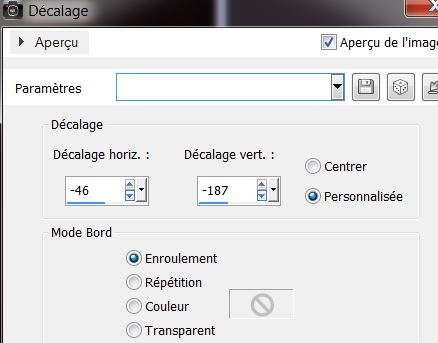
17. Selections-Custom selection with these settings
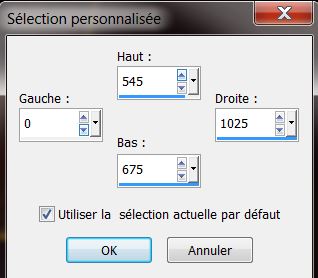
18. Selections- Promote selection to layer
Keep select
19. Layers-Arrange-Bring to Top
20. Effects- Plugins L and K's
-Mayra
21. Image Rotate Right (all the work rotates)
22. Effects -Plugins L an K's -Mayra -(still in memory)
23.Image Rotate Left
24. Selections - Deselect all
25. Effects - Plugins Toadies -
What are you 75/15
26. Blend Mode on this layer" luminance (Legacy)
and the opacity down to 50 %
27. Layer - New raster layer.
28. Selections - load/save selection - load selection from disk and choose ''
passion_fruits_2'' Flood Fill tool: Fill the selection with white #ffffff
29. Selections - Deselect all
30. Layer - New raster layer.
31. Open the Brush "pinceau
''passion_fruit_pinceau_1" /File-Export -Custom Brush place the brush like in screen below
(Properties foreground: Black is your foregroundcolor )
32. Layer - New raster layer.
33. Open the Brush "
''passion_fruit_pinceau_2" /File-Export -Custom Brush place the brush twice like in screen below
(position to the left )
Size Brush 185 (Properties foreground: Close the black color and swap colors / WHITE is your foregroundcolor)


34. Layers - New Raster Layer
35. Selections - load/save selection - load selection from disk and choose "
passion_fruits_3''
Flood Fill Tool: Fill the selection with White and click 5 to 6 times in the selection
36. Opacity of the layer down to70%
37. Selections - Deselect all
38. Effects - Plugins EyeCandy 5 Impact - Motion
Trail and choose my Preset ''passion_fruits_motion trail''
39. Layers - New Raster Layer
40. Properties foreground: WHITE is your foregroundcolor
41. Selections - load/save selection - load selection from disk and choose
''passion_fruits_4''
42. Paint settings :Normal mode but the Opacity down to 60.
Fill the selection / repeat 1x
43. Selections - Deselect all
Blend Mode on this layer "Hard Light"
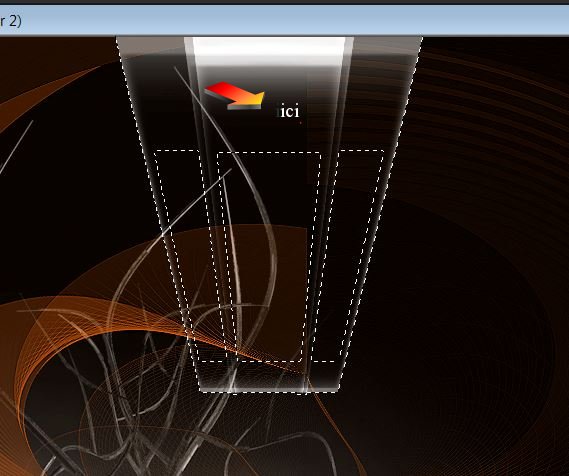
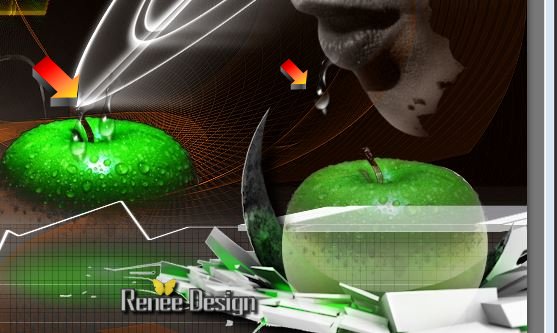
44. Open the tube ''kryssurealisme-16-11-13''
be placed on a copy of Raster 3 -image rezise
75 % /Edit/ copy- Edit/ paste as new layer and place. Blend Mode on this layer" luminance (Legacy)
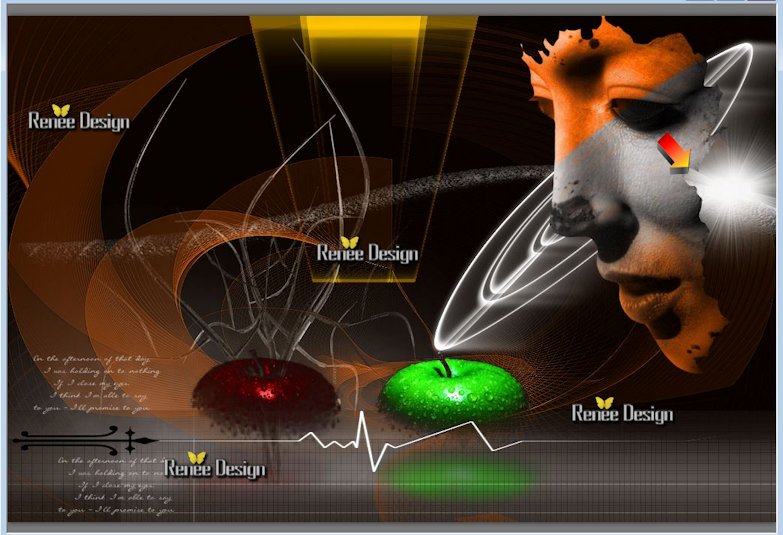
The arrow shows you where to place the tube
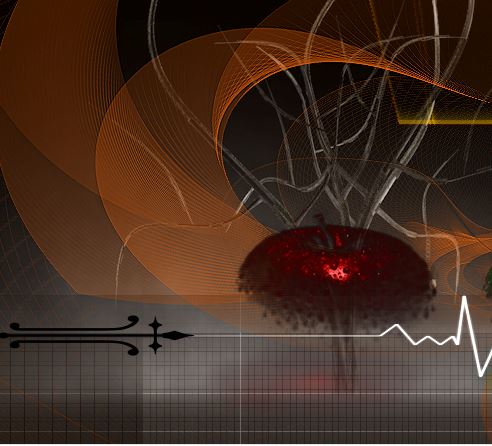
Your work is like this right now
45. Open the tube ''passion_fruits_barre''
Edit copier /Edit/ copy- Edit/ paste as new layer
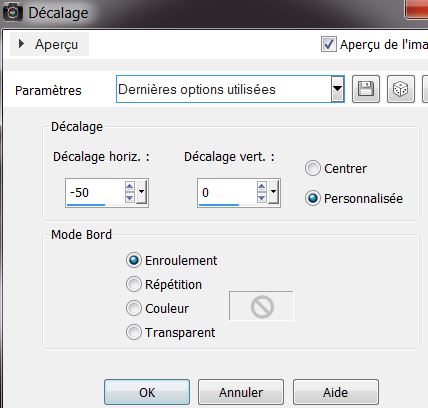
46. Effet - Image Effects-Offset
47. Effects - Plugins EyeCandy5 Impact - extrude -and choose my
Preset '' passion_fruits_extrude''
48. Open the tube ''
passion_fruits_cassure'' Edit/ copy- Edit/ paste as new layer and place on the right
49. Layers - New Raster Layer
50. Selections - load/save selection - load selection from disk and choose
''passion_fruits_5''
51. Flood Fill Tool: Fill the selection with this color: #2fe00f
Keep select
52. Layers - New Raster Layer. Flood Fill Tool: Fill the selection with this color: #a2292b
53 Selections - Deselect all
54. Effects - Image Effects- Offset
55. Layers-Merge-Merge Down
56. Blend Mode on this layer"Hard Light" and the opacity down to 51%
57. Open the tube
''passion_fruits_image_pommes'' Edit/ copy-(pomme) Edit/ paste as new layer and
place like this

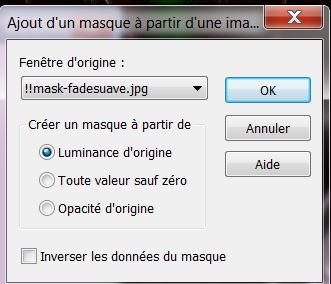
58. Layers-New mask layer from image and open mask
''!!!mask-fadesuave.jpg''
59. Layers-Merge-Merge Group
60. Blend Mode on this layer "Dodge" and the opacity down to 79%
We're going to dress up your work
61. Open the tube
''tube_deco_pour_passion_fruits'" Edit/ copy- Edit/ paste as new layer and place
62. Open the tube ''goutte_eau '' Edit/ copy- Edit/ paste as new layer and place. Duplicate the tube and place back
63. Layers -Merge-Merge 2 times down
(for one drop)
64. Open the tube ''goutte_rouge et goutte_verte
/ Edit copier /Edit/ copy- Edit/ paste as new layer and place >see Example
65. Open the tube ''etoile'' Edit copier /Edit/ copy- Edit/ paste as new layer and place.Duplicate and place to your own taste(Layers-Merge-Merge Down( the layers stars in 1 layer)
66. Layers-Merge- Merge- Visible
67. Image - add borders symmetric 5
pixels white
68. Layers-Duplicate
69. Image -Resize 26% Resize all layers not checked
70. Blend Mode on this layer" Exclusion"-
and the opacity down to 70%
71. Effects - Image Effects-Offset
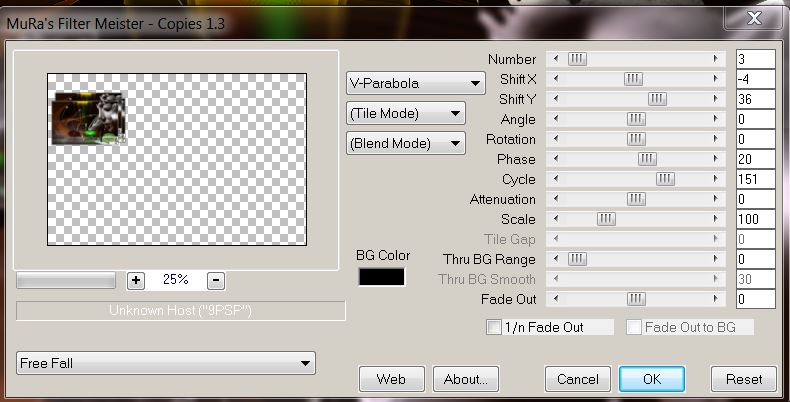
72. Effects - Plugins Mura's Meister
Copies
73. Open the tube
''tube_deco_pour_passion_fruits''Edit/copy-Edit paste as a new layer and place
74. Open the tube
'etoile'' Edit/copy-Edit paste as a new layer. Duplicate 2 x en place above the small frame
75 Layers-Merge-Merge visible
76. Image - add borders symmetric 5 black
77. Image - add borders symmetric 60 pixels white
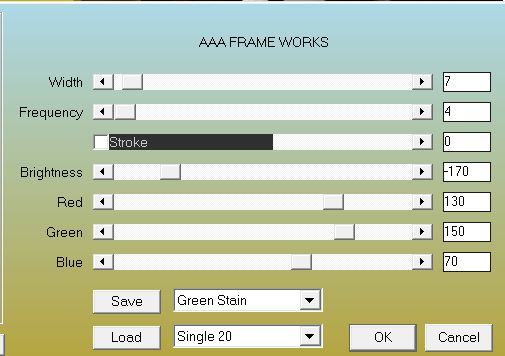
78. Effects - Plugins AAA
Frame works
79. With this font ''Burgues script "write the title or paste mine
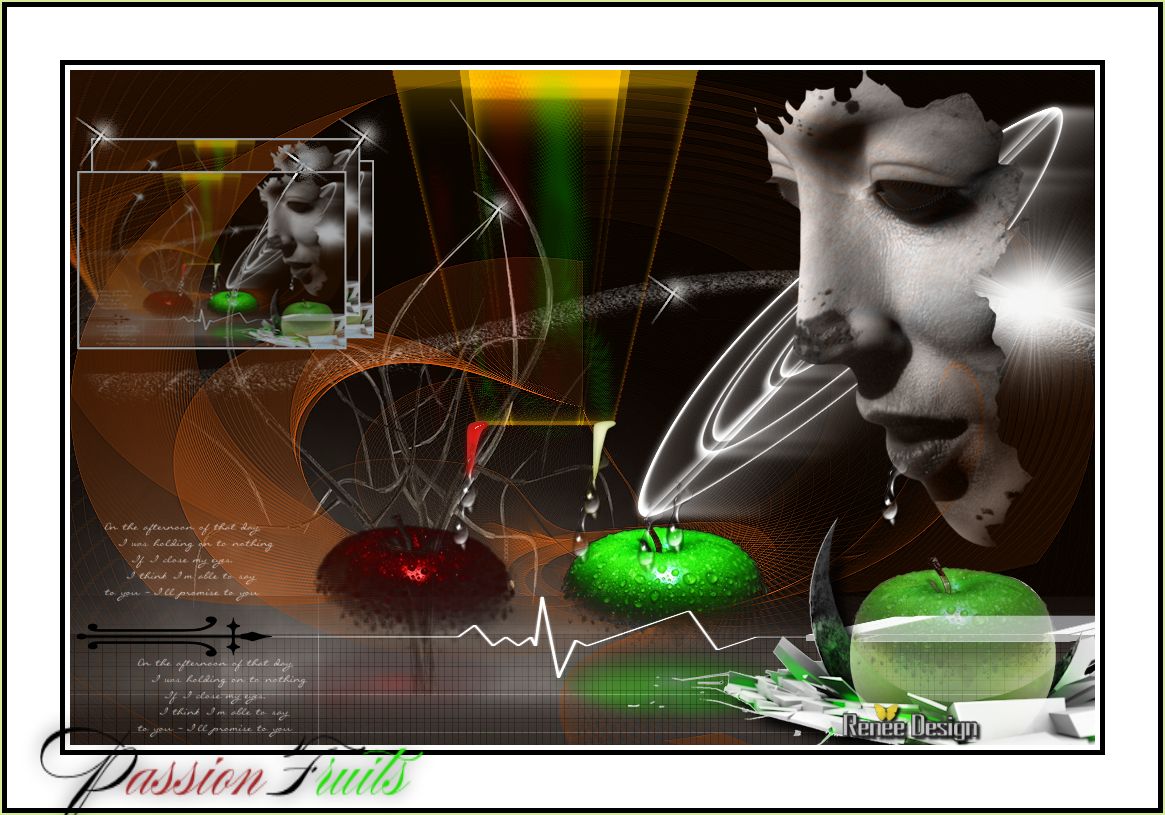
That's it !! You've done it !
Renée
This lesson was written by Renée the 17/11/2013
Created the
le 21/11/2013
Any resemblance with an existing lesson is merely a coincidence
Don't forget to thank the people who work for us and with us. I named the tubeurs - Testers and the translators.
Thanks Renée

| 

 Translation