|
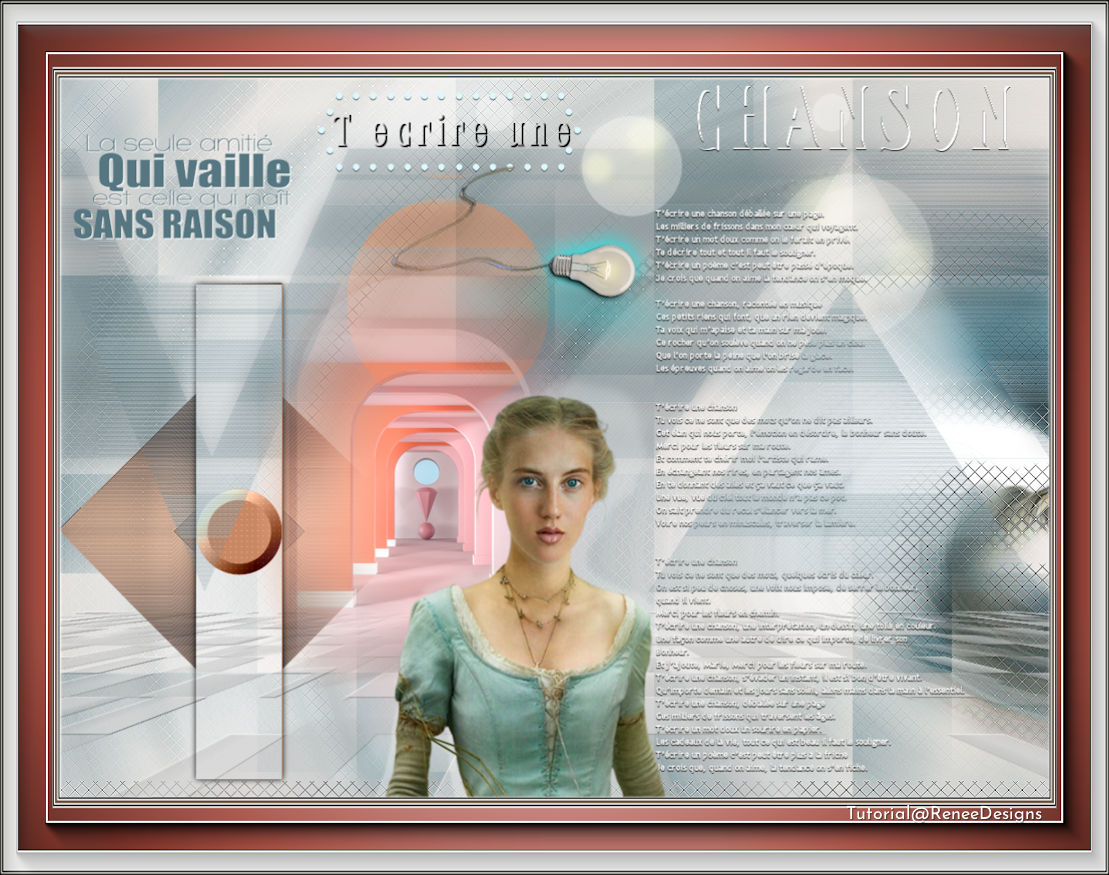
Let's start tutorial MARIE 55
Tutorial in honor of my friend Marie 55 who left us too soon
The song that brought us together despite the distances

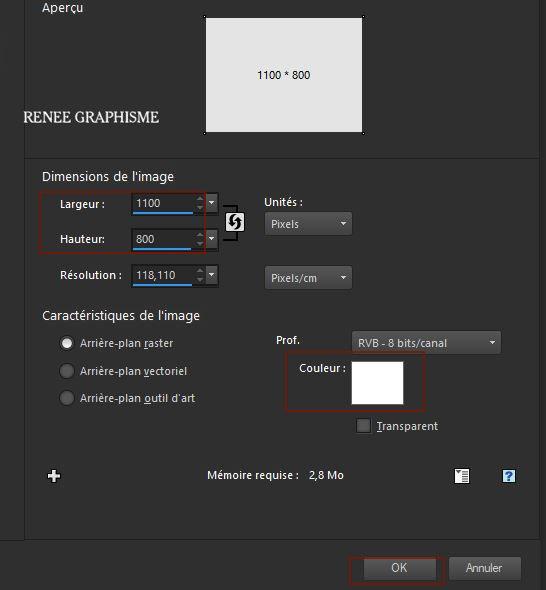
1. File - New - choose color white - 1100 x 800 right mouse click in the color box-
Promote Background Layer = Raster 1
2. Open the tube
‘’ Renee-TUBES-4-Mars2021.pspimage’’
-Edit - Copy- Activate your work -Edit - Paste as a new layer
3. Effects- Image Effects- Seamless Tiling using the default settings
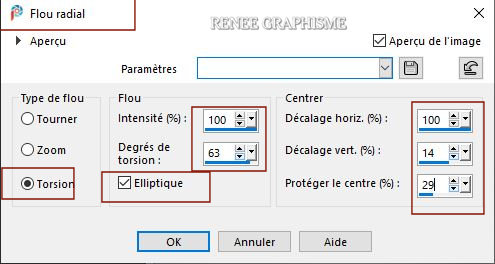
4. Adjust-Blur-Radial Blur use the settings below
5. Adjust-Sharpness-Sharpen More
6. Layers- Merge- Merge Down
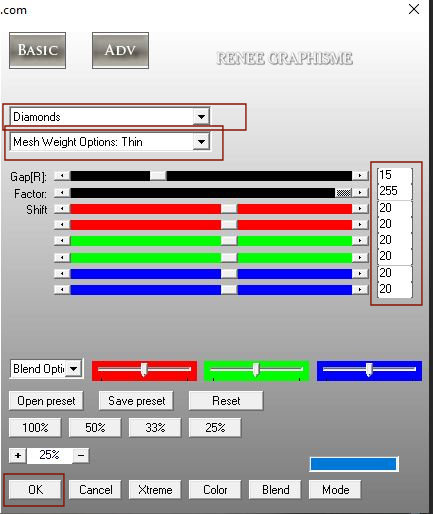
7. Effects- Plugins- AP[Distort] Distort – ShiftMesh use the settings below
8. Effects – Edge Effects – Enhance
9. Layers- New Raster Layer
- Preparation
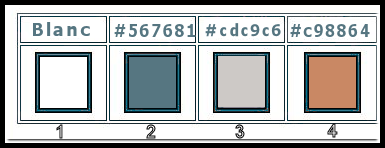
- Material Properties: Set your foreground color to color #cdc9c6=3 – Set your background color to color #567681= 2
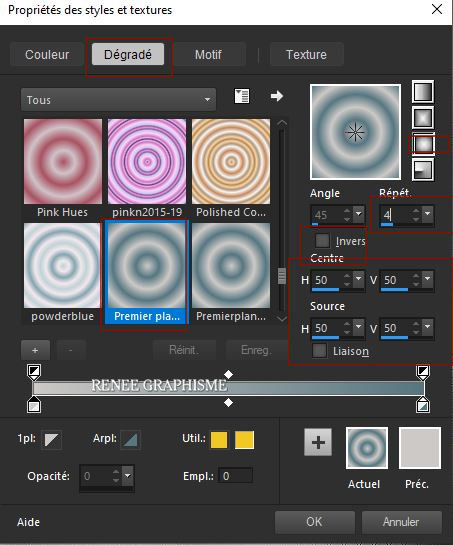
- Set your Foregroundcolor to foreground-background sunburst gradient configured like this
10. Flood Fill Tool
 –Fill the layer with the gradient –Fill the layer with the gradient
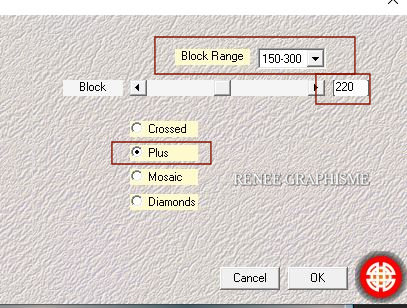
11. Effects- Plugins – Medhi – Sorting Tiles use the settings below
12. Layers-Properties-Change the Blend Mode to "Overlay"
13. Layers- New Raster Layer
14. Activate Selection Tool -Custom Selection (S) -Rectangle with these settings 

15. Flood Fill Tool
-
Opacity 42% – Fill the selection with the BG-Color= 2
Selections- Deselect All
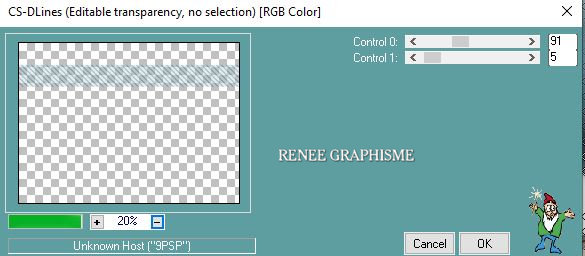
16.Effects – Plugins– Carolaine & Sensibilty- CS-DLines use the settings below
17. Effects-Pugins-
Unlimited 2.0 - It@lian Editors Effect - Effetto
Fantasma 94/0
18. Effects – Plugins – FM Tile Tools – Blend Emboss/ using the default settings
- Repeat this filter once with the default settings
19. Effects – Plugins – Toadies – What are you 20/20
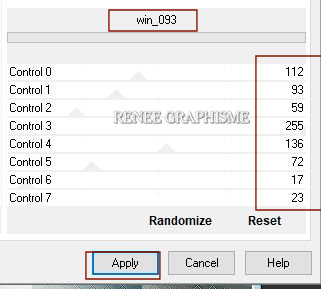
20. Effects -Plugins-
Unlimited 2.0 - [AFS IMPORT]- win_093 use the settings below
21. Layers- Duplicate
22. Image - Mirror - Mirror vertical ( Image - Flip in older versions of PSP)
23.
Pick Tool: (K) on your keyboard -Enter these parameters for the X and the Y positions on the Toolbar
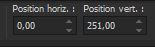 0/
251 0/
251
Press ( M ) to close the Pick Tool
24. Layers- Merge- Merge Down
25.
Selections –load/save selection –load selection from disc and select my selection: ‘’marie55-
sel 1’’
26. Edit – Cut !!!!!
27. Edit - Paste as a new layer
Selections- Deselect All
- Activate the layer underneath=( Raster 3)
28. Effects- 3 D-Effects-Drop Shadow with these settings: 0/0/ 65/32 Color Black
29. Open the tube -‘’Renee-TUBES_Marie55- Image1’’ -Edit - Copy- Activate your work -Edit - Paste as a new layer
30. Pick Tool: (K) on your keyboard -Enter these parameters for the X and the Y positions on the Toolbar
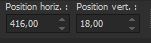 416
/ 18 416
/ 18
31.Open the tube ‘’
Renee-TUBES_Marie55- Image2.pspimage’’ -Edit - Copy- Activate your work -Edit - Paste as a new layer
32. Pick Tool: (K) on your keyboard -Enter these parameters for the X and the Y positions on the Toolbar
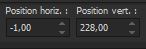 -1
/ 228 -1
/ 228
Do not add a new layer
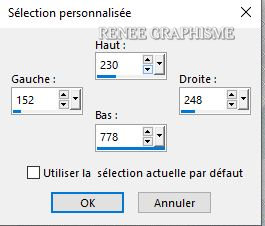
33. Activate Selection Tool -Custom Selection (S) -Rectangle with these settings
34. Color Palette-Set the FG-Color to Color #c98864=4
Flood Fill Tool –Opacity 100% – Fill the selection with the FG-Color=4
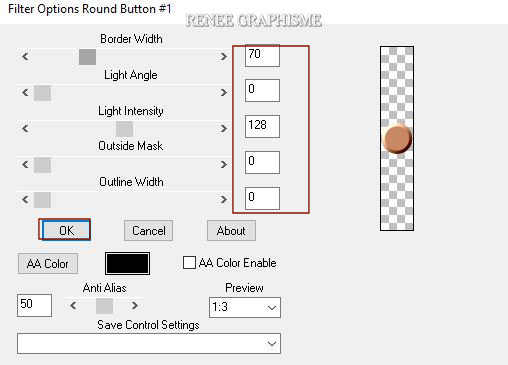
35. Effects – Plugins – BorderMania – Round Button #1 with these settings
36. Effects- Plugins - Carolaine & Sensibility – CS-LDots with these settings:
50/3/2
37. Effects- 3 D-Effects-Drop Shadow with these settings: 0/0/100/10 Color Black
Selections- Deselect All
38.Open the tube ‘’Renee-TUBES_Marie55- Image3’’ -Edit - Copy- Activate your work -Edit - Paste as a new layer
-Pick Tool: (K) on your keyboard -Enter these parameters
-(For Renée)
 305/
9 305/
9
39.Open the tube ‘’Renee-TUBES_Marie55- Image4.’’ -Edit - Copy- Activate your work -Edit - Paste as a new layer
- With your move tool place it to the right place (see finished image)
- Activate the top of the layer palette
40. Layers-New Raster Layer
41.
Selections –load/save selection –load selection from disc and select my selection: ‘’marie55-
sel 2’’
42. Flood Fill Tool
–
Fill the selection with the Background Color= 2
Selections- Deselect All
43. Effects- 3 D-Effects-Drop Shadow with these settings: 1/1/100/1 Color WHITE
- In the Layer Palette-Activate Raster 2
44. Layers- New Raster Layer
45. Color Palette-Set the FG-Color to Color #ffffff=1
Flood Fill Tool –
Opacity 65% - Fill the layer with the FG-Color =1
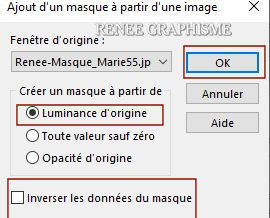
46. Layers- New Mask Layer-From Image and select Mask
‘’Renee-Masques-Marie 55’’
- Layers- Merge- Merge Group
47. Effects –Plugins-
Unlimited 2.0 - VM Texture- Tiles a GoGo using the default settings
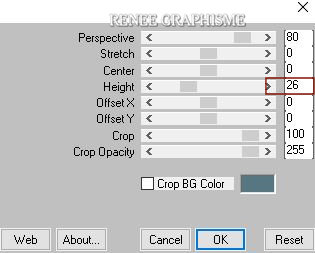
48. Effects –Plugins– Mura’s Meister – Perspective Tiling use the settings below
49. Effects- 3 D-Effects-Drop Shadow with these settings: 1/1/55/1 Color Black
- Activate the top of the layer palette
50.Open the tube ‘’Renee-TUBES_Marie55- Image5’’ -Edit - Copy- Activate your work -Edit - Paste as a new layer
51. Pick Tool: (K) on your keyboard -Enter these parameters for the X and the Y positions on the Toolbar 220
/189 220
/189
52.Open the tube ''Renee-TUBES-5-Mars2021.''Activate raster 2 of the tube -Edit - Copy- Activate your work -Edit - Paste as a new layer
- With your move tool place it to the right place (see finished image)
53. Image - Add borders-Symmetric checked: 1 Pixel BG-Color=2
EDIT
-COPY!!!!
54. Open the tube " Cadre/Frame " in your Psp
55. With your Magic Wand,(add shift) – Feather 3 – Select the inside of that frame.
56. Layers- New Raster Layer
-
Edit- Paste Into Selection / (Image is still in your PSP memory)
Selections-Deselect All
57.Layers- Arrange- Move Down
58.Layers- Merge Merge All (flatten)
59. Image –
Resize 90%
Sign your work on a new layer.
Add, if you want, the watermarks of the author
I hope you enjoyed this lesson
Renée
This lesson was written by Renée
15/02/2021
Edited and Update
2021
*
Any resemblance with an existing lesson is a coincidence
*
Do not forget to thank the people who work with us and for us
I have appointed the tubeurs and translators
Thanks
*
|

 Translations