|
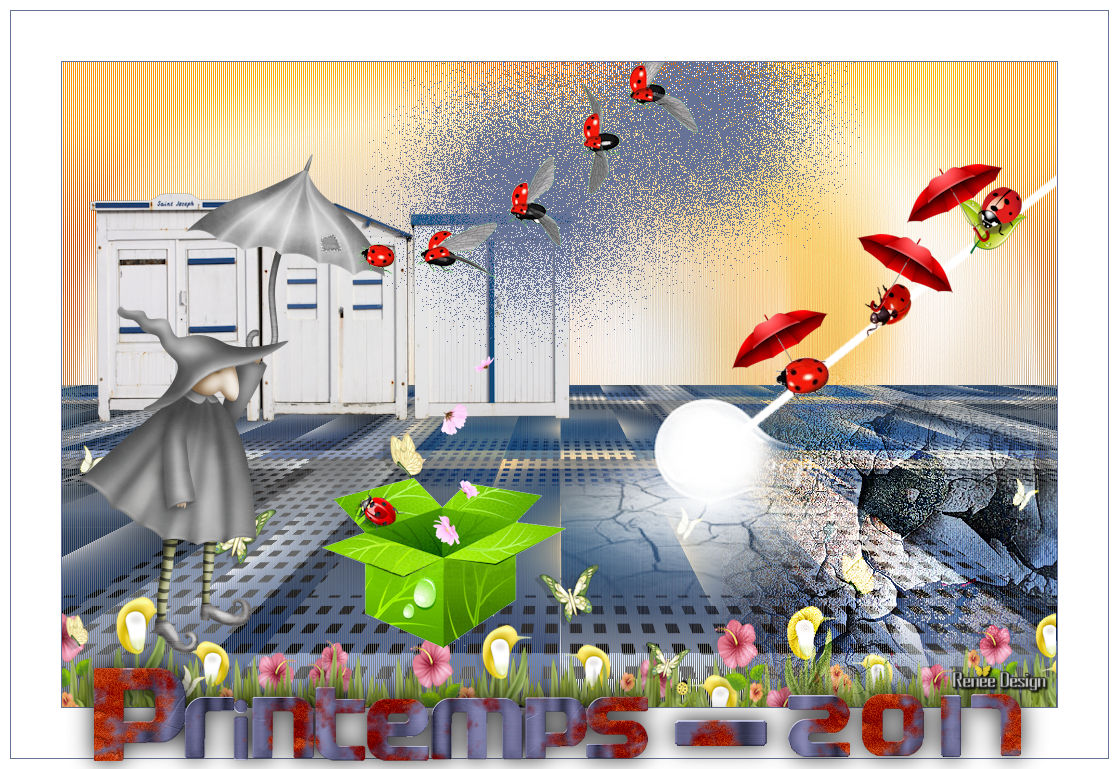
Let's start the lesson (Spring 2017) Printemps _ 2017

- Color Palette- Set your foreground color to #667396 - Set your background color to #ffffff
-
Mask: Put the Masks in your Mask folder
1.
Open Image ‘’fond_printemps_2017’’- Window - Duplicate (or shift+D) - Close the original and proceed on the copy -Promote Background Layer = Raster 1
2.
Layers- New Raster Layer
3.
Activate Flood Fill Tool and fill the layer with the background color #ffffff
4.
Layers-Maske- Load/Save Mask -Load Mask From Disk and choose ‘’ Nara_mask_0600 ‘’
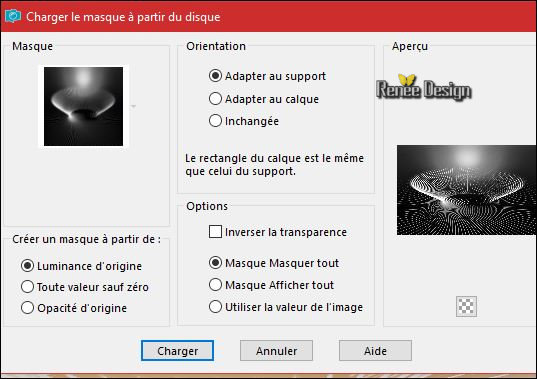
-
Effects- Edge Effects- Enhance More
-
Layers- Merge- Merge Group
5.
Effects –Plugins – Simple – Left right
warp
6.Layers- Merge- Merge Down
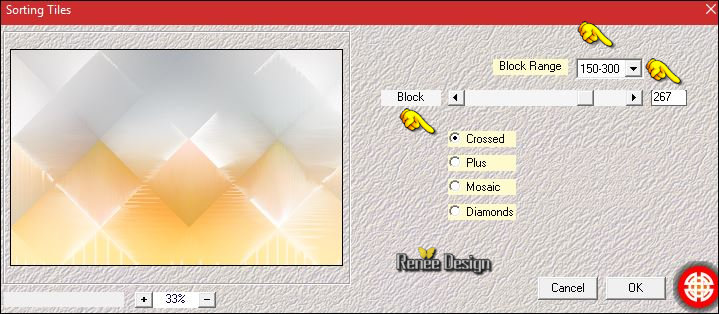
7. Effects –Plugins – Medhi – Sorting Tiles (attention
patched Filter)
8.
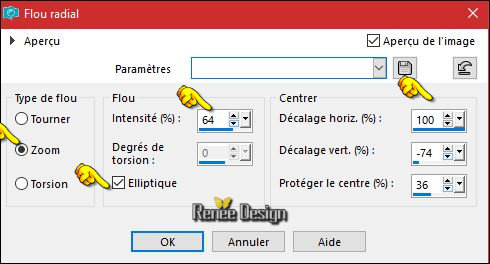
Adjust- Blur- Radial Blur use settings below
9. Layers- Duplicate
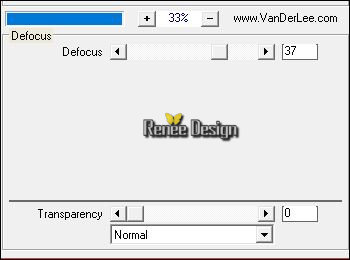
10. Effects
–Plugins - Vanderlee Unplugged X -
Defocus
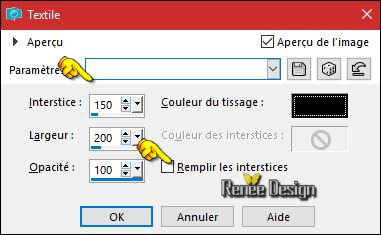
11. Effects
Texture Effects -Weave - Color black
12. Effects
– Plugins – L & K’s / Sanne 115 /0
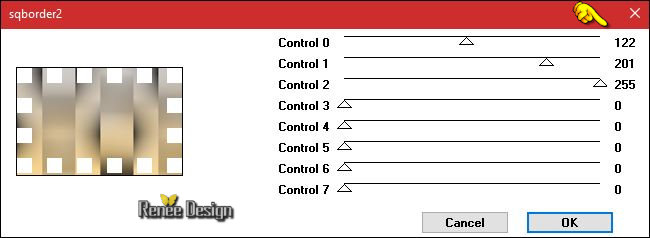
13. Effects
–Plugins -Unlimited AFS [IMPORT] –sqrborder2
14. Effects
–Plugins – Mock – Window using the default settings
128/216/25/25/25/25
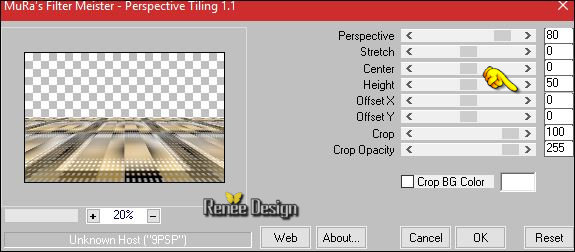
15. Effects
–Plugins -Muras’s Meister – Perspective Tiling
16.
Layers-Properties-Set the Blend Mode to "Exclusion"
- -Activate the bottom layer in the layer palette =Raster 1
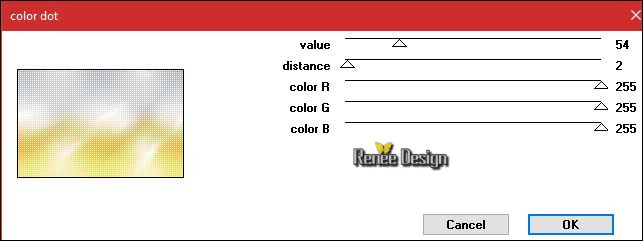
17. Effects
–Plugins – Penta Com - Color Dot
18. Layers- Duplicate
19. Image
Flip (CTRL+I)
20. Effects
–Plugins– Distort – Twirl
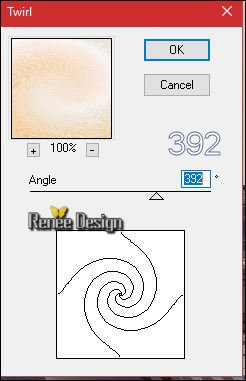
- Stay on this Layer
21. Effects
–Plugins – L&K’s – Sanne 73/0
22. Effects- Edge Effects- Enhance More
- Activate the top layer in the layer palette
23. Open the tube’’Renee_tubes_tutoriel_Printemps_2017’’
For decorate work (
Do not close we need it later for the rest of the work (some are hidden layers to lighten the weight of the tube simply open)
- Activate the layer ‘’cabine _plage ‘’of the tube
-
Edit - Copy- Activate your work -Edit - Paste as a new layer
-
Move Tool / place your tube on the left side of your image
24. Activate the layer
’’ bordure _Tapis_fleurs’’of the tube
- Edit - Copy- Activate your work -Edit - Paste as a new layer
Move Tool / place your tube to the bottom of your image
25. Activate the layer ’’rocs’’of the tube
- Edit - Copy- Activate your work -Edit - Paste as a new layer
-With the move tool, move it in the bottom right corner
26. Activate the layer ‘’ampoule ‘’of the tube
- Edit - Copy- Activate your work -Edit - Paste as a new layer
Move tool: place the tube as shown in the example below

27. Layers- New Raster Layer
28.
Selections –load/save selection –load selection from disc and select my selection: ‘’ Printemps_2017’’
29. Activate Flood Fill Tool and fill the selection with the background color #ffffff
Selections- Deselect All
- Color-Palette:colors from the beginning #667396 and #ffffff
30. Layers- New Raster Layer
31.
Selections –load/save selection –load selection from disc and select my selection: ‘’Printemps_2017_1’’
32. Activate Flood Fill Tool and fill the selection with the foreground color #667396
33.
Layers-Properties-Set the Blend Mode to "Dissolve"
Selections- Deselect All
Back on tube ’’Renee_tubes_tutoriel_Printemps_2017’’
34. Activate the layers "coccinelles –parapluie "
Edit - Copy- Activate your work -Edit - Paste as a new layer
- Place to your taste
35. Open the tube ’’SunnyScrap_FairyTale_El08.pspimage’’
- Edit - Copy- Activate your work -Edit - Paste as a new layer -Move Tool / place your tube on the left side of your image
36. Activate the layer
‘’ boite verte ‘’of the tube
- Edit - Copy- Activate your work -Edit - Paste as a new layer -Move Tool / place your tube in the right place
37. Activate the layer
‘’vol de coccinelles ‘’of the tube
- Edit - Copy- Activate your work -Edit - Paste as a new layer
-With the move tool, move it in the right place
Then you are sure that it is in the right place?
38. Image - Add borders-Symmetric checked: 1 pixel #667396 (FG-Color )
39. Image - Add borders-Symmetric checked: 50 pixels #ffffff
40. Image - Add borders-Symmetric checked: 1 pixel #667396
41. Image - Add borders-Symmetric checked: 10 pixels #ffffff
Open the tube ‘’ titre " Edit - Copy- Activate your work -Edit - Paste as a new layer- Or write your own text ( Alphabet in zip file )
Save as JPG
I hope you enjoyed this lesson
Renée
This lesson was written by Renée 15/01/2017
Edited and Update
2017
*
Any resemblance with an existing lesson is a coincidence
* Do not forget to thank the people who work with us and for us I have appointed the tubeurs and translators
Thanks Renée *
*
| 
 Translations


 If a plugin supplied appears with this icon it must necessarily be imported into Unlimited *

 All rights reserved