|
Let's start the lesson.
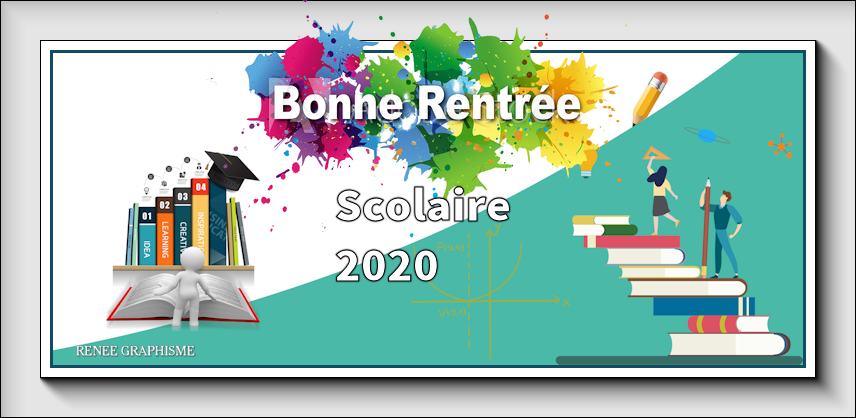
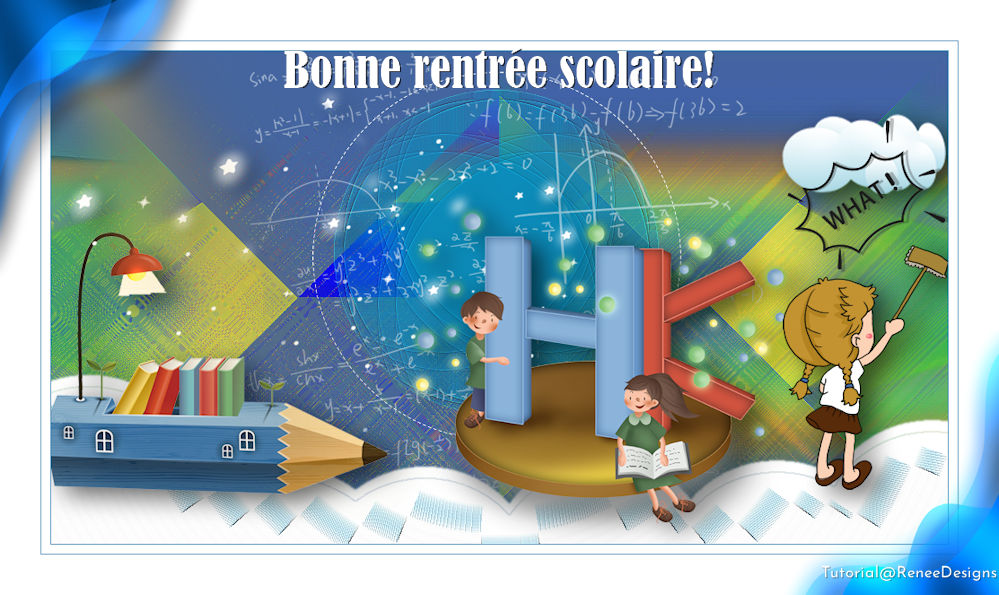
Rentrée scolaire
2020/Back to School
- Preparation
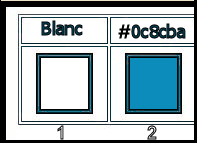
- Material Properties: Set your foreground color to color #ffffff= 1 – Set your background color to color #0c8cba=2
1. Open the Background Image
‘’Fond-rentree2020’’ - Promote Background Layer =Raster 1
2. Effects –Plugins-
Unlimited 2.0 – Simple – Pizza Slice Mirror
3. Effects – Edge Effects – Enhance
3a. Repeat - Effects
–Plugins- Unlimited 2.0 – Simple – Pizza Slice Mirror
4. Layers- Duplicate
5. Effects –Plugins-
Unlimited 2.0 – [AFS Import ] Xaggerat: 101/97 the rest remains 0
6. Layers-Properties-Change the Blend Mode to " Hard Light " and Lower the Opacity to 42%
7. Layers- New Raster Layer
8.
Selections –load/save selection –load selection from disc and select my selection: ’’Rentree-scolaire 2020-1’’
9.Flood Fill Tool
 -
Fill the selection with color #ffffff -
Fill the selection with color #ffffff
Selections- Deselect All
10. Layers- Duplicate
11. Effects –Plugins-
Unlimited 2.0 - Filter Factory Gallery H – Zoom Blur with these settings:
14/9
12. Effects- Edge Effects- Enhance More
13. Layers-Properties-Set the Blend Mode to " Multiply "
- In the layer-palette- activate the layer underneath
14. Effects– 3 D Effects- Drop Shadow with these settings: – 13/ 0 /100 /2 Color WHITE
- Activate the top layer in the layer palette
15. Layers- Merge- Merge Down
16. Repeat: Effects– 3 D Effects- Drop Shadow with the same settings
17. Open the tube ‘’Rentree-scolaire2020-Image 1’’ -Edit - Copy- Activate your work -Edit - Paste as a new layer . Do not move it is in the right place
18. Layers- Arrange- Move Down
19. Objects –Align- Center in Canvas
(to see if it's still in the right place)
- Activate the bottom layer in the layer palette = Raster 1
20. Layers- New Raster Layer
21. Selections –load/save selection –load selection from disc and select my selection: ’’Rentree-scolaire 2020-2’’
22. Flood Fill Tool
-Fill the selection with the Background color =2
23. Effects –Plugins-
Unlimited 2.0 - Filter Factory Gallery J- Drink To Me -Overdose
at 84
- Repeat: Effects –Plugins-
Unlimited 2.0 - Filter Factory Gallery J- Drink To Me -Overdose at 15
Selections- Deselect All
24. Effects- Edge Effects- Enhance More
25. Layers- New Raster Layer
26. Selections –load/save selection –load selection from disc and select my selection: ’’Rentree-scolaire 2020-3’’
27.Flood Fill Tool
-
Fill the selection with the Foreground color #ffffff
Selections- Deselect All
28. Layers- Duplicate
29. Layers- Merge- Merge Down
-To replace the top of the layer-palette
30. Open the tube ‘’Rentree-scolaire-2020TUBES_TUTO’’ -Edit - Copy- Activate your work -Edit - Paste as a new layer
31. Pick Tool: (K) on your keyboard -Enter these parameters for the X:-105 and Y: -26 positions on the Toolbar
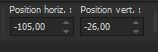 -105
/ - 26
-105
/ - 26
Press ( M ) to close the Pick Tool
32. Effects– 3 D Effects- Drop Shadow with these settings: 9/14/62/39 Color Black
33. Image - Add borders-Symmetric checked: 1 Pixel Color #0c8cba=2
34. Image - Add borders-Symmetric checked: 10 Pixels Color #ffffff=1
35. Image - Add borders-Symmetric checked: 1 Pixel Color #0c8cba=2
36. Image - Add borders-Symmetric checked: 45 Pixels Color #ffffff=1
37. Open the tube ’’ Rentree-scolaire2020 Image 2’’- Edit - Copy- Activate your work -Edit - Paste as a new layer . Do not move it is in the right place
38. Activate the tube "Titre/Text "/Edit/copy-Edit paste as a new layer on your working area / Or write your own text
39. Layers- Merge- Merge All
40. Image -Resize to 999 Pixels width.
Save as JPG file and you're done!
I hope you enjoyed this lesson
Renée
This lesson was written by Renée 05/07/ 2020
Edited and Update
in 2020
*
Any resemblance with an existing lesson is a coincidence
*
Do not forget to thank the people who work with us and for us I have appointed the tubeurs and translators
Thanks
*
|
 Translations