|
Rentrée scolaire 2018 _version 2
- Preparation/ Material Properties: Set your foreground color to #d5fffb - Set your background color to #00a3d7
1.
Open the Image ‘’Fond_rentree2018_version2’’ – Window - Duplicate (or shift+D) - Close the original and proceed on the copy -Promote Background Layer =Raster 1
2.
Effects- Plugins - Medhi – Sorting Tiles use the settings below
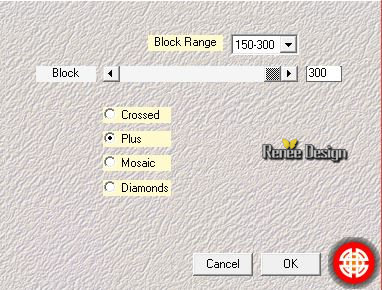
3.
Effects- Edge Effects- Enhance (repeat 1x )
4.
Layers- Duplicate
5. Image Rotate Right
6.
Effects –Plugins - Unlimited 2.0 – Toadies – Weaver: 45/45/ 255
7.
Image - Rotate Left
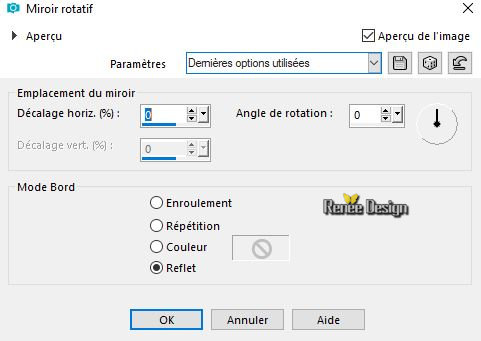
8.
Effects- Reflection Effects- Rotating Mirror with these settings
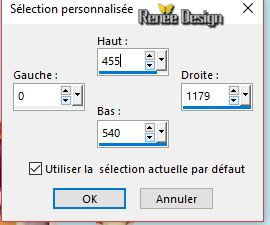
9.
Activate Selection Tool -Custom Selection (S) -Rectangle with these settings
10.
Effects – Plugins -Unlimited 2.0- ICNETFILTERS - Buttons &
Frames-3D Glass Frame 2 : 145/128
11.
Effects- Texture Effects- Weave use the settings below-( FG/BG-Colors )

12.
Effects -Plugins – Mura’s Meister – Perspective
Tilling using the default settings
12a.
Selections- Promote selection to Layer
13.
Effects - 3 D Effects -Drop Shadow with these settings (BG-Color
)
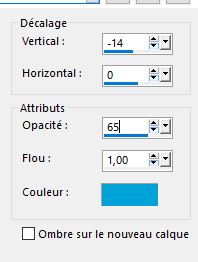
Selections- Deselect All
14.
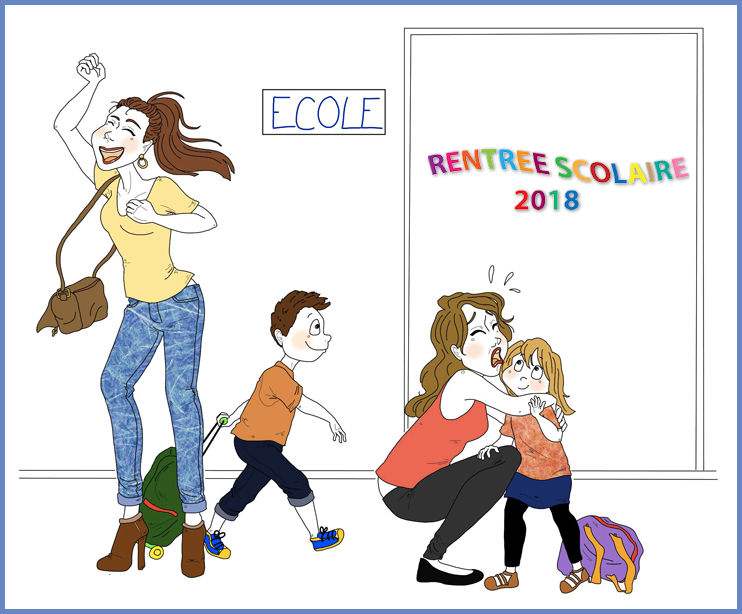
Activate the tube ‘’ Rentree_2018_tubes_DECOS’’
- Select / Select the first image
Edit - Copy- Activate your work -Edit - Paste as a new layer
-Move Tool (M) move it in the right place (see finished image )
Repeat the process for the other pictures.
15.
Image - Add borders-Symmetric checked 1 Pixel FG-Color
16.
Image - Add borders-Symmetric checked 10 Pixels BG-Color
17.
Image - Add borders-Symmetric checked 30 Pixels #ffffff
18.
Activate the "titre"-Edit - Copy- Activate your work -Edit - Paste as a new layer and move
19.
Layers- Merge- Merge All ( flatten)
Save as JPG
I hope you enjoyed this lesson
Renée
This lesson was written by Renée July 2018
Edited and Update
2018
*
Any resemblance with an existing lesson is a coincidence
*
Do not forget to thank the people who work with us and for us I have appointed the tubeurs and translators
Thanks
*
|

 Translations


 If a plugin supplied appears with this icon it must necessarily be imported into Unlimited *