|
Let's begin .
1. Aktivate the image:
''fond_rue_contraste'' /Promote Background Layer = Raster 1
2. Activate the
tube''mur_contraste_image_mur ''/Edit/copy -Edit/paste as a new Layer /Layer Palette: Change the Blend Mode to "Luminance (Legacy)
3. Aktivate your Paint Brush in PSP : ''RC-brushes1'' /File: Export-Custom Brush enter a name ''RC-brushes1''
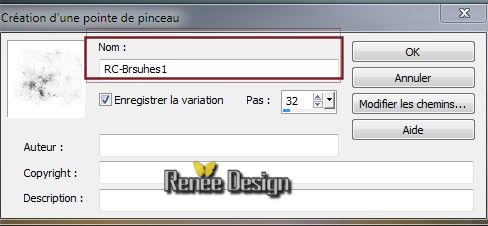
4. Layers - New Raster Layer
5. Material Properties: Foreground color to color:black /Aktivate your Paint Brush /Size 500
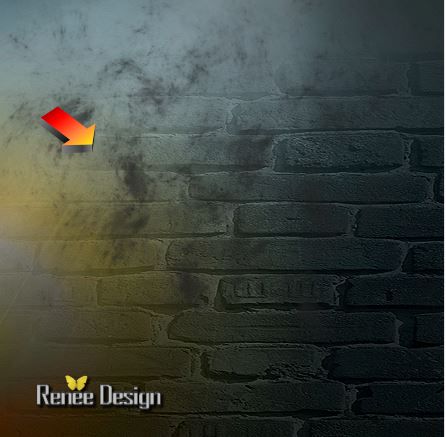
/stamp on the right side 2 or 3 x
Like this
6. Layers - New Raster Layer
7. Selections-Custom selection with these settings
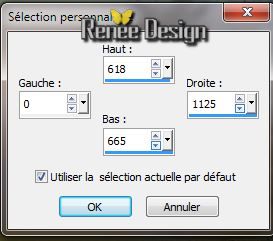
8. Flood Fill tool : Fill the selection with this color: #464542
9. Selections - Deselect all
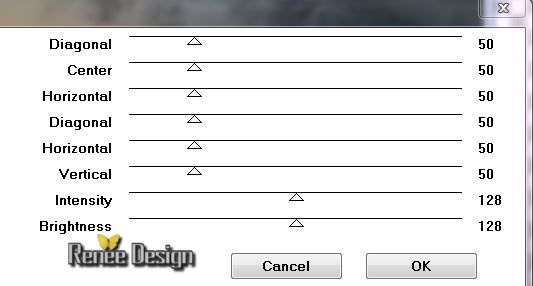
10. Effects-Plugins Modules
Externes -Graphic plus - Cross Shadow default
11. Adjust- Sharpeness -High Pass Sharpen 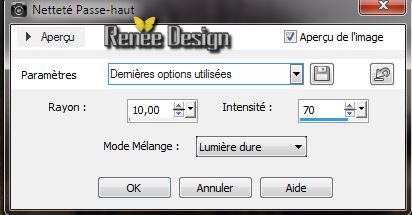
12. Effects Plugins - Eye Candy5 Texture - Texture Noise -Preset-
''rue_contraste_noise''
13. Activate the tube
''rue_contraste-sous_bassement '' /Edit/copy-Edit paste as a new layer
Layer-Palette: Change the Blend Mode to "Screen"
14. Effects - Image Effects-Offset H= 0 et V= -225
15. Effects -Plugins - Graphic Plus -Tinted Glass
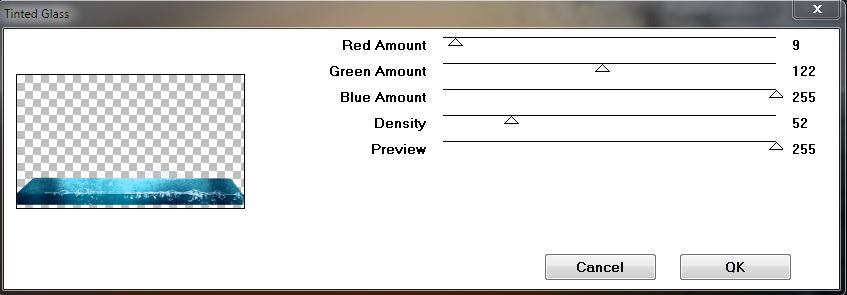
16. Layers - New Raster Layer
Materials-Properties: Foreground to color white
17. Aktivate your Paint Brush
''RC-Brushes1''with these setting

stamp like this
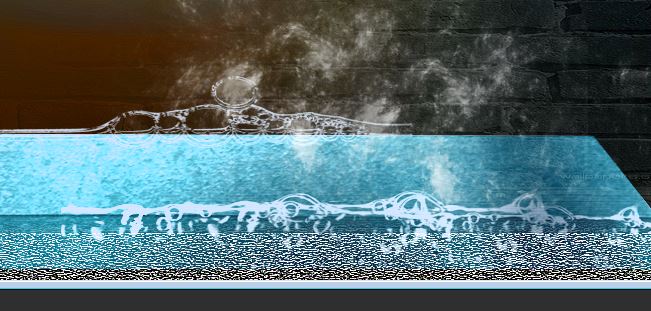
18. Activate the tube
''TReagen_3341'' - Edit/copy-Edit paste as a new layer
(do not move it is in the right place)
19. Activate the tube
''RC_image_eau_1'' / Edit/copy-Edit paste as a new layer and place
20.Effects- Edge Effects -Enhance More
Layer Palette: lower the opacity down to 87%
21. Activate the tube
''RC_pompe'' - Edit/copy-Edit paste as a new layer and place
22. Effects -
Plugins -Nick Color Effex Pro 3.0/ Bi Colo
Filters
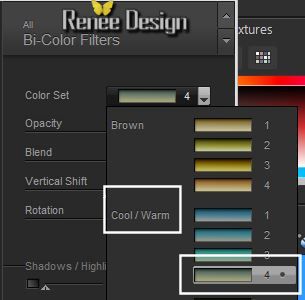 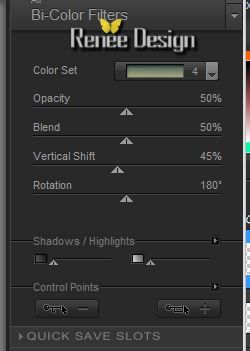
23. Activate the tube
''RC_coin'' - Edit/copy-Edit paste as a new layer and place - and place in the upper left corner
24. Layers -Duplicate
-Image Mirror -Layers-Merge-Merge Down - Change the Blend Mode to "Overlay"
25. Layers - New Raster Layer
26. Selections - load/save selection - load selection from disk and choose: ''RC_selection1''/Flood Fill Tool: fill the selection with color white
27. Selections - Deselect all
If you can not to create this effect open the tube ''Rc_eclat_lumiere'' Edit/copy-Edit paste as a new layer
28. Layers - New Raster Layer
29. Selections - load/save selection - load selection from disk and choose: ''RC_selection2''
30. Materials-Properties: Foreground to color white /Prepare a linear gradient fading foreground configured like this
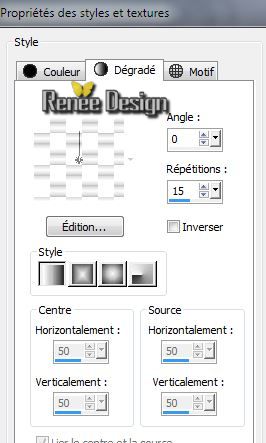
31. Flood Fill Tool: fill the selections with the gradient
32. Selections-Select none
33. Effects- 3D Effects
-Drop Shadow default
34. Layers - New Raster Layer
35. Selections-Custom selection with these settings
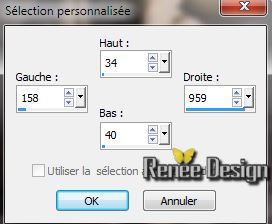
36. Flood Fill Tool: fill the selections whit color white(#ffffff)
-Selections-Select none
37. Effects -3D Effects - Inner Bevel / color white
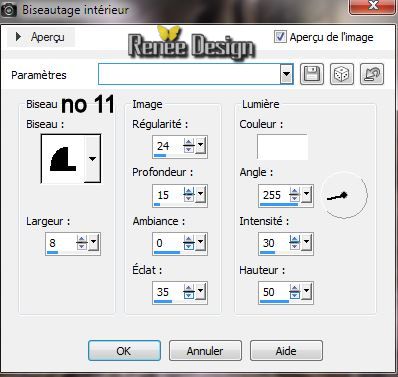
38. Layers-Duplicate
39. Effects -Plugins Unlimited
- &<BKG Designer sf10I>/ Circle Pede
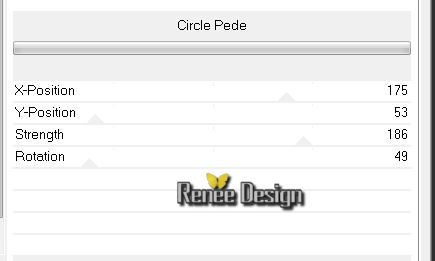
40. Back on the layer below (barre) .Layer-Palette: Change the Blend Mode to "Soft Light"
41. Activate the tube
''RC_Flamme '' /Edit/copy-Edit paste as a new layer and place
Layer-Palette: Change the Blend Mode to "Lighten"/Lower the opacity down to 75%
42. Activate the tube
''AC_Lumiere1'' /Edit/copy-Edit paste as a new layer
43. Effects - Image Effects- Offset
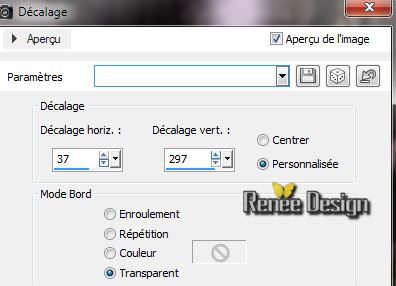
44. Effects - Plugins
Mura's Meister - Copies
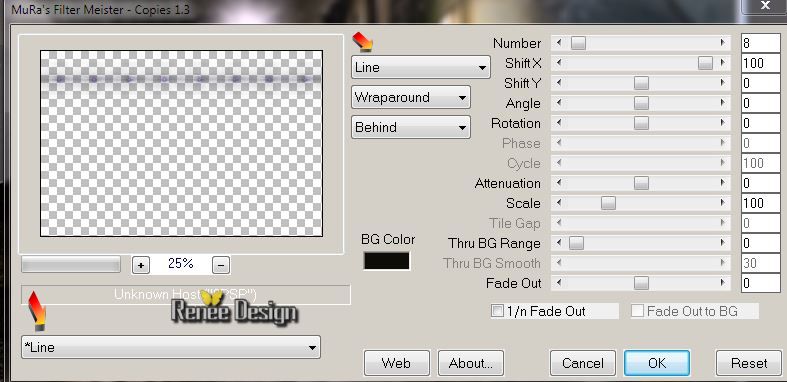
45. Layer-Palette: Change the Blend Mode to "Luminance"
46. Layers-Merge-Merge Visible
47. Activate the
tube''RC_grande_boule'' - /Edit/copy-Edit paste as a new layer
and place like this
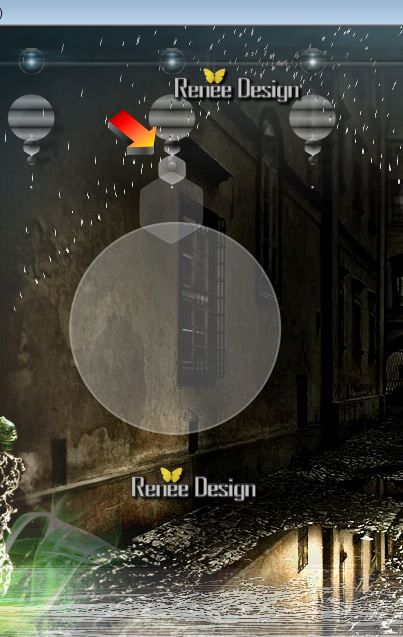
48. Activate the tube
''KRYSSURREALISME-07-03-2014-127. '' Image Resize 70% /
Edit/copy-Edit paste as a new layer and place
Layers-Arrange-Move Down
49. Aktivate the Eraser Tool: Erase the part of the cord and the balloon
50. Aktivate the Pen Tool: Foreground color to color white and choose my form ''Opposing
Arrowheads '' (Size 1) or another choice that you have placed in your file. Draw a line like this
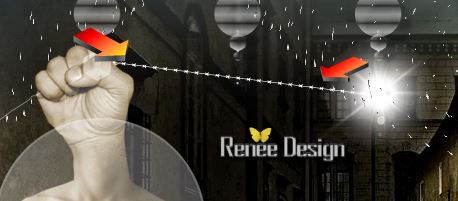
51. Convert to Raster Layer
Aktivate the top of the layer palette
52. Activate the tube
"RC_Flash'' - Edit/copy -Edit/paste as a new Layer and place like this
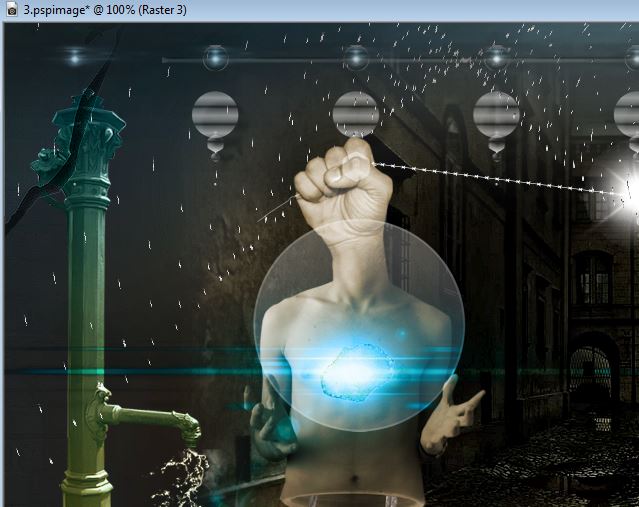
53. Effects -Plugins ICNET
Filters- Convolution Filters /Engraver (inverse)
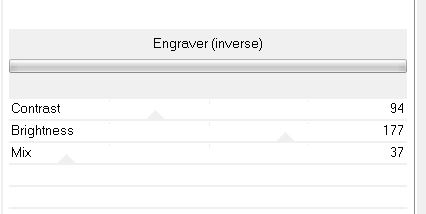
54. Activate the tube
''KRYSSUREALISME-08-03-2014-128'' /Image Resize 80%
- Edit/copy -Edit/paste as a new Layer and place
55. Aktivate Freehand Selection: Select the 4 parts of the window of his hat like this
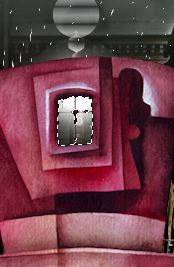
56. Remove with the Delete key on your keyboard 
57. Selections - Deselect all
Good place to see finished
58. Layers - New Raster Layer
59. Selections - load/save selection - load selection from disk and choose: ''RC_selection_3'' / Flood Fill Tool: fill the selection with color white
60. Selections - Deselect all
61. Effects -Plugins
Mura's Meister - Copies
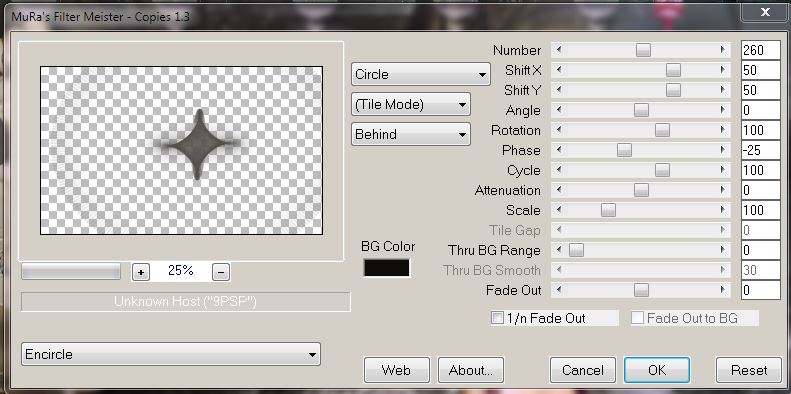
62. Layer-Palette: Change the Blend Mode to"Soft Light "
63. Layers - New Raster Layer''
Materials-Properties: Foreground to gradient: Open the gradient:''mqc Grapeline '' Prepare a linear Gradient as below
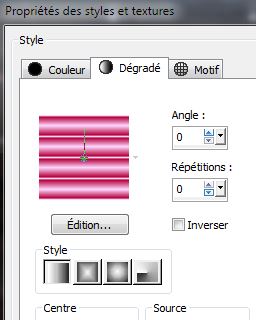
64. Selections - load/save selection - load selection from disk and choose: ''RC_selection4''
65. Flood Fill Tool: fill the selection with the gradient
66. Selections - Deselect all
67. Effects - 3D Effects -
Drop Shadow:10/10/50/5 black
68. Layers - New Raster Layer
69. Activate Selection Tool: Ellipse /Draw a selection like this
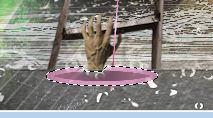
70. Flood Fill Tool: fill the selection with the gradient
71. Adjust-Blur-Gaussian Blur: Radius: -
35
72. Selections- Modify -
Contract 5 pixels
73. Layers - New Raster Layer /Flood Fill Tool:Set the opacity of the colors at 65%.Fill the selection with color black
74. Selections - Deselect all
75. Activate the layer above it/Layers-Merge-Merge Down
76. Effects - Edge Effects-Enhance /Eraser Tool: eraser that contours of the hand away
Layers - Merge - Merge all layers (flatten)
77. Image - Add Borders - Symmetric : 1 pixel black
78. Image - Add Borders - Symmetric : 25 pixels white
79. Image - Add Borders - Symmetric : 1 pixels black
80.Image - Add Borders - Symmetric : 100 pixels white
81. With your magic wand select the border of: 100 pixels
82. Effects - 3D Effects-Drop Shadow
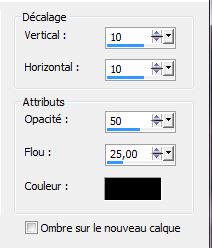
83. Repeat: Effects - 3D Effects-Drop Shadow -10 /-10/ 50/25 black
84. Effects -Plugins ICNET
FILTERS- Special Effects 1- Shiver 27/22
85. Effects - Edge Effects-Enhance More
86. Selections - Deselect all
87. Aktivate your Text Tool:
write your own text . Open the Text: Edit/copy -Edit/paste as a new Layer and place
88. Activate the tube
''2500_reagen'' Edit/copy -Edit/paste as a new Layer and place
89. Effects - 3D Effects-Drop Shadow always in memory
90. Layers - Merge - Merge all layers (flatten)
91. Image - Add Borders - Symmetric : 1 pixels black
92. Image
Resize 1025 pixels Width

I hope you enjoyed this lesson
Renée
This lesson was written by Renée
11/03/0214
Created the 22/03/2014
*
Any resemblance with an existing lesson is merely a coincidence
*
Don't forget to thank the people who work for us and with us. I named the tubeurs - Testers and the translators.
Thanks Renée.
|