|
Let's start the lesson.
1. Open a new image of 1015 x 625 pixels – BLACK -Window - Duplicate (or shift+D) - Close the original and proceed on the copy -Promote Background Layer =Raster 1

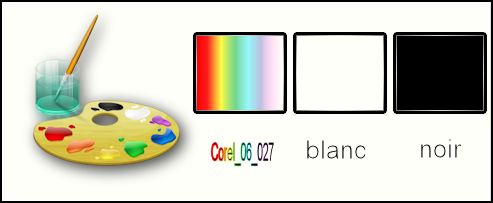
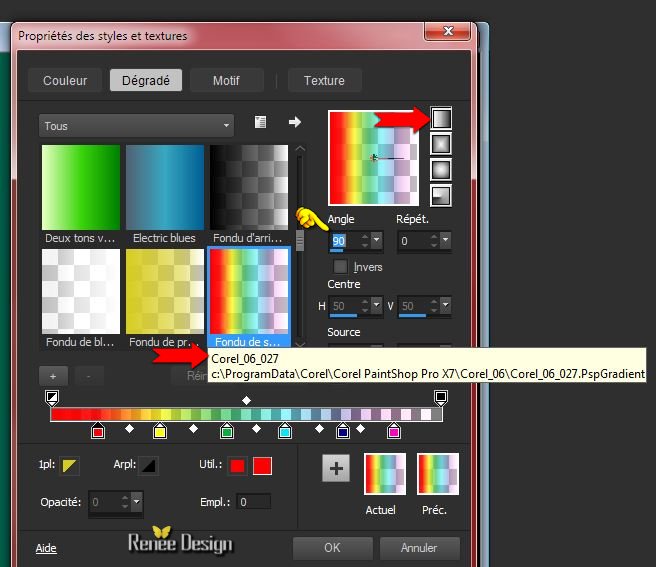
- Material Properties-Set your foreground to "linear gradient" and select ‘’Corel_06_027’’ -Set your background color to black with these settings
2. Do not add a new layer– Flood Fill Tool: fill the layer with the gradient
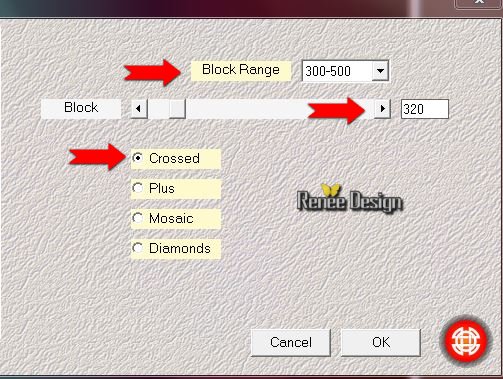
3.Effects-Plugins – Medhi – Sorting Tiles
4.
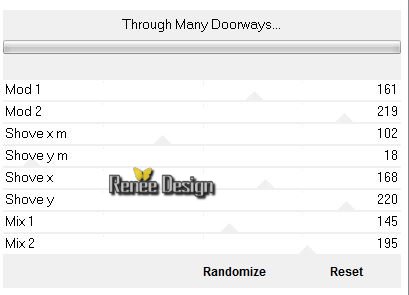
Effets–Plugins Unlimited - Andrew's Filters 33-Through Many
Doorways..with these settings .
5. Effects-Edge Effects-Enhance More
6. Layers-Duplicate
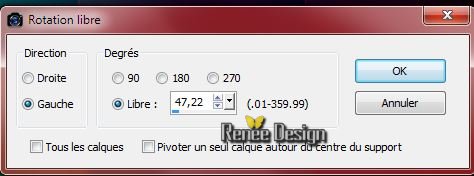
7. Image
Free Rotate -Left 47,22
8. Layers-Duplicate
9. Image
Mirror
10. Layers-Merge-Merge-Down
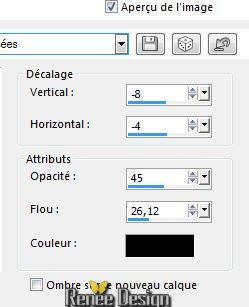
11. Effects - 3D-Effects-Drop shadow with these settings :
12. Effects-Plugins – Simple - Top Bottom Wrap
13. Selections –load/save selection –load selection from disc and choose:
‘’Sajedi_1’’
14. Layers-New raster layer
15. Flood Fill Tool: fill the selection with the gradient
16. Effects-Plugins – Graphic Plus Cross Shadow with these settings

Selections-Deselect All
17.
Effects-Plugins –Toadies –What are you
28/0
18. Double click on this layer and set the Blendmode to "Difference"
19. Layers-Merge-Merge Down
20. Double click on this layer and set the Blendmode to "Screen "
21. Layers-Merge-Merge All
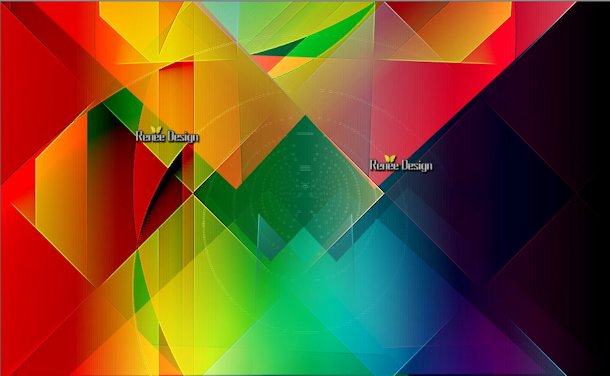
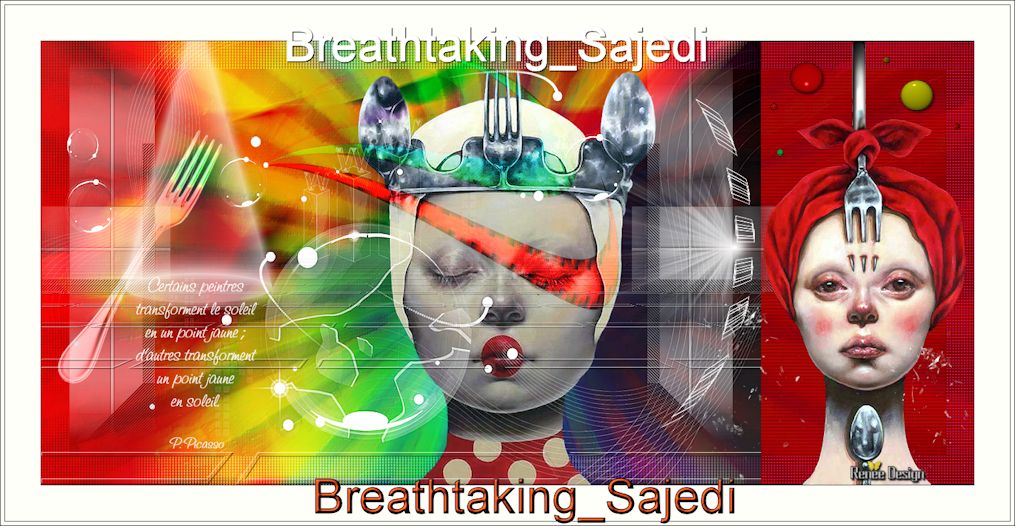
The result
Rename: Background-Promote background layer=Raster 1-Activate this layer
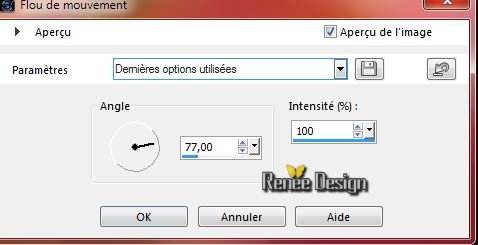
22. Adjust-Blur-Motion Blur with these settings
23. Layers-New raster layer
24. Color palette : Set your foreground color to white
-Activate Flood Fill Tool and fill the layer with the foreground color white
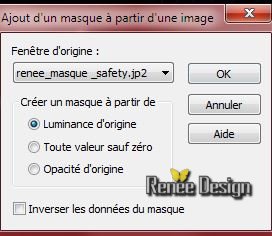
25. Layers- New Mask layer from Image and select Mask ‘’renee_masque_sajedi’’
26. Effects-Edge Effects-Enhance
- Layers-Merge-Merge-Group
27. Activate the tube ‘’deco_sajedi’’ You may minimize your tube for a moment, but do not close, we will need it again soon
- Activate the layer ‘’fourchette’’
- Edit/copy- Edit/ paste as new layer on your working image
28. With your Move Tool place it to the left side . Double click on this Layer and set the Blend Mode to "Luminance" (see finished image)
29. Layers-New raster layer
30.
Selections –load/save selection –load selection from disc and choose:
‘’Sajedi_2’’
-Color-Palette:
Change foreground material into a lineair gradient and select:
‘’Corel_06_027’’-with the same settings - Set your background color to black
31.- Flood Fill Tool: fill the selection with the gradient
Selections-Deselect All
32. Effects-Plugins – Neology- Blend Mosaic a 16
33. Effects-Plugins – Penta com – Color Dot using the default settings
90/2/255/255/255
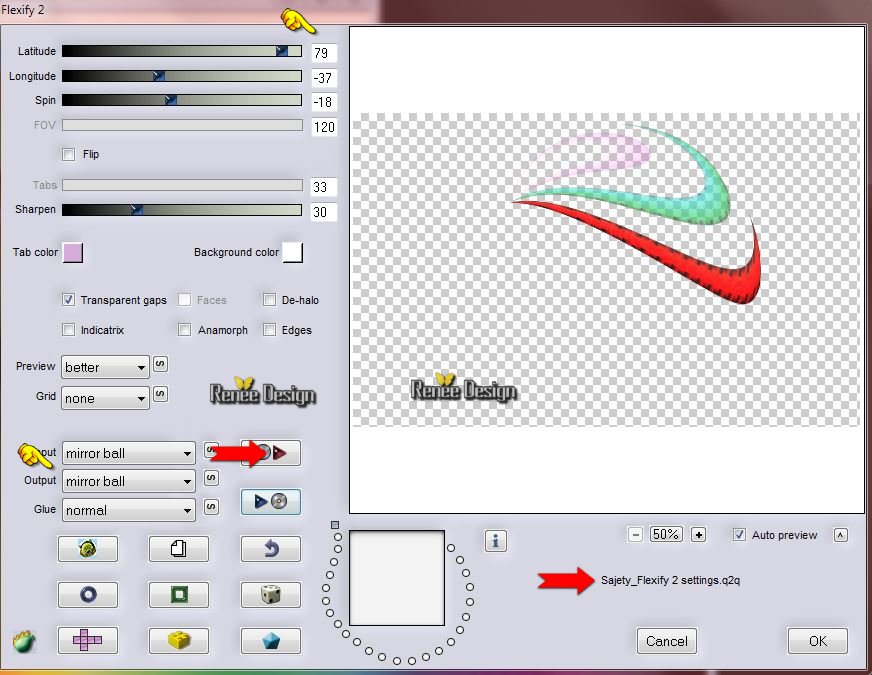
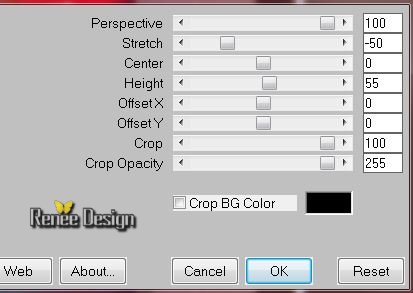
34. Effects-Plugins – Flaming Pear flexify
2-click on the red arrow>select my file preset ‘’ Sajety_Flexify- 2 >can be used in any folder of your choice by clicking it. Open it will be ok in your filter.
Or manual settings as shown in the example below
35. Double click on this Layer and set the Blend Mode to "Overlay"
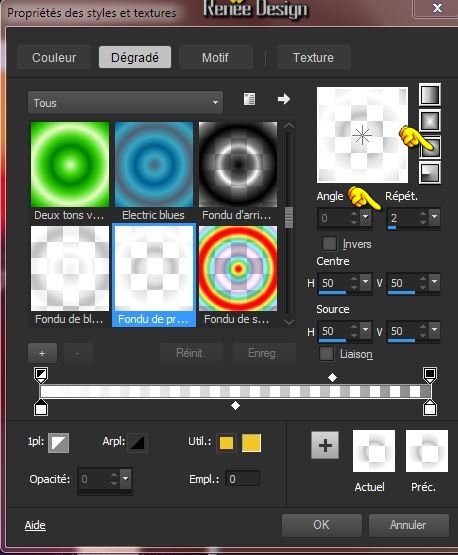
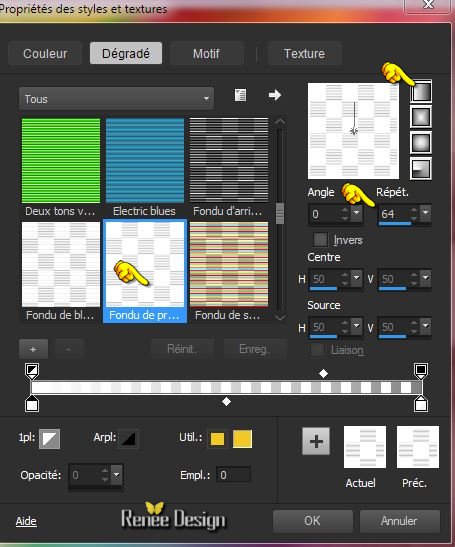
36. Color-Palette: Change
foreground material into a "fading white" sunburst gradient with
these settings
37. Layers-New raster layer
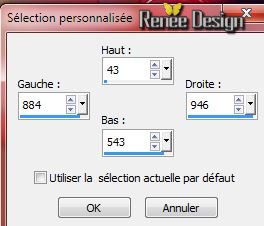
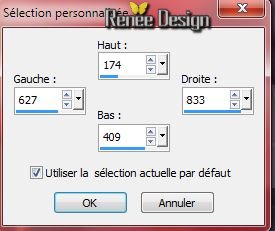
38.
Selection-(S) Custom selection with these settings
39. Activate Flood Fill Tool and fill the selection with the gradient
Selections-Deselect All
40.
Effects-Plugins – Toadies – What are you
15/15
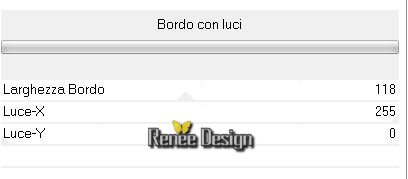
41.
Effects –Plugins - Unlimited - It@lian Editors Effect- Bordo con
luci
42. Layers-Duplicate
43. Image
Free Rotate 90° Left
44. Layers-Merge-Merge Down
- Layer Palette -Double click on this layer and set the Blendmode to" Hard Light "and set the layer opacity of this layer to 69%
45.
Selection-(S) Custom selection with these settings
Hit the Delete Key of your Keyboard
Selections-Deselect All
46. Effects-Plugins – Penta Com – jeans 62/4
47. Effects-Edge Effects-Enhance More
48. Layers-Duplicate – Image Mirror
49. Color-Palette:
Change foreground material into a "fading white" linear gradient with these settings- Set the background color to black .
50. Layers-New raster layer
51.Selections –load/save selection –load selection from disc and choose: ‘’
Sajedi_3’’
52. Activate Flood Fill Tool and fill the selection with the background color black and fill the selection with the gradient on the same layer
Keep Selected
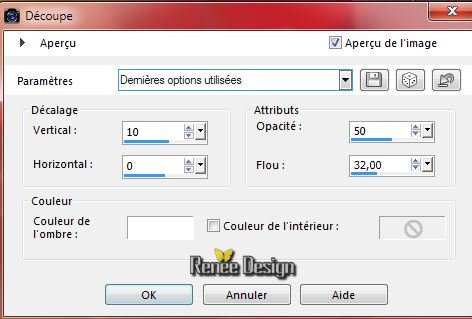
53.
Effects-3D Effects-Cutout with these settings
Selections-Deselect All
54. Effects-Plugins – Mura’s Meister –Perspective
tilling with these settings
55. Effects - 3D-Effects-Drop shadow with these settings
.
56. Layer Palette - Double click on this Layer and set the Blend Mode to "Hard Light"
57. Activate the brush image ‘’ pinceau_safety ‘’
- File- Export- Custom Brush -Give it a name:
‘’pinceau_safety ’’
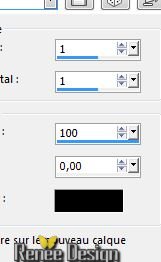
58. Activate the Brush Tool and choose the brush: ‘’pinceau_safety’’ with these settings

59. Layers-New raster layer
60. Color-Palette:Set the foreground color to white
Stamp your brush in the bottom left side by using your foreground color white (See finished image)
61. Layer Palette - Double click on this Layer and set the Blend Mode to "Hard Light"
62. Layers-New raster layer
63. Selections –load/save selection –load selection from disc and choose:‘’
Sajety_4 »
64. Activate Flood Fill Tool and fill the selection with the foreground color white
Selections-Deselect All
65. Activate the tube again ‘’deco_sajedy’’
- Activate layer ‘’effet_lumiere ‘’
- Edit/copy- Edit/ paste as new layer on your working image
- With your move tool place it as shown in the example below

66. Layer Palette - Double click on this Layer and set the Blend Mode to "Hard Light"
-. Activate the bottom of the Layer-Palette =Raster 1
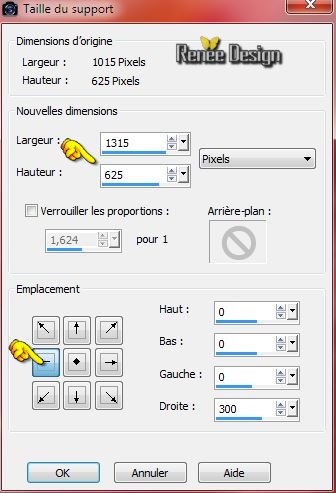
67. Image
Canvas Size with these settings
68.
Activate the Magic Wand and select the transparent part
DO NOT A NEW LAYER
69. Activate Flood Fill Tool and fill the selection with the background color black
70. Effects-Texture Effects-Blinds with these settings – color #d60525
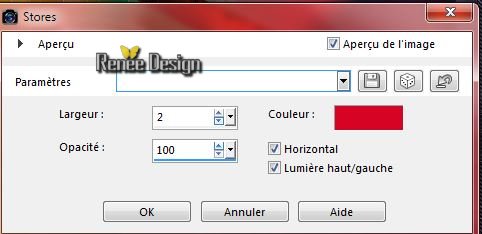
Selections-Deselect All
71. Activate the = tube ‘’ Renee_tube_sajedi1.pspimage’’
- Image
Resize with 70%
- Edit/copy- Edit/ paste as new layer on your working image ( Do not move it is the right place)
72. WITH arrow keys on the keyboard to move the layer down 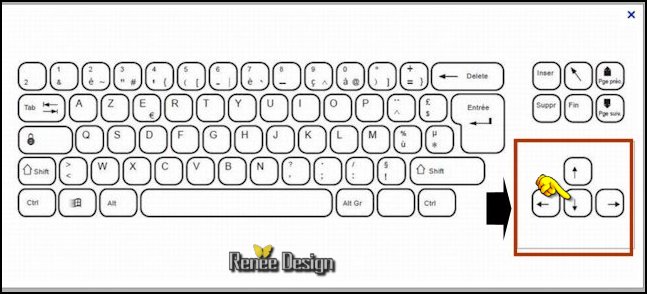
against the bottom edge
- Activate the top of the layer-Palette
73. Activate the tube ‘’ Renee_tube_sajedi2.pspimage’’
- Image
Resize a 70%
- Edit/copy- Edit/ paste as new layer on your working image and move to the right side
74. Activate the tube ‘’deco_sajedi’’
- Activate the layer ‘’fourchette_2’’
- Edit/copy- Edit/ paste as new layer on your working image
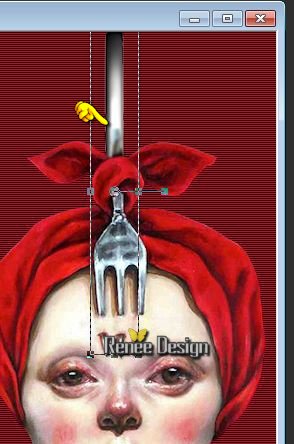
75. Activate your
Pick Tool (K)
- place it as shown in the example below
76. Layers-Arrange-Move Down
77. Activate Soften Brush -using the default settings
and slightly move as shown below
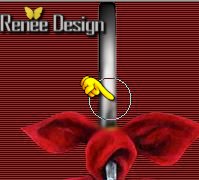
Soften Brush =Softens the edges and reduces contrast
78. Activate the tube ‘’deco_sajedi’’
-Activate the layer ‘billes »
- Edit/copy- Edit/ paste as new layer on your working image and move to the upper right corner
-. Activate the bottom of the Layer-Palette = Raster 1
79. Layers-Duplicate
80. Effects
-Plugins –Unlimited - &<Bkg Designer sf10 I>- Center Mirror
60/128
81. Layer Palette - Double click on this Layer and set the Blend Mode to "Soft Light "
82. Effects-Plugins -- Alien Skin Snap Art – Oil Paint-
-tab Settings/User settings choose my preset: ‘’safedy_oil_paint »
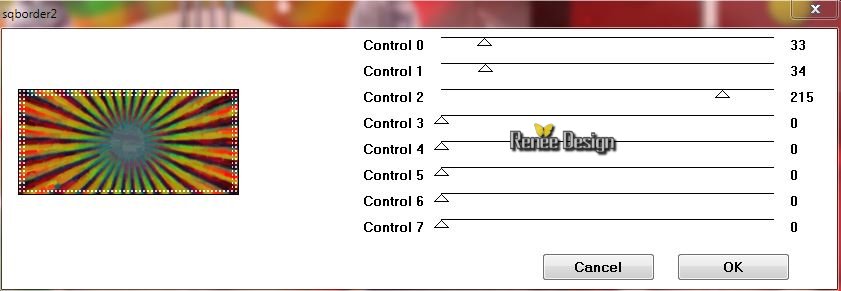
83. Effects-Plugins – [AFS Import ] –sqborder2 with these settings
84. Effects-User Defined Filter– Emboss 3 using the default settings
-Activate the top of the layer-Palette
85. Layers-New raster layer
86.
Selections –load/save selection –load selection from disc and choose: ‘’
Sajedi_5’’
87. Activate Flood Fill Tool and fill the selection with the foreground color white ( click 2 times in the selection ( on the right side of her face)

Selections-Deselect All
88.Image - Add borders-Symmetric checked: 1 pixel black
89.Image - Add borders-Symmetric checked: 50 pixels white
90.Image - Add borders-Symmetric checked: 1 pixel black
91.Image - Add borders-Symmetric checked: 5 pixel white
92.Image - Add borders-Symmetric checked: 1 pixel black
93. Open the text-(2) Edit/copy-Edit paste as a new layer on your working image .Ore write your own text
94. Layers-Merge-Merge All
95. Image
Resize a 1015 pixels Width
Save as JPG
I hope you enjoyed this tutorial .
Renée
This lesson was written by Renée
25/05/2015
edited and update
2015
*
Any resemblance with an existing lesson is merely a coincidence *
* Don't forget to thank the people who work for us and with us. I named the tubeurs - Testers and the translators.
Thanks Renée.
*
*
| 
 Translations


 When you see this logo the filter is imported in Unlimited

 All rights reserved