|
Let's start the lesson .
- Material Properties: Foreground color to this color: #6b1818 Background color to this color : #be8445
1. Open a new transparent image of 995 x 625 pixels
2. Activate Flood Fill Tool and fill the layer with the foreground color
3. Effects-Textur Effects-Fine Leather-Color#be8445
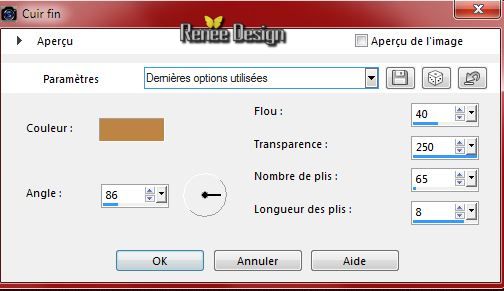
3. Layer-New Raster Layer - Activate Flood Fill Tool and fill the layer with the background color
4. Layers-New Mask Layer From Image and choose Mask: ''003_masque_animabelle.jpg'
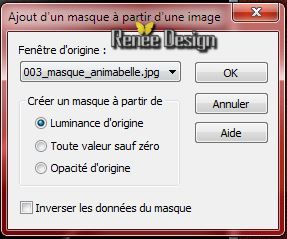
- Layers- Merge- Merge Group
5. Effects-User Defined Filter- Emboss 3 default settings
6. Effects-Image Effects-Seamless Tiling use the settings below
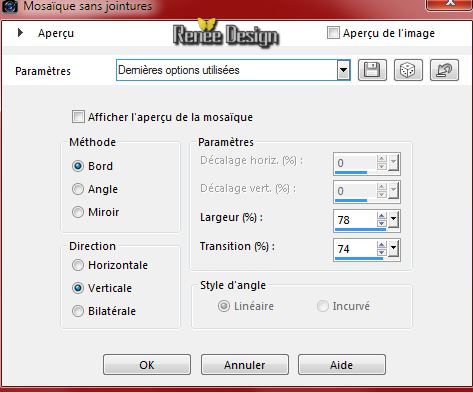
7. Adjust-Blur-Radial Blur with these settings
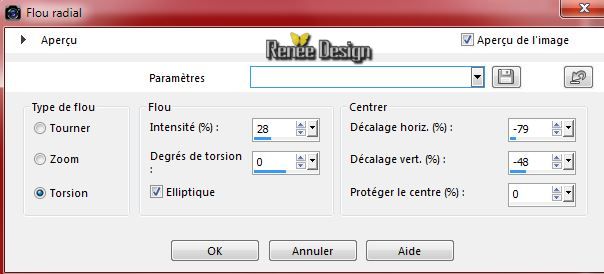
8. Layer-New Raster Layer
9. Selections - load/save selection - load selection from disk and choose my selection: ''pause_cafe_1''
-Activate Flood fill tool and fill the selection with the BG-Color
10. Effects-3D Effects-Chisel-Color#be8445
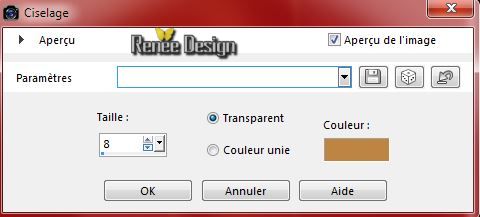
Selections-Deselect All
11. Effects-Image Effects-Seamless Tiling default settings
12. Effects- Plugins -Mura's Meister -Perpsective Tilling
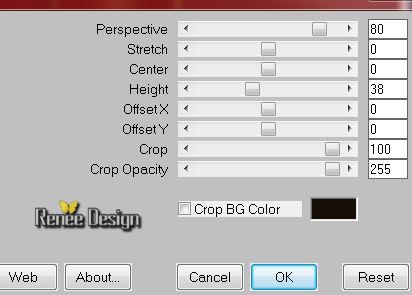
13. Effects - 3D Effects - Drop shadow with these settings: 2/2/100/5 black
14. Layers-Duplicate- Layers- Merge- Merge Down
15. Effects- Plugins - Simple Blintz
16. Layers-Arrange-Move Down
- Layer Palette -Double click on this Layer and set the Blend Mode to"Luminance " Reduce the opacity of this layer to 73%
17. Effects- Plugins - Greg's Factory Output II /Pool shadow
default settings
- Activate the top of the Layer-Palette
18. Activate the tube
''CAJ.SCR.FR PAUSE-CAFE 24''- activate raster 1 of this tube
- Edit/copy-Edit paste as a new layer on your working area .With your move tool move to top
- Layer Palette -Double click on this Layer and set the Blend Mode to "Overlay " Reduce the opacity of this layer to 81%
- Put your foreground/background radial gradient with settings below
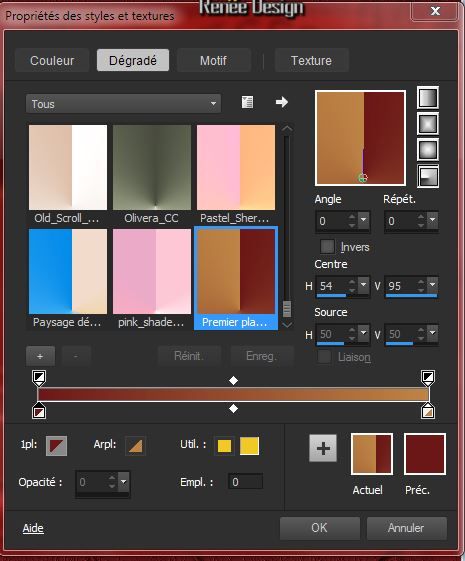
19. Layer-New Raster Layer
20. Selection Tool ( S ) Custom selection use settings below
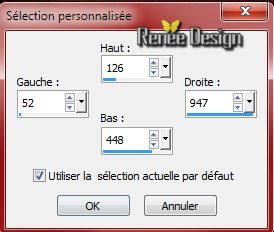
21. Pot of Paint opacity: 75% - Activate Flood fill tool and fill the selection with the gradient
Keep Selected
22. Effects-Plugins - Unlimited 2.0
- RCS Filter Pak1.0 / RCS Triple Exposure at 255
23. Effects-Plugins -Simple - 4 Way
average
24. Effects- Edge Effects- Enhance More
25. Effects-Plugins -Unlimited 2.0 -
&<BkgKaleidoscope - Cake mix 169/169
Selections-Deselect All
26.
Layers- Arrange-Move Down 3x (above raster
1)
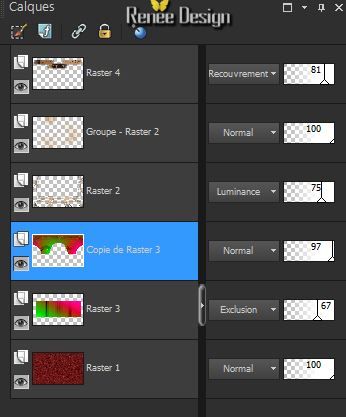
Layer Palette -Double click on this Layer and set the Blend Mode to"Exclusion " Reduce the opacity of this layer to 67%
27.
Effects- Plugins - Unlimited 2.0 - Scribe- RGB Gradation default settings
28.
Layers- Duplicate
29.
Effects-Plugins - Mura's Meister - Pole
Transform
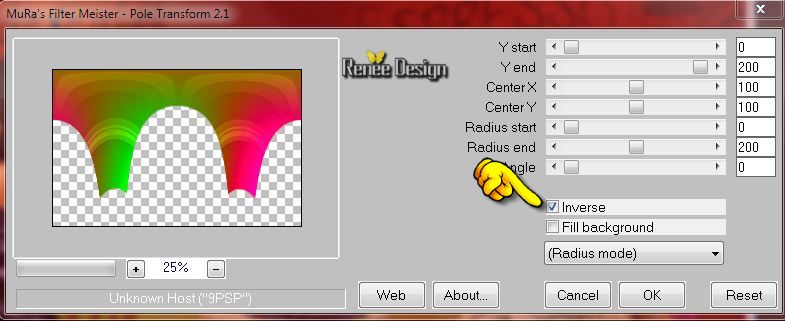
30.
Selections - load/save selection - load selection from disk and choose my selection: ''pause_cafe_2''/
DELETE
-Selections-Deselect All
31.
Activate - Copy of Raster 3.Layer Palette: Blendmode "Normal" Opacity 97%
Your work look like this now
Stay on this layer
32.
Effects- Plugins -- MV's Plugins -Panopwarp use settings below
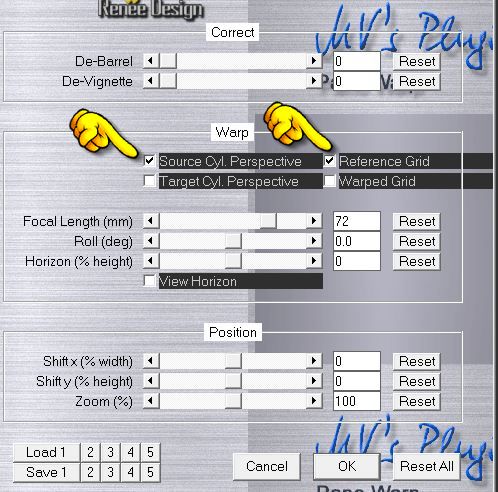
33.
Selections-All-Selections Float-Defloat
34.
Selections-Modify-Select-Selection Borders with this settings
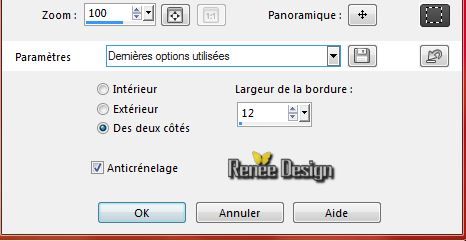
35. Layers- New Raster layer
- Pot of Paint opacity 75% Activate Flood fill tool and fill the selection with the FG-Color
Selections-Deselect All
36.
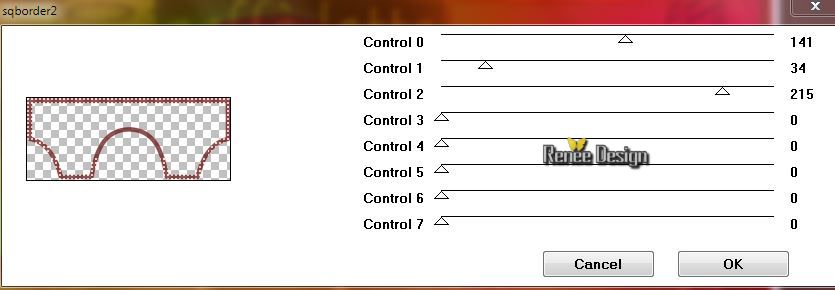
Effects- Plugins -AFS Import -sqborder2/
37.
Layer Palette -Double click on this Layer and set the Blend Mode to"Hard Light " Reduce the opacity of this layer to: 73%
38.
Activate the tube
''calguisowlmbeforemorningcoffee07092014.pspimage''/Image Resize 75%
- Edit/copy-Edit paste as a new layer on your working area and place
39.
Effects- Plugins --EyeCandy 5 Impact Perspective
shadow
-tab Settings/User Settings and choose my preset: ''pause_cafe_persp''
40.
Activate the tube
''CalGuisAdorableSorciere31102013.pspimage''- Edit/copy-Edit paste as a new layer on your working area. With your move tool move to the left
41.
Activer le tube
''caffeine_owl_chart_reneetube.pspimage''- activate raster 3 of the tube -Edit/copy-Edit paste as a new layer on your working area. With your move tool move to the right
-Layer Palette -Double click on this Layer and set the Blend Mode to "Hard Light "
42.
Activate the tube ''CAJ.SCR.FR PAUSE-CAFE 8.pspimage''-
Edit/copy-Edit paste as a new layer on your working area. With your move tool move it in the bottom right corner
43.
Layers- Duplicate-and move a little
44.
Layers- Merge-Merge Visible
45.
Layers- New Raster layer
46.
Activate Preset Shape (P)-Draw a caption of your own choice
-
Write your text or paste mine view great example
47.
Layers- Merge-Merge Visible
48. Image - Add borders-Symmetric checked: 2 pixels FG-Color
49. Image - Add borders-Symmetric checked: 50 pixels white
50. Image - Add borders-Symmetric checked: 2 pixels FG-Color
51.
Activate the tube 'grains_cafe" - Edit/copy-Edit paste as a new layer on your working area and move
-
Layers- Duplicate-Image Mirror
-
Layers- Merge- Merge Down
-
Layers- Duplicate
-
Image -Flip
52.
Layers - Merge - Merge all
53.
Activate the Text-Edit - Copy -Edit - Paste as new layer on your working area and move .Ore write your own text
54.Image - Add borders-Symmetric checked: 20 pixels white
55.
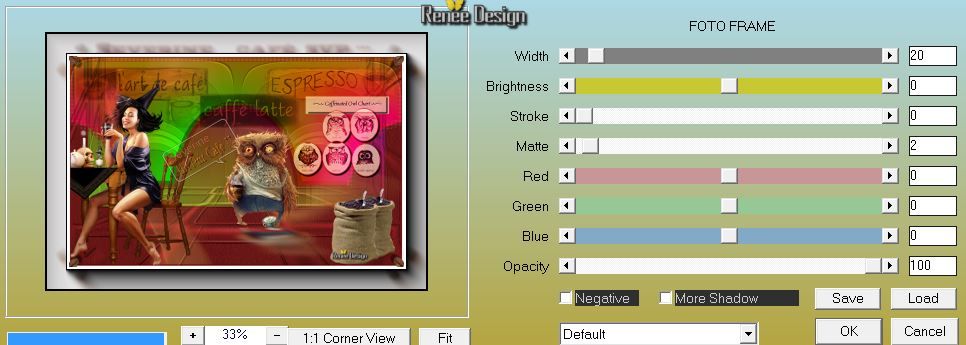
Effects- Plugins - AAA Frames Foto frame
56.
Image Resize at 985 pixels Width
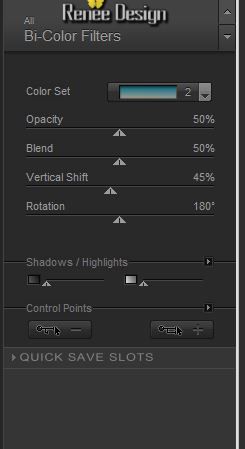
57. Effects-Plugins -Nick Color effex pro3.0 / Bi color Filters -
Set cool warm
Save as JPG
I hope you enjoyed this lesson
Renée
This lesson was written by Renée 10/09/2014
Created the
09/2014
*
Any resemblance with an existing lesson is merely a coincidence *
* Don't forget to thank the people who work for us and with us. I named the tubeurs - Testers and the translators.
Thanks Renée.
*
|