|
Let's start the lesson
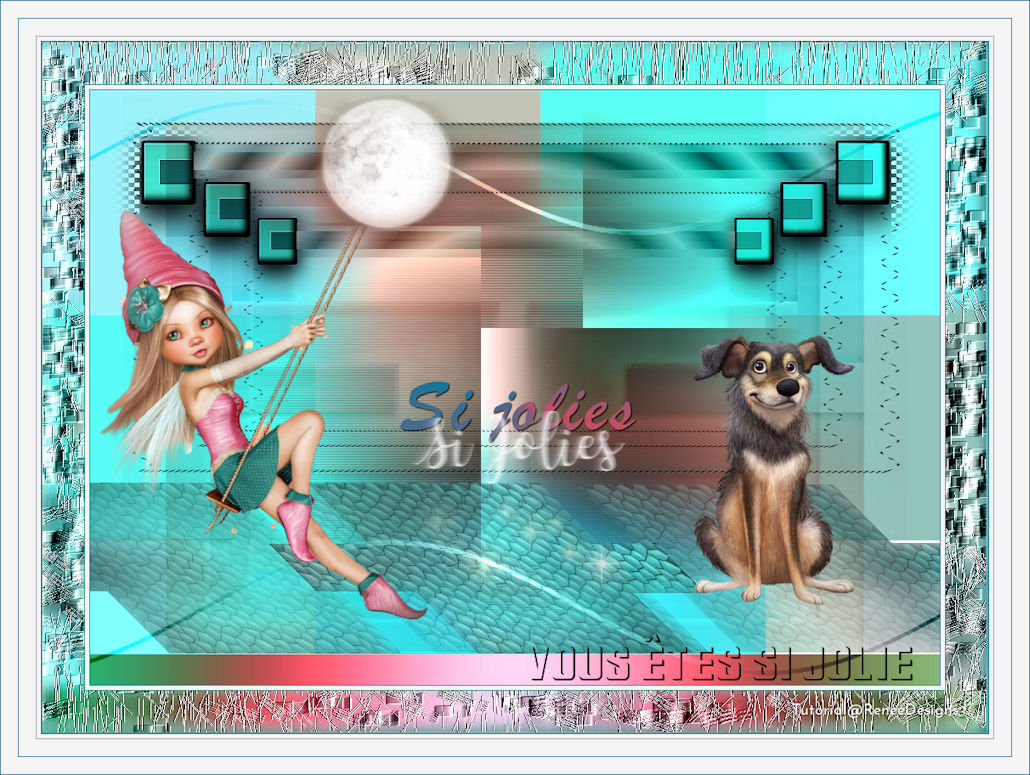
Si jolies/So pretty
1. File: Open a new transparent image in this size: 1000
x 700 Pixels
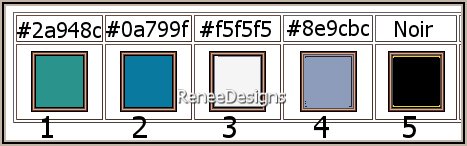
2. Material Properties : Set your foreground color to color # 2a948c=color 1
Flood Fill Tool  –
Fill the layer with the foreground color =1 –
Fill the layer with the foreground color =1
3. Selections – Select All
4. Open the Tube ‘’Renee_TUBES-Fetes-2022-42’’ -Edit - Copy- Activate your work -Edit - Paste into selection

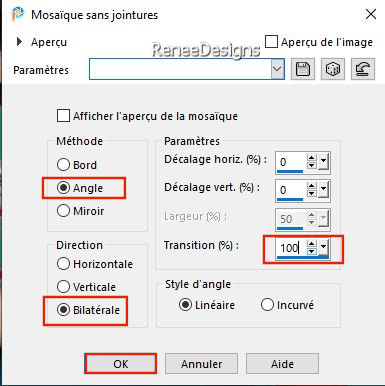
5. Effects - Image Effects- Seamless Tiling use the settings below
6. Adjust- Blur- Gaussian Blur: Radius 50
7. Layers - Duplicate
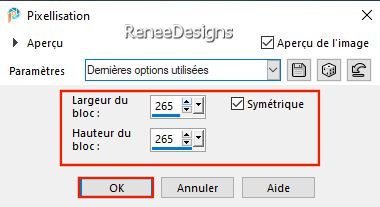
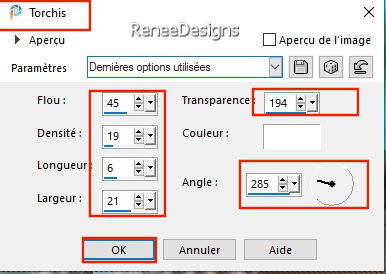
8. Effects-
Distortion Effects- Pixelate use the settings below
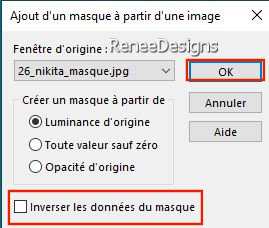
9.Layers- New Mask Layer -From Image and select Mask ‘’26_nikita_masque’’
- Layers- Merge- Merge Group
10. Effects – 3D-Effects – Drop Shadow with these settings: 5/-5/60/12
color black
11. Selections –load/save selection –load selection from disc and select my selection: ‘’ si-jolie-1’’
12. Selections –
Promote selection to layer
13. Effects - Artistic Effects– Enamel with these settings
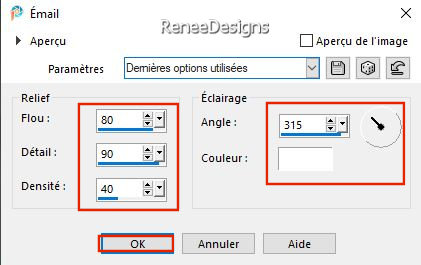
Repeat:
Effects - Artistic Effects– Enamel with the same settings
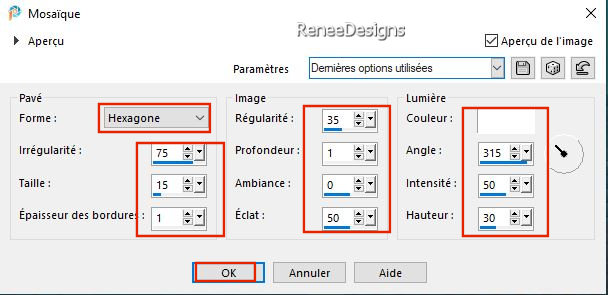
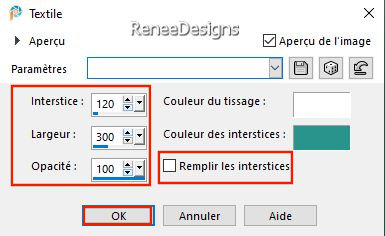
12. Effects – Texture effects – Tiles use the settings below/ color #ffffff
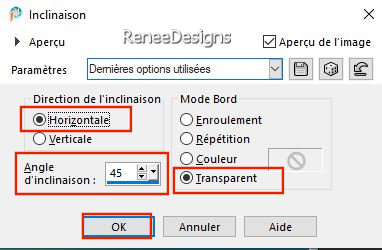
14. Effects – Geometric Effects – Skew with these settings
15. Image - Mirror - Mirror Horizontal (Image - Mirror in older versions of PSP)
16. Pick Tool: (K) on your keyboard -Enter these parameters on the toolbar
 -152/
462 -152/
462
Press ( M ) to close the Pick Tool
17. Layers – Duplicate–
Pick Tool: (K) on your keyboard -Enter these parameters on the toolbar
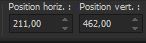 211/462 211/462
18. Layers- Merge- Merge Down
19. Effects - Plugins - Filters in Unlimited 2.0 – Tramages - Pool
Shadow.../ using the default settings
20. Layers– Duplicate
21. Layers- Merge- Merge Down
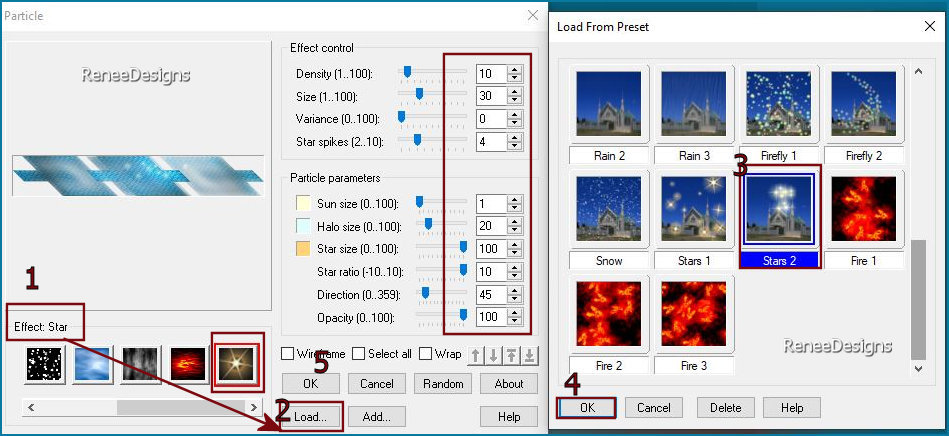
22. Effects – Plugins – Ulead effects – Particle with these settings (1) Effect Star-(2) Load-(3) Stars 2-(4) OK-(5) OK
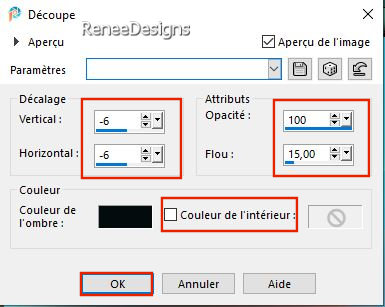
- Material Properties: Foreground color remains at color 1 – Set your background color to color #000000=color 5
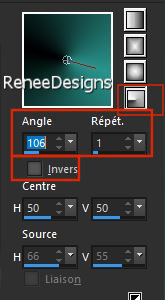
– Prepare a Foreground/Background-radial gradient configured like this
23. Layers- New Raster Layer
24. Flood Fill Tool
–
Fill the layer with the gradient
25. Adjust- Blur- Gaussian Blur: Radius
40
26. Effects – Texture Effects – Weave with these settings / Color#ffffff and the foreground color= color 1
27.Image - Mirror - Mirror Horizontal (Image - Mirror in older versions of PSP)
28. Layers - Duplicate
29. Effects – Plugins / or in Unlimited - Simple – Horizontal Grain
30. Layers-Properties-Set the Blend Mode to "Hard Light"
31. Layers- Merge- Merge Down
32. Effects - Plugins - Filters in Unlimited 2.0 - Filter Factory
Gallery S - Old Photo White Fade: 253/18/61/0/0
33. Layers-Properties-Set the Blend Mode to "Overlay "
34. Layers- Arrange- Move Down
- Activate the top of the layer palette
35. Layers- New Raster Layer
36. Selections –load/save selection –load selection from disc and select my selection: ‘’ si-jolie-2’’
37. Flood Fill Tool
–
Fill the selection with the gradient
38. Effects - Plugins- Filters in Unlimited 2.0 - Harry's Button Tools
- Flat Button II with these settings (adjust the color settings according to the colors used)

39. Layers- New Raster Layer
40. Selections - Modify - Expand by 5 Pixels – Flood Fill Tool-fill the selection with the background color=5
41. Selections - Modify –
Contract by 4 Pixels

42. Layers- New Raster Layer
43. Effects – 3D-Effects –
Cutout use the settings below / Background color=5
44. From the top layer –
Layers - Merge - Merge Down - and repeat-Layers - Merge - Merge Down
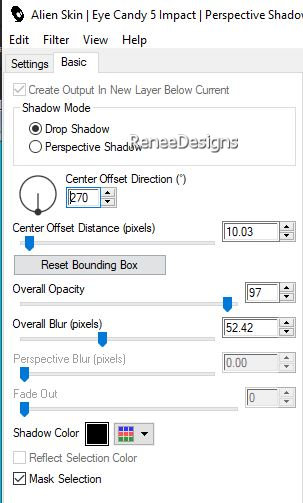
45. Effects - Plugins - Alien Skin EyeCandy 5 - Impact – Perspective
Shadow use the settings below
46. Layers- Duplicate –
Image Resize to 75% - resize all layers unchecked
47. Layers- Duplicate –
Image Resize to 75% - resize all layers unchecked
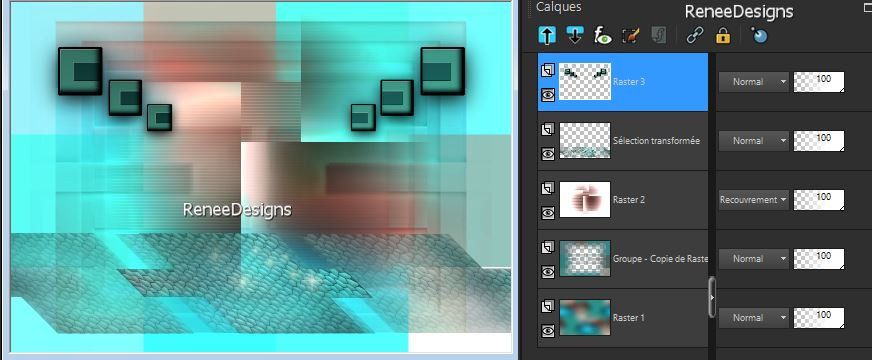
48. Layers - Merge - Merge Down - and repeat one more time
- Your layer palette looks like this, you should have this result:
49. Effects – Distortion Effects - Punch – Strenght 85%
50. Layers-Properties-Set the Blend Mode to "Hard Light"
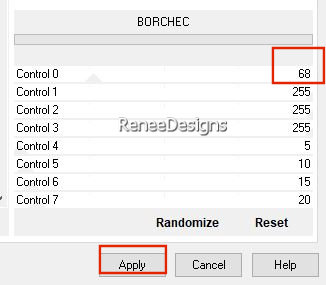
51. Effects - Plugins - Filters in Unlimited 2.0 -[AFS IMPORT]- BORCHEC use the settings below
52. Layers- New Raster Layer
53. Selections –load/save selection –load selection from disc and select my selection: ‘’ si-jolie-3’’
54. Flood Fill Tool
–Fill the selection with the background color= 5
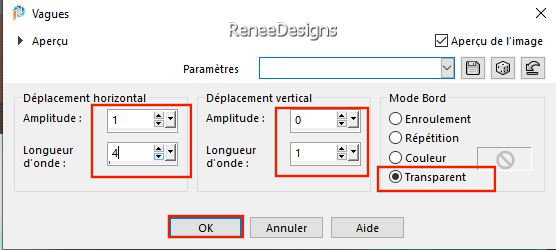
55. Effects-Distortion Effects- Wave use the settings below
56. Selections –load/save selection –load selection from disc and select my selection: ‘’ si-jolie-4’’
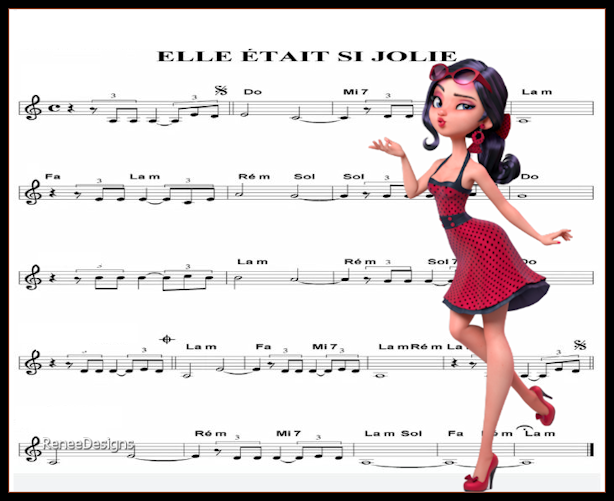
57. Open the Tube ‘’Si-jolie-Image1’’ -Edit - Copy- Activate your work -Edit - Paste as a new layer
58. Pick Tool: (K) on your keyboard -Enter these parameters on the toolbar 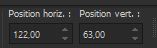 122/ 63 122/ 63
59. Effects - Plugins - Filters in Unlimited 2.0 - Alf's Power Grads -
Multi Radial Grads... 0/59/70/124/199/87
60. Layers-Properties-Set the Blend Mode to " Luminance Legacy "
-Material Properties:
Set your foreground color to color #f5f5f5=color 3 – Set your background color to color #8e9cbc=color 4
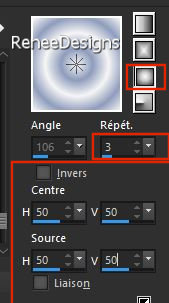
- Prepare a Foreground/Background-sunburst gradient configured like this
61. Layers- New Raster Layer
62. Selections –load/save selection –load selection from disc and select my selection: ‘’ si-jolie-5’’
63. Flood Fill Tool
–
Fill the selection with the gradient
64.
Effects - Plugins - Filters
in Unlimited 2.0 -
Alf's Power Grads- 2 Linear Grads.....
62/60
65. Layers-Properties-Set the Blend Mode to " Overlay "
66. Open the Tube ''Si-jolies-texte-couleur'' (colored text) -Edit - Copy- Activate your work -Edit - Paste as a new layer
-
Put the tube text in the right place
67. Layers- New Raster Layer
68. Activate the Brush Tool and select my file: ‘’Si
jolies’’ (or export to custom brush if problems)
-Properties Foreground: close the gradient -
Apply with the foreground color=3

- Move the brush to the right place, comes under the text with the colors (see finished image)
69. Effects – Distortion Effects– Wind- Wind direction from left-Wind strength 15
70. We are going to decorate- Place the elements of the tube to your taste/or your choice – Resize if necessary
- Drop shadow of your choice if necessary
- Activate the second layer from bottom in the layer palette= ''Copy of Group - Raster 1
71. Activate Selection Tool -Custom Selection (S) -Rectangle with these settings

72.
Effects -Plugins - Filters in Unlimited 2.0 -
Alf's Power Grads - Abs Radial Gradient...Using the default settings
( adjust the color settings according to the colors used)
73.Adjust- Blur- Gaussian Blur: Radius 100
74.
Activate your Text Tool-Renée chose the font -Bas
Relief – Size 48 – Background color #000000=5 (Included in the material) or choose your own font and write
‘’Vous êtes si jolie’’ -or write your own text and move the text in the right place
75. Image - Add borders-Symmetric checked: 1 Pixel -color #0a799f=2
Image - Add borders-Symmetric checked: 5 Pixels -color #f5f5f5=3
Image - Add borders-Symmetric checked: 1 Pixel -color #0a799f=2
76. Edit– Copy !!
77. Selections -
Select All
78. Image - Add borders-Symmetric checked: 50 Pixels -color #0a799f=2
79. Selections –Invert
80. Edit - Paste into Selection (Image is still in your PSP memory)
81. Effects – Texture Effects– Straw Wall with these settings /color #ffffff
82. Image - Add borders-Symmetric checked: 1 Pixel- color #0a799f=2
Image - Add borders-Symmetric checked: 5 Pixels- color #f5f5f5=3
Image - Add borders-Symmetric checked: 1 Pixel -color #8e9cbc=4
Image - Add borders-Symmetric checked: 20 Pixels -color #f5f5f5=3
Image - Add borders-Symmetric checked: 1 Pixel -color #0a799f=2
Image - Add borders-Symmetric checked: 20 Pixel -color #f5f5f5=3
Image - Add borders-Symmetric checked: 1 Pixel -color #0a799f= 2
-
Paste the author's watermark on your work and your own watermark.
83.
Layers- Merge- Merge All (flatten)
Image - Resize to 85%
- Save as JPG
I hope you enjoyed this lesson
Renée
This lesson was written by Renée
10/11/2022
Edited and Update
in 2022
*
*
Any resemblance with an existing lesson is a coincidence
* Do not forget to thank the people who work with us and for us -I have appointed the tubeurs and translators
Thanks
|
 Translations