|
Let,s begin
1.
Open a new transparent image of 1195 x 672 pixels
2.
Materials-Properties: Forgroundcolor to color : #ddca95 Backgroundcolor to color #767e80
3.
Prepare a linear gradient configured like this: Angle 45/ Repeats 1 .A check mark
Invert
4.
Flood Fill tool : Fill the layer with the gradient
5.
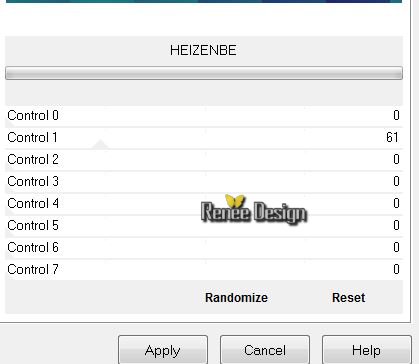
Effects -Plugins Unlimited - AFS[Import]/ Heizenbe
6.
Effects-Plugins Simple - Top left Mirror
7. Effects- Edge Effects-Enhance
8.
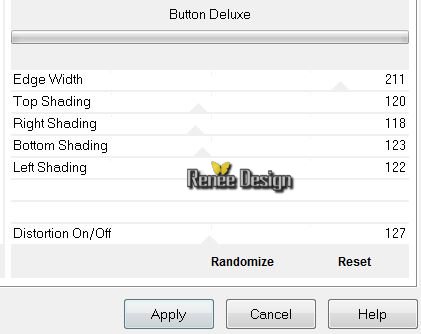
Effects -Plugins Unlimited - Factory gallery B-Button de
luxe
9.
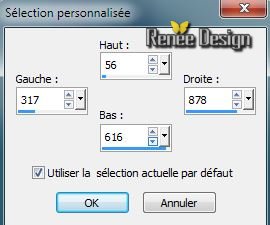
Selections-Custom selection with these settings
10.
Selections- Promote selection to layer
11. Effects - 3D Effects- Drop Shadow
Effects - 3D Effects- Drop Shadow -10/-10
Selections-Select none
12. Effects-Plugins
Simple - Center Tile
13. Layers-Duplicate
Aktivate the bottom of the layers-palette
14. Effects
- Plugins Alf's Border FX/BorderFade II/ default/ Layers-Merge-Merge Down
Aktivate the Top of the layers palette
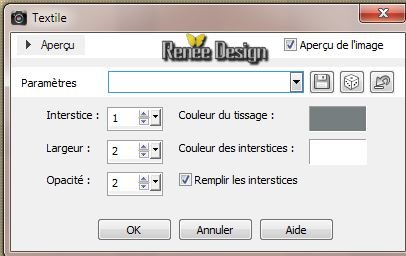
15 . Effects
- Texture Effects- Weave with your backgroundcolor and white
16. Effects- Edge Effects-Enhance
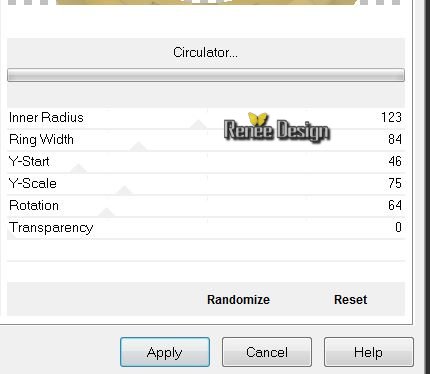
17. Effects- Plugins Unlimited - Factory Gallery N- Circulator
18. Layers-Duplicate
19.
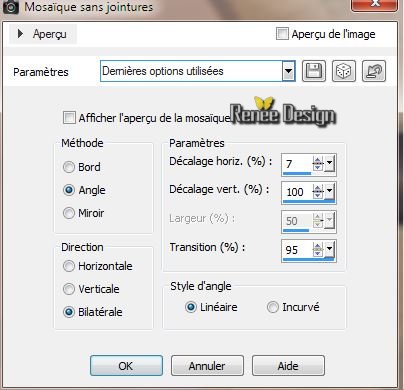
Effects- Image Effects-Seamless Tilling
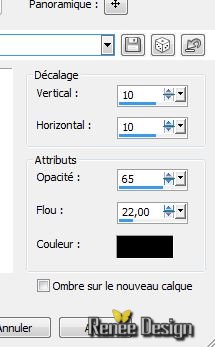
20. Effects - 3D Effects- Drop Shadow 10/10/85/22 black
21.
Layers-Duplicate
22.
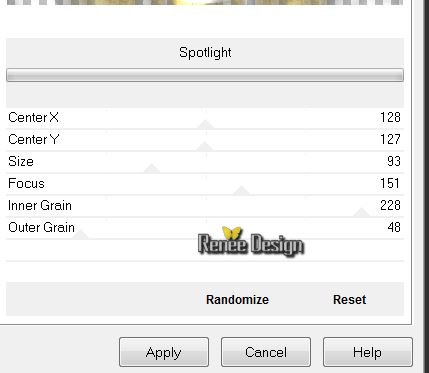
Effects -Plugins Unlimited - Filter Factory Gallery A -
Spotlight
23. Effects -Plugins Graphic plus -Cross shadow default
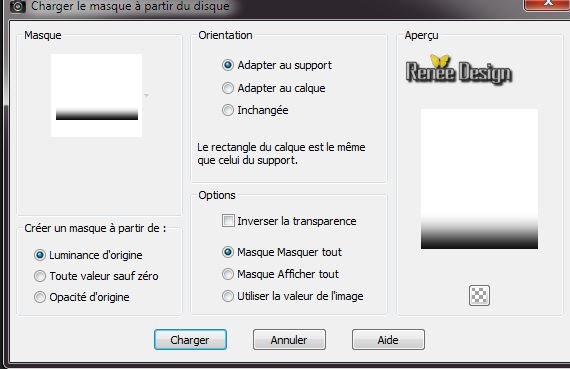
24. Layers-Load/Save Mask-Load Mask from Disk:''masque_fade_suave''/Layers-Merge-Merge Group (To see a better perspective))
Your work is like this right now
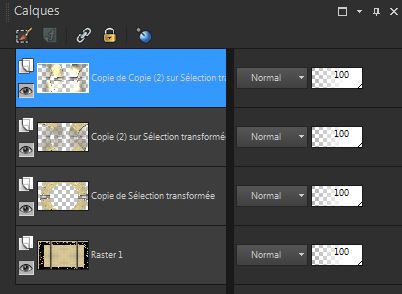
25. Activate the layer underneath( Copie de Copie 2 )
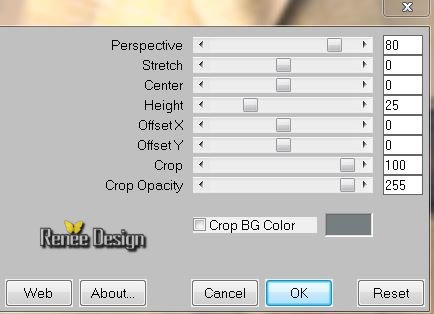
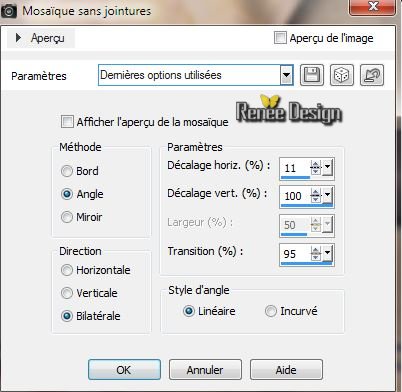
26. Effects- Plugins Mura's Meister - Perpsective Tilling
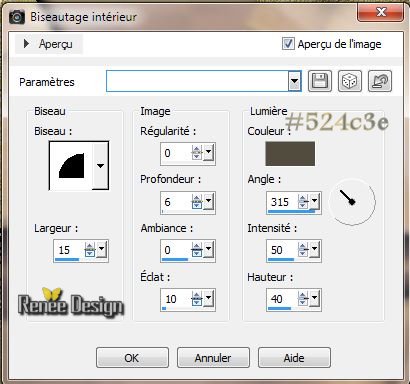
27. Effects-
3D Effects - Inner Bevel
28.
Effects- Plugins EyeCandy 5 Impact / Chrome /preset
''steampunk_etoile_chrome ''
29. Effects
- Distortion Effects -Twirl - 100
30.
Effects - Image Effects-Seamless Tilling
Aktivate the Top of the layers palette
31..
Open the tube ''steampunk_etoile_image1.pspimage " /
Edit/copy-Edit paste as a new layer and place
Blend Mode "Luminance Legacy"
32..Layers-New Raster Layer
33.
Selections - load/save selection - load selection from disk and choose :''steampunk_etoile''
34. Open the tube '' steampunk_etoile_nuages ''/ Edit/copy-Edit paste into selection
35. Effects
-Textur Effects - Weave with your backgroundcolor and white

Keep Selections
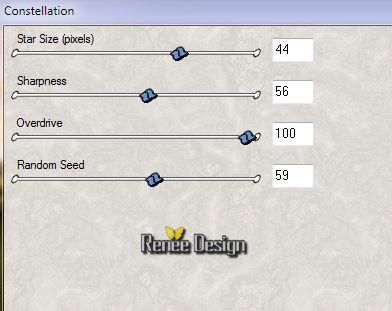
36.
Effects- Plugins Xenofex1- Constellation
37.
Layers-New raster Layer
Open the tube '' steampunk_etoile_nuages ''/ Edit/copy-Edit paste into selection
Blend Mode "Hard Light" and lower the opacity to 48%
Selections-Select none
38. Open the tube ''beauty_24'' /Image Resize to 50% -Edit/copy-Edit paste as a new layer
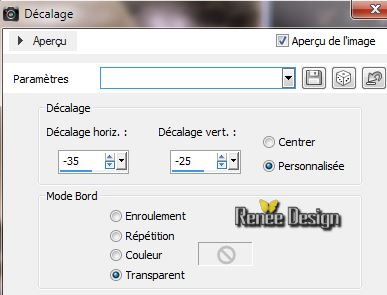
39. Effects- Image Effects - Offset
40. Open the tube ''R11-Steam World Vevicles-012'' /Image Resize to 35% - /Edit/copy-Edit paste as a new layer and place
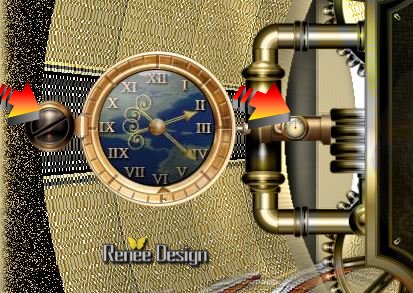
41. Open the tube "steampunk-uhr-1.pspimage" - Edit/copy-Edit paste as a new layer and place
42. Open the tube ''steampunk_etoile_pieces_tuto''
- Activate raster 4 (from your tube)-Image Resize to
50% - Edit/copy-Edit paste as a new layer and place
- Activate raster 9 (from your tube)Edit/copy-Edit paste as a new layer and place
- Layers- Merge- Merge Down (twice)
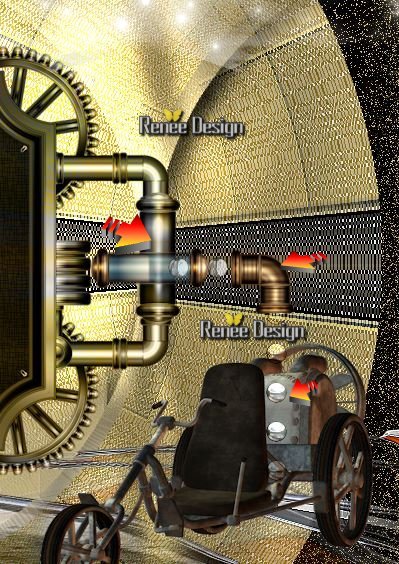
This is the result
43.
Activate your tube again:
'steampunk_etoile_pieces_tuto''
- Activate raster 11 (from your tube)- /Image Resize to 50 %
/Edit/copy-Edit paste as a new layer /Image Free Rotate 90° Right
- Activate raster 6 (from your tube)-/Image Resize to 65 %
-Image Mirror/ Edit/copy-Edit paste as a new layer and place
- Activate raster 13 (from your tube)-/ Selection Tool, select the upper two water drops /Image Free Rotate 90° Right /Edit/copy-Edit paste as a new layer/Lower the opacity to 69%
-Selection Tool, select the lowest 4 water drops / Edit/copy-Edit paste as a new layer and place
Blend Mode "Overlay"
This is the result
44. Open the tube ''steampunk_etoile_lunette'' Edit/copy-Edit paste as a new layer and place
45.
Layers-Merge - Merge Visible
46. Image - add borders symmetric: 5 pixels black
47. Image - add borders symmetric: 30 pixels white
48. Open the tube ''steampunk_etoile_coin '' Edit/copy-Edit paste as a new layer and place in the upper left corner
49. Effects-Plugins
Simple -Top left mirror
50. Image - add borders symmetric: 2 pixels #4c1715
51. Image - add borders symmetric: 50 pixels #967e2c
52.
Magic Wand Tool, select the border with the 50 pixels
53.
Effects -Plugins EyeCandy 5 -Impact Glass /Preset clear
54.
Selections -Select none
55. Image - add borders symmetric: 2 pixels black
56. Open your tube ''steampunk_etoile_pieces_tuto''/Take the letters of the alphabet .Ore write your own text, ore take mine
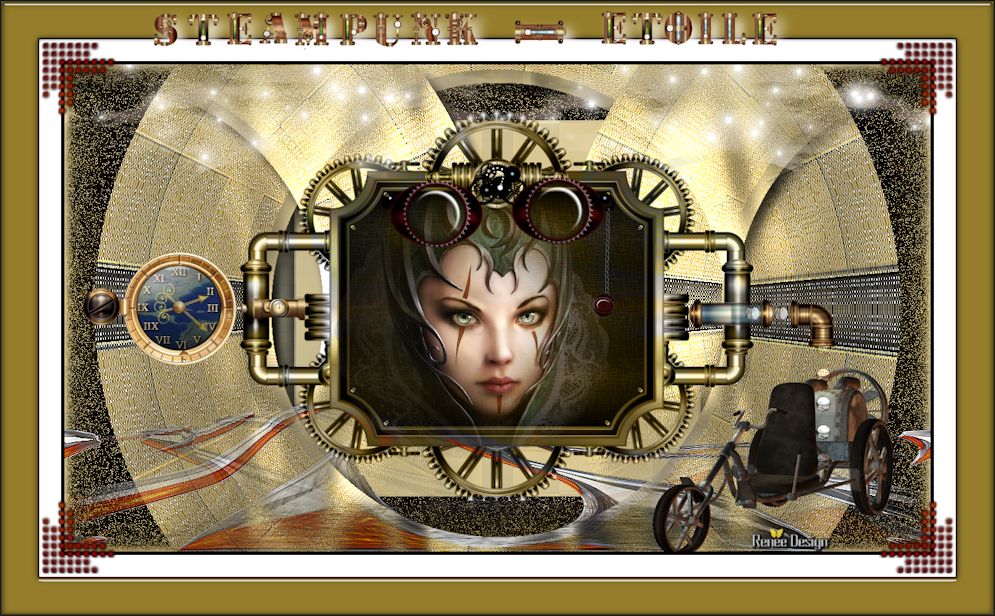
57. Image
Resize to 995 pixels widht
That's it !! You've done it !
Renée
This lesson was written by Renée 7/02/2014
Created the /2014
*
Any resemblance with an existing lesson is merely a coincidence
*
Don't forget to thank the people who work for us and with us. I named the tubeurs - Testers and the translators. Thanks Renée
| 

 Translations