|
Let's start the lesson. Open the Color-Palette

-Material Properties:Set your foreground color to #fffffff - Set your background color to #9e1e0a
1. Open the image ‘’Fond_renee_Utopia’’/ - Window - Duplicate (or shift+D) - Close the original and proceed on the copy -Promote Background Layer =Raster 1
2.
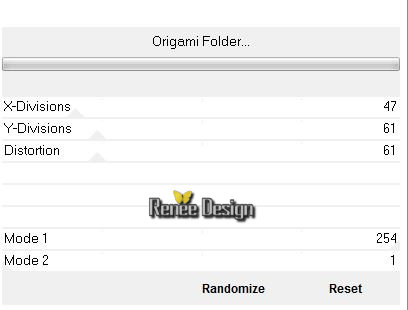
Effects –Plugins - Unlimited – VMInstanta Art- Origami
Folder…with these settings
3. Activate the tube ‘’ Athe-FM378.jpg’’
- -Edit/copy- Edit/ paste as new layer on your working image
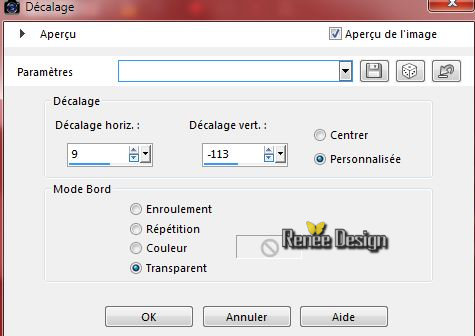
4. Effects-Image Effects-Offset with these settings
5. Layers- Duplicate
6. Image
Flip
7. Adjust-Blur-Gaussian Blur-Radius: 65
8. Layers-Arrange-Move Down
9. Double click on this layer and set the Blendmode to " Exclusion"
- Activate top layer in the Layer palette
10. Layers - New Raster Layer
11.
Selections –load/save selection –load selection from disc and choose: ‘’utopia_1 »
12. Activate Flood Fill Tool and fill the selection with the foreground color #ffffff
13. Layers- Duplicate
14. Layers- Merge- Merge- Down
Selections-Deselect All
15. Effects - 3D-effect/ Drop shadow with these settings: 3/6/50/10 black
16. Layers- New Raster layer
17.
Selections –load/save selection –load selection from disc and choose: ‘’ utopia_2’’
18. Activate Flood Fill Tool and fill the selection with the foreground color: #ffffff
19.
Selections – Modify – Contract of 15 pixels
Hit the DELETE Key of your Keyboard

20. Layers- New Raster layer
21. Activate the tube ‘’ Renee_tube_lpacheco.pspimage’’
- Edit/copy- Edit/ paste into selection
Selections-Deselect All
22. Double click on this layer and set the Blendmode to " Soft Light "Set the layer opacity of this layer to 81%
23. Effects- Edge Effects- Enhance
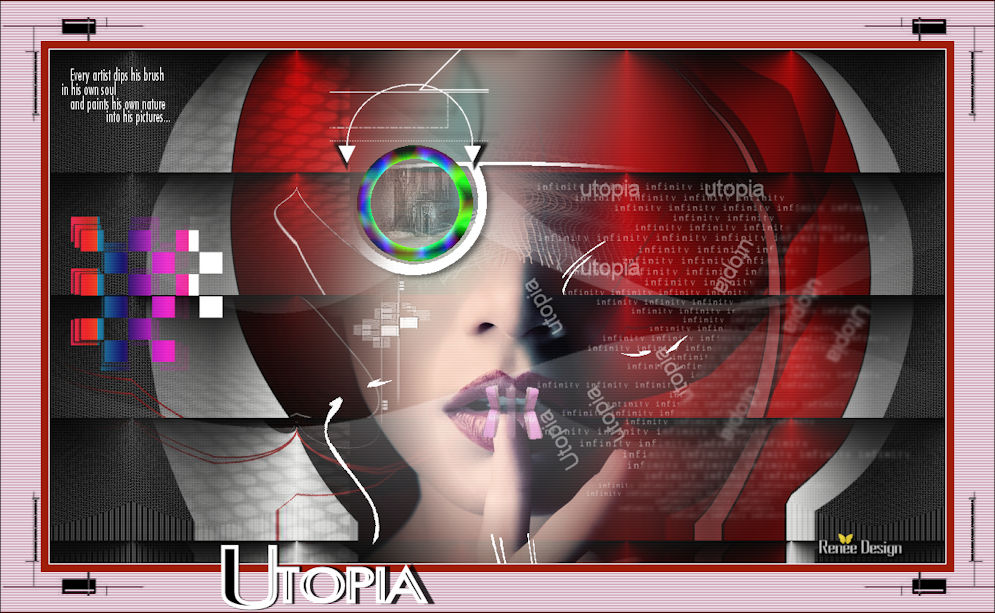
you should have this result:
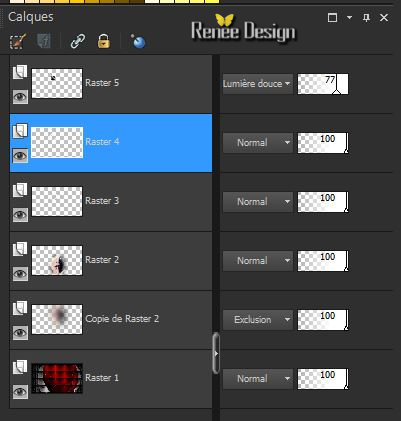
- Layer-Palette: Make Raster 4 active ( =the layer underneath)
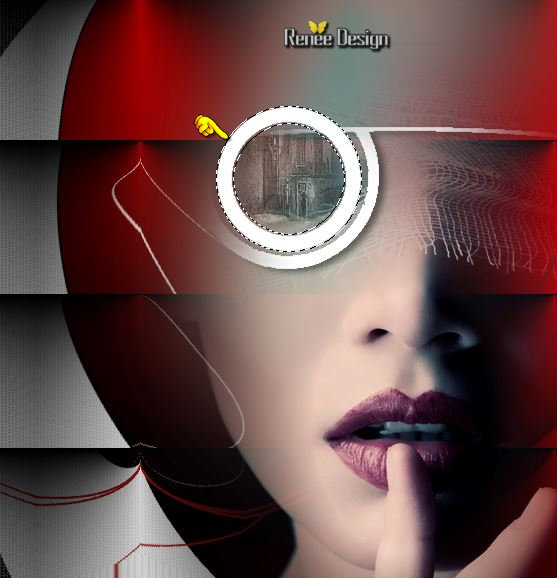
24. Activate the Magic Wand – Select the white circle as shown in the example below
25. Activate Brush Lighten/Darker with the same settings – use settings as shown in the example below (push L on your keyboard)

-
Hold the right mouse button pressed, make little traces in this area. Start high and than go down in order to obtain this effect as shown in the example below )
- Repeat 2 a 3 times the same mouvements (carefully) on this part of the tube in order to clarify the area
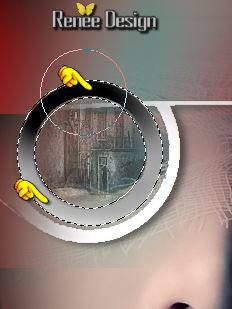
26.
Effects-Plugins -Unlimited - VM Instant Art- Colorfield
Generator II..with these settings .
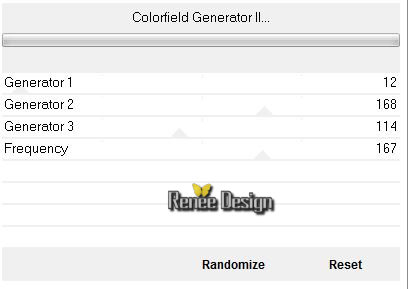
Selections-Deselect All
- Activate top layer in the Layer palette
27. Activate the tube ‘’ texte_utopia_1.png’’
- Edit/copy- Edit/ paste as new layer on your working image
28. Effects-Image Effects-Offset with these settings H = 276 and V = -29
29. Activate Freehand Selection Tool-Selection Type- point to point
Select this part as shown in the example below
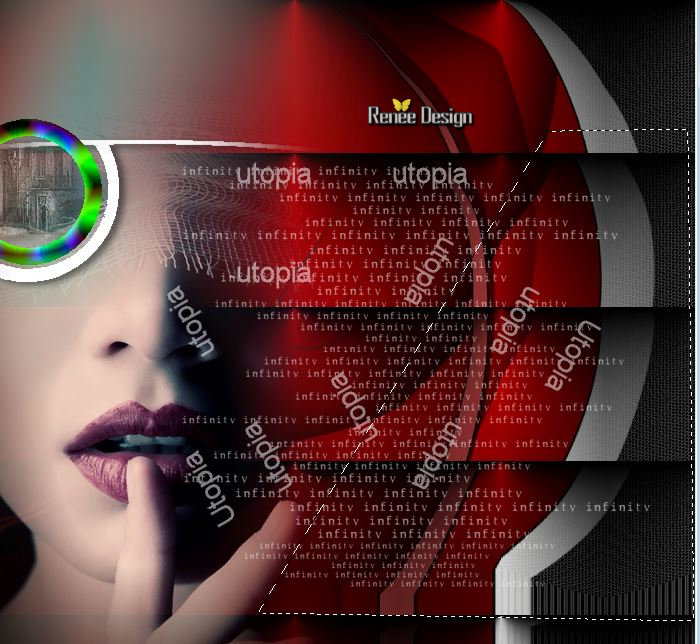
30. Adjust- Blur-Gaussian Blur: Radius: 2
Selections-Deselect All
-
Set the layer opacity of this layer to 40%
31. Layers- New Raster layer
32.
Selections –load/save selection –load selection from disc and choose: ‘’ utopia_3’’
33. Activate Flood Fill Tool and fill the selection with the foreground color #ffffff
Selections-Deselect All
34. Effects
–Plugins- Unlimited - VM Distortion - Radiator..with these settings .
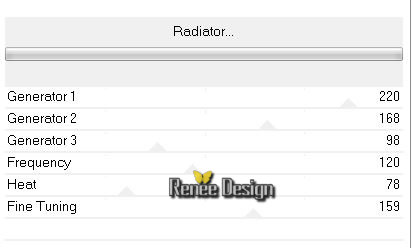
35. Activate the tube ‘’utopia-lips_effect’’
- Edit/copy- Edit/ paste as new layer on your working image
- Place on the mouth
36. Layers- New Raster layer
37. Open the Brush image _utopia_1 >in your Psp- File- Export Custom Brush-Give it a name utopia_1
38 Activate your Brush Tool with these settings and choose the brush Utopia_1

- Place the brush with the foregroundcolor white on her left cheek
39. Layers- Duplicate
40. Layers- Merge- Merge Down
41. Layers- New Raster layer
42. Open the Brush image _utopia_2 >in your Psp -File- Export Custom Brush-Give it a name utopia_2
43.
Activate your Brush Tool with these settings and choose the brush Utopia_2/Size 200

- Stamp your brush by using your foreground color as shown in the example below
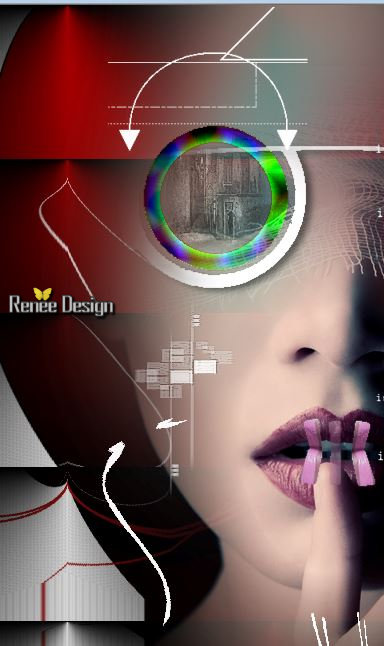
44.
Effects -Plugins –Unlimited – EyeCandy 5 Impact – perspective shadow-
tab Settings/User settings choose my preset: ‘’utopia_1.fls’’
45.
Layers- New Raster layer
46.
Selections –load/save selection –load selection from disc and choose: ‘utopia_4’’
47. Activate Flood Fill Tool and fill the selection with the foreground color #ffffff
Selections-Deselect All
48.
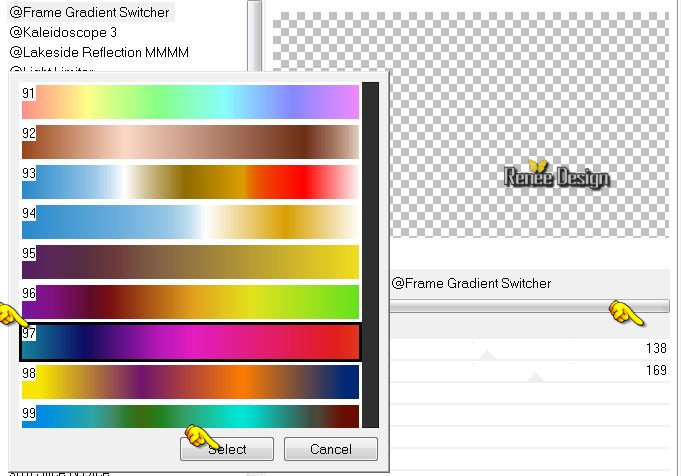
Effects –Plugins- Unlimted - &<Background Designers
IV>-@Frame Gradient Switcher on the menu select-Gradient > 97 >with these settings
49. Layers- Merge- Merge Visible
50. Layers- New Raster layer
51. Pot of Paint: Change the opacity of the color at 30% -Activate Flood Fill Tool and fill the layer with the foreground color white
52.
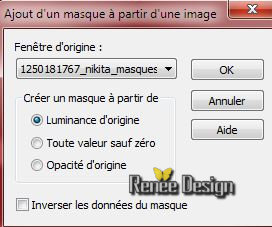
Layers- New Mask layer from Image and choose Mask: »
1250181767_nikita_masques »
53. -Layers- Merge- Merge Group
54.
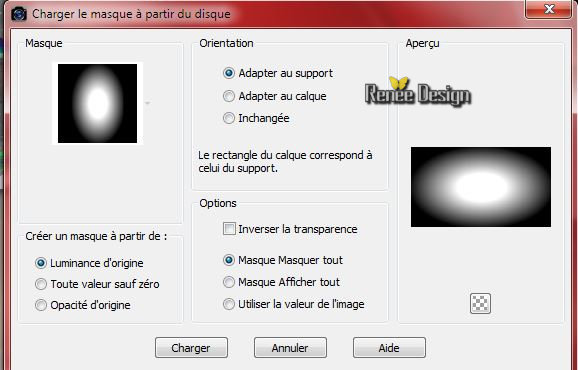
Layers-Load/Save Mask-Load mask from Disk and select‘’mask2020 ‘’
- -Layers- Merge- Merge Group
55. Layers- New Raster layer
56.
Selection Tool ( S ) Custom selection use settings below
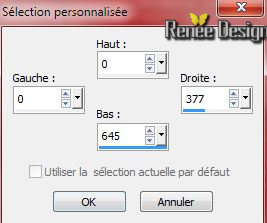
58. Flood Fill Tool-Opacity 100%
- Activate Flood Fill Tool and fill the layer with #ffffff
59.
Layers- New Mask layer from Image and choose Mask: ‘’mask-Tamer
11.jpg’’
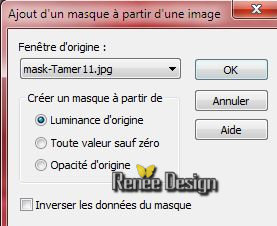
-Layers- Merge- Merge Group
60. Double click on this layer and set the Blendmode to " Overlay"
-Swap your materials, so the white color is on the bottom
61.
Effects – Plugins – CPK Design- Eyes / Effect
Intensity a 0
Selections-Deselect All
62. Layers- Merge- Merge Visible
63. Effects
–Plugins – Richard Rosenman – Scanlines with these settings
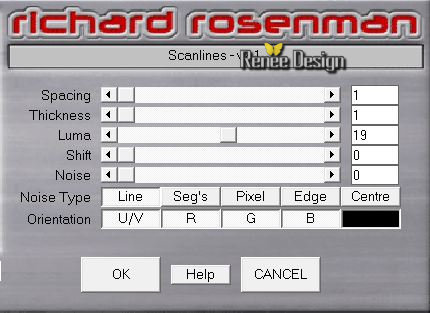
64. Activate the tube’’ texte_utopia_2’’
- Edit/copy- Edit/ paste as new layer on your working image
Move Tool: Move to the Top Left corner
65. Image - Add borders-Symmetric checked: 1 pixel #ffffff
66. Image - Add borders-Symmetric checked: 10 pixels #9e1e0a
67. Image - Add borders-Symmetric checked: 50 pixels #b56590
68. With the magic wand -select the border of 50
pixels
69. Effects
– Plugins – Richard Rosenman – Scanlines with these settings
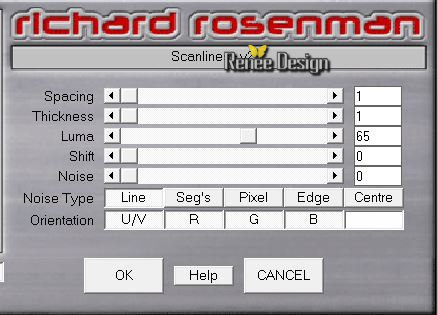
Selections-Deselect All
70. Activate the tube ‘’ Utopia_renee_deco’’
- Edit/copy- Edit/ paste as new layer on your working image
- With your move tool place it in the right place
71. Layers- Duplicate-Image Flip
72. Layers- Merge- Merge- Down
73. Image - Add borders-Symmetric checked: 1 pixel black
74. Activate the tube ‘’ Renee_Utopia_titre’’ -Edit/copy- Edit/ paste as new layer on your working image and move- Write your own text (Font is into the zipfile)
75.Image
Resize a 995 pixels width
Save as JPG
I hope you enjoyed this tutorial .
Renée
This lesson was written by Renée 24/07/2015
edited and update
2015
*
Any resemblance with an existing lesson is merely a coincidence *
* Don't forget to thank the people who work for us and with us. I named the tubeurs - Testers and the translators.
Thanks Renée.
*
| 
 Translations


 When you see this logo the filter is imported in Unlimited


 All rights reserved