|
New
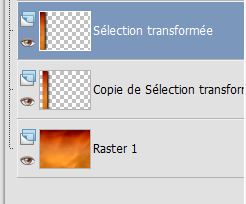
Let's start the lesson. 1. -Material Properties: Foreground color to this color:# 404040 Background color to this color: # 000000 2. Open the background image ''renee -fond-apesanteur'' We will work on it/ Promote Background Layer =Raster 1 3. Selections - load/save selection- load selection from disk and select my file ''renee_apesanteur-1'' 4. Selections- Promote selection to layer 5. Effects- Plugins -EyeCandy 5 Impact -Perspective shadow -tab Settings/User settings choose my preset:''renee_apesanteur_sahdows1'' 6. Selections- Deselect All 7. Layers- Duplicate - Layers- Arrange- Move Down 8. Effects- Image Effects- Offset with these settings H = 50 and V = 0 - Your Layer Palette look like this now:
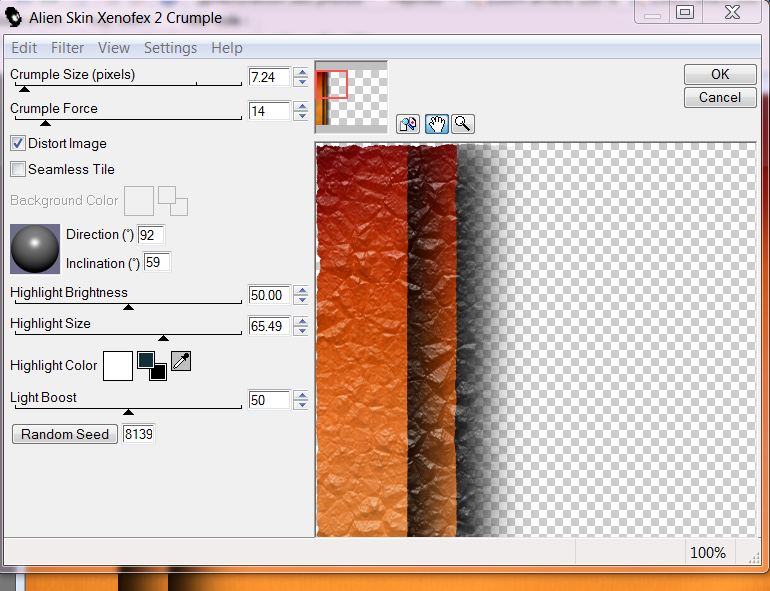
9. Layers- Merge- Merge Down 10. Effects- Plugins - EyeCandy – Xenofex 2 Crumple
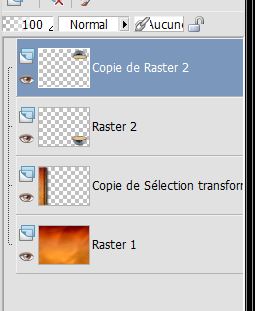
11. Open the tube ''claudiaviza-mix76 '' (I modified) I leave you with three changes if you want to serve again in later for another creation 12. Layers-Merge- Merge Visble:Raster 1 + 2 + 3 (This modified tube !!!!! ) - Edit/copy-Edit paste as a new layer on your working area 13. Image Resize 50% Resize all Layers not checked - Move Tool: Move down 14. Layers- Duplicate / Image Flip - Your Layer Palette look like this now:
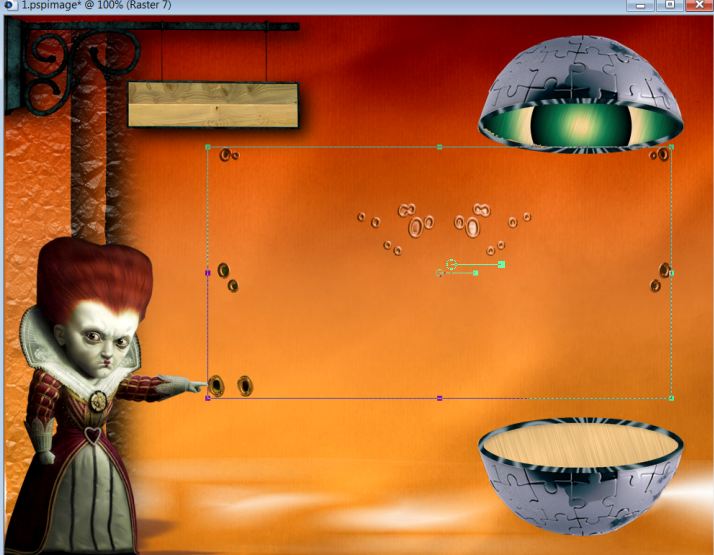
15. Activate the bottom of the Layer-Palette(Raster1) 16. Layers- New raster layer 17. Selections - load/save selection- load selection from disk and select my file '' renee – apesanteur 2'' 18. Material of the foreground - select my file in the list ''renee apesanteur''- Prepare a linear gradient : 0-0 -Activate Flood fill tool and fill the lselection with the gradient Click 2 x into selection 19. Selections- Deselect All 20. Adjust-Sharpness-Sharpen 21. Open the tube ''apesanteur pancarte '' Edit-Copy-Edit-Paste as a new layer on your working area /With your move tool move to the upper left side 22. Effects- Plugins -EyeCandy 5 Impact – Perspective shadow -Tab -Settings -Preset -Drop shadow blury 23. Open the tube ''You're banned PSP devil'' Image Resize 75% /Edit/copy-Edit paste as a new layer on your working area and move 24. Effects- Plugins- EyeCandy5 Impact – Perspective Shadow - Preset -Short perspective shadow in back 25. Layers- Arrange- Move Down-(underneath the pancarte layer) 26. Actvate your Magic Wand //Layer Palette activate copy of raster 2 –select this part as shown
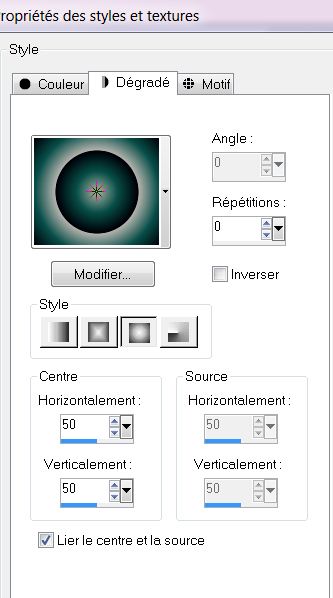
27. Activate the top of the Layer-Palette 28. Layers- New Raster layer 29. Material of the foreground - select my file in the list : ''Es Ocean Breeze 086'' Prepare a sunburst gradient configured like this.
30. Activate Flood Fill Tool and fill the selection with the gradient /Layer Palette -Double click on this layer and set the Blendmode to Hard Light 31. Selections- Deselect All 32. Layers- Arrange- Move Down /Arrange the layer above raster copy of raster 2 33. Layers- Merge- Merge Down 34. Open the tube – ''apesanteur billes'' Edit/copy-Edit paste as a new layer on your working area and place like this
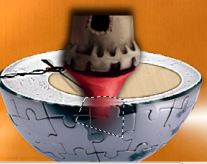
Layer Palette -Double click on this layer and set the Blendmode to Hard Light 35. Open the tube ''apesanteur – corset ''Edit/copy-Edit paste as a new layer on your working area and move - Layers- Arrange- Move Down 36. Open the tube ''apesanteur I spend with you '' Edit/copy-Edit paste as a new layer on your working area and move 37. Open the tube ''inter745 machin volant'' activate raster 1 of the tube /Image Resize 50% Edit/copy-Edit paste as a new layer on your working area and move 38. Effects- Plugins -Eycandy5 Impact -perspective shadow –Tab- Settings- Preset/ reflect in front We dress up the two hemispheres 39. Open the tube '' apesanteur- tubes divers – This tube has several layers of components that we each go places. - Open the tube '' cadran ''/Edit/copy-Edit paste as a new layer on your working area and move - Open the tube ''la tour'' /Edit/copy-Edit paste as a new layer on your working area and move - Freehand Selection-Lasso-Select this part
- Adjust-Blur-Gaussian Blur-Radius: 10 / Selections- Deselect All - Set the layer opacity of this layer to 93 % - Layers- Duplicate /Image- Flip – Place it over the top of the sphere - Open the tube ''Treagen _2644 » Image Resize 40 % Edit/copy-Edit paste as a new layer on your working area and move - Effects- Plugins - Eyecandy 5Impact - perpsective shadow -Tab Settings- Preset / drop shadow blury - Layer Palette -Double click on this layer and set the Blendmode to Hard Light -and set the layer opacity of this layer to 77 % 40. Return to the tube ''apesanteur -tubes divers '' 41. Open the tube ''lanterne'' /Edit/copy-Edit paste as a new layer on your working area and move 42. Open the tube ''ressort '' /Edit/copy-Edit paste as a new layer on your working area and move 43. Open the tube ''cadenas ''/Edit/copy-Edit paste as a new layer on your working area and move -Is all in place? 44. Color Palette: FG-Color to color black - Activate Pen Tool with these settings : Line style: Small Dash Size 4 Look good that everything fits nicely
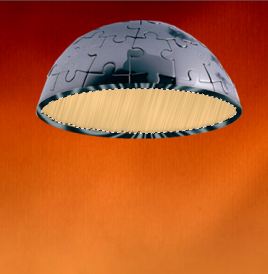
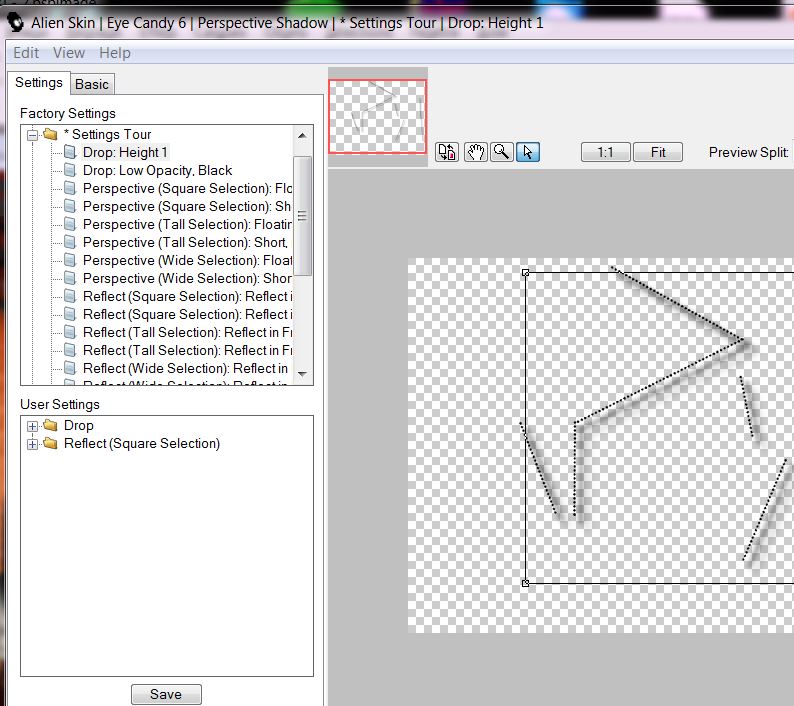
**Please note that if you draw lines on a new layer then merge them into one layer 45. Effects- Plugins Eyecandy 6 Perspective-Shadow -Tab- Factory Settings - Drop Height 1 This is the result
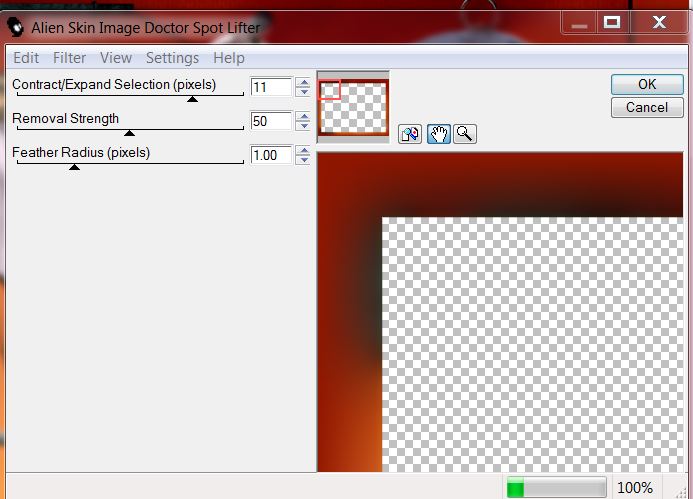
46. Open the tube ''awd magicien '' Edit/copy-Edit paste as a new layer on your working area and move 47. Effects- Plugins -EyeCandy 5 – Gradient Glow – Tab -Settings/User settings choose my preset:'' apesanteur -gardient glow'' - Open the tube ''chaine_kw'' /Selection Tool-Rectangle -select 2 rings //Edit/copy-Edit paste as a new layer on your working area and place at the top of the hemisphere 48. Effects- 3D Effects- Drop Shadow settings your choise 49. Return to the tube ''apesanteur -tubes divers '' -Activate ''boussole and manivelle and the key with chain// Edit/copy-Edit paste as a new layer on your working area and place 50. Layers- Merge-Merge Visible 51. Image - Add borders-Symmetric checked: 5 pixels black 52. Image - Add borders-Symmetric checked: 65 pixels #921600 53. With the magic wand select the white border of 65 pixels 54. Selections- Promote selection to layer 55. Effects- Plugins -Alien Skin Image Doctor / Spot Lifter
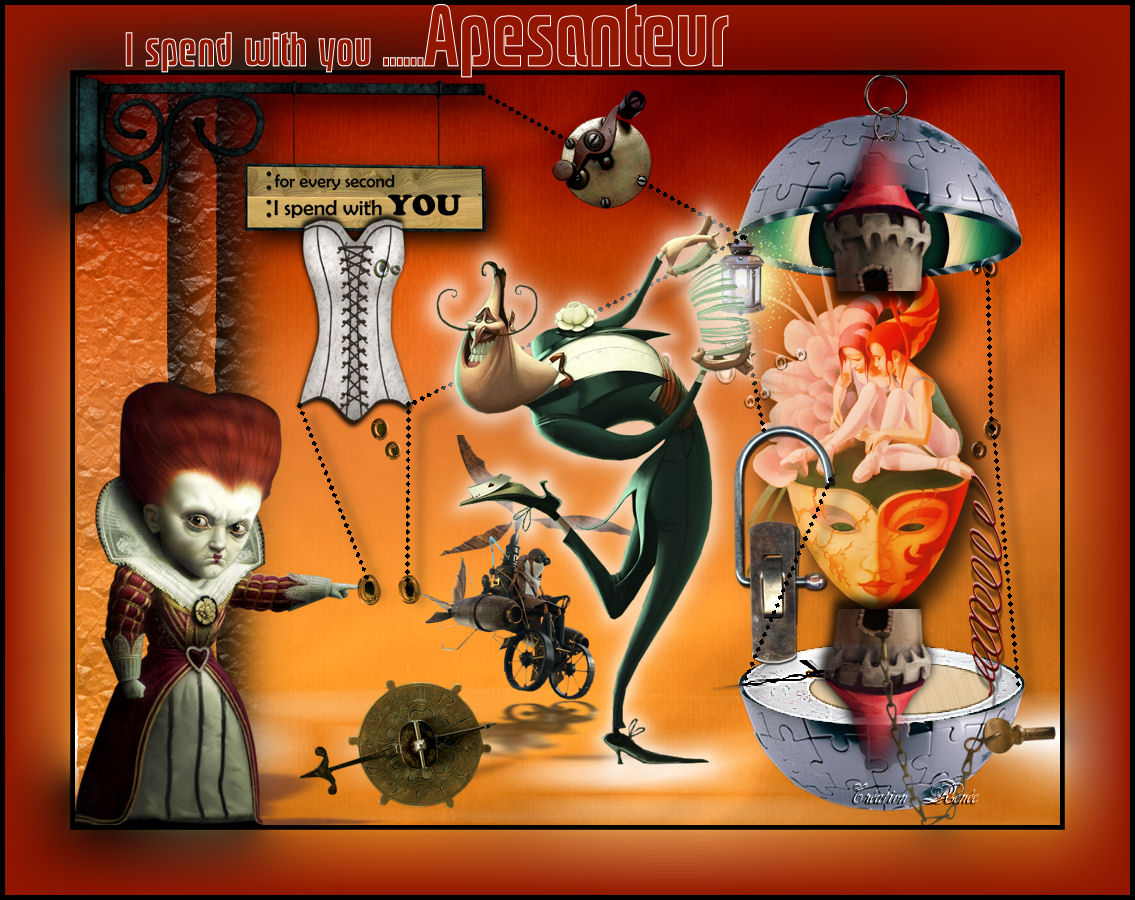
56. Selections- Deselect All 57.Open the tube "text" Edit/copy-Edit paste as a new layer on your working area and move/ Ore write your own text 58. Image - Add borders-Symmetric checked: 5 pixels black Save as JPG
I hope you enjoyed this lesson Renée
27/10/2012 *
Any resemblance with an existing lesson is merely a coincidence * * Don't forget to thank the people who work for us and with us. I named the tubeurs - Testers and the translators. Thanks Renée.
I am part of Tutorial Writers Inc. My tutorials are regularly recorded.
*
|

 Translations