|
New
Translations here
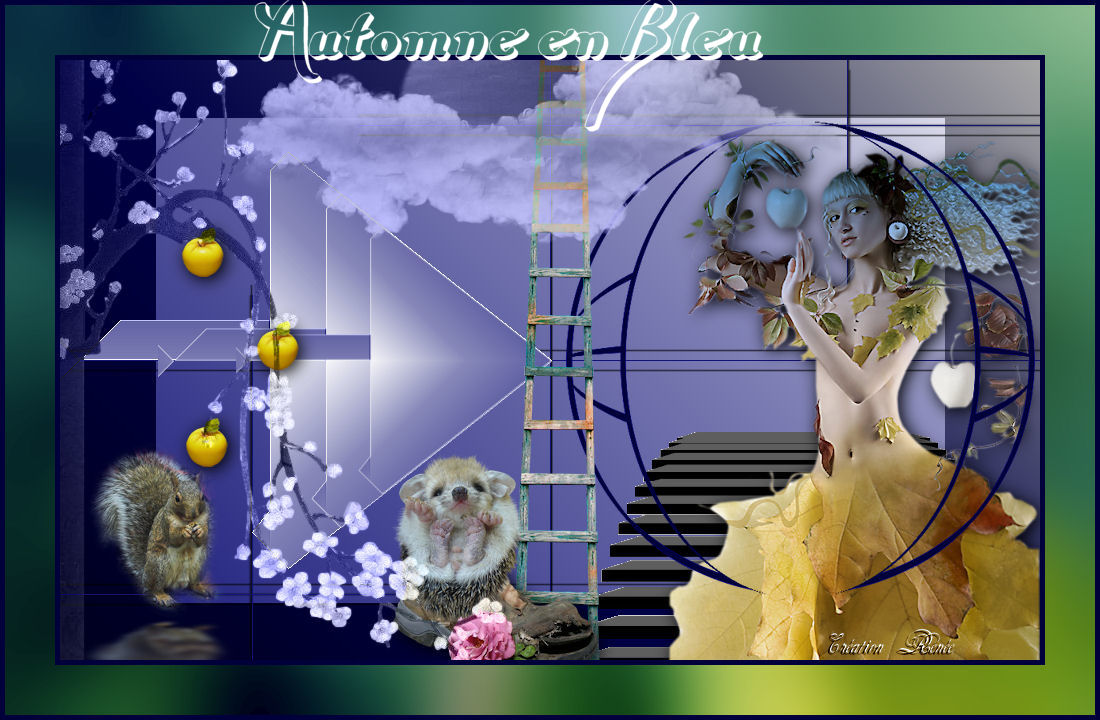
Automne en Bleu
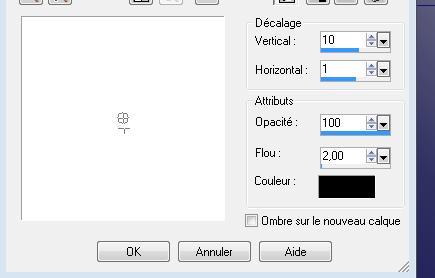
Let's Start 1. File - New - Open a new transparent image 980 /600 pixels 2. Color-palette:Set your foreground color to color #121376 -Set your background color to color #ffffff Set your foreground to gradient 'Foreground-background' - Linear - Angle 45 - Repeats 0 - Invert not checked. 3. Effects- Plugins - Filtre Mock /Window 128/216/25/25/25/25 4. With the magic wand -select the transparent lines 5. Activate Flood Fill Tool and fill the selection with the dark color 6. Effects- 3 D Effects- Drop Shadow with these settings
7. Repeat: Effects- 3 D Effects- Drop Shadow negative H-10 / V -10 8. Selections-Promote selections to Layer 9. Effects-Image Effects- Offset with these settings H = 297 and V = 235 10. Repeat: Effects- 3 D Effects- Drop Shadow with the same settings ( see point 6 and 7 ) 11. Layers- Duplicate- Image Mirror- Image Flip 12. Layers- New Raster Layer 13. Selections –load/save selection –load selection from disc and choose my selection:'' @renee-eclatement'' /Change the settings of gradient Angle 45 - Repeats 1 - Invert not checked. Activate Flood Fill Tool and fill the selection with the gradient 14. Selections- Deselect All 15. Effects- Plugins -Unlimited 2.0 - &<BKG Kaleidoscope/Blue Berry pie 16. Effects- Edge Effects- Enhance 17. Effects-Image Effects- Offset with these settings H= -280 and V = 0 18. Layers- Duplicate- Image Resize 80 % resize all layers not checked 19. Layers- Duplicate- Image Resize 80 % resize all layers not checked 20. Open the tube ''@ann071011'' -Edit/ Copy-Edit - Paste as new layer on your working image and move 21. Layers -New Raster Layer 22. Selections –load/save selection –load selection from disc and choose my selection:'' @renee-eclatement1''/Activate Flood Fill Tool and fill the selection with the foreground color 23. Selections- Deselect All 24. Effects- Edge Effects- Enhance 25. Effects- Geometric Effects- Circle /repeat checked 26. Layers- Duplicate- Image Mirror-Layers- Merge- Merge Down 27. Layers- Duplicate- Image Resize 80 % resize all layers not checked 28. Effects-Image Effects- Offset with these settings H = 250 and V = 0 29. Open the tube " femme_ a _la_ pomme. thaf" Image Resize 75% 30. Edit/ Copy-Edit - Paste as new layer on your working image and move 31.Effects- Plugins - Nick color Effex Pro 3.0 /Graduated Filters /Color blue 4 With the Eyedropper you can chose to pick a color that also matches your tube. 32. Layers- Arrange- Move Down 33. Effects- 3 D Effects- Drop Shadow with these settings 3/3/100/25/color black 34. Open the tube « 1Patries_Spring Chorus »Image Mirror /-Edit/ Copy-Edit - Paste as new layer on your working image 35. In the Layer- Palette- Double click and set the Blend Mode to "Luminance- Legacy " 36. Open the tube « friem-divers25 »Image Resize 35% Edit/ Copy-Edit - Paste as new layer on your working image 37. Open the tube « Gerry Dieren 74 « Image resize 45% -Edit/ Copy-Edit - Paste as new layer on your working image and move 38. Open the tube « pjw-moon0-97y76-9/-Edit/ Copy-Edit - Paste as new layer on your working image 39. In the Layer- Palette- Double click and set the Blend Mode to "Luminance- Legacy " 40. Effects- Plugins -FMTile tools /Saturation emboss/ using the default settings 41. Open the tube « ecureuil « Image Resize 45 % -Edit/ Copy-Edit - Paste as new layer on your working image and move 42. Effects- Plugins - Eyecandy 5 Impact /Perspective shadow /Preset - Reflect in front sharp 43. Open the tube « echelle « -Edit/ Copy-Edit - Paste as new layer on your working image and move 44. Layers Arrange- Move Down under the layer of the shoe 45. Open the tube ''claudiaviza-mix78 '' activate the selected apple --Edit/ Copy-Edit - Paste as new layer on your working image and move to the left side /Image Resize 40% resize all layers not checked -Layers Duplicate 2x and move I applied a shadow on the apples with these settings 3/3/100/25 color black All in Place ? 46. Layers- Merge- Merge - Visible 47. Edit/ Copy!!! 48. Image - Add borders-Symmetric checked: 5 pixels foreground color 49. Image - Add borders-Symmetric checked: 50 pixels #ffffff 50. Activate the Magic Wand and select the white Border of 50 pixels 51. Edit/ Paste into selection (Image is still in your PSP memory) 52. Adjust- Blur- Gaussian Blur- Radius 35 53. Selections- Promote selection to Layer 54. Selections- Deselect All 55. Effects- Plugins -Adjust variation /click more green 56. Image - Add borders-Symmetric checked: 5 pixels foreground color
Write your text. Save as JPEG
* I am part of the Tutorial Writers Inc. My tutorials are registered regularly ReneeGraphisme_All rights reserved
|
 Translations