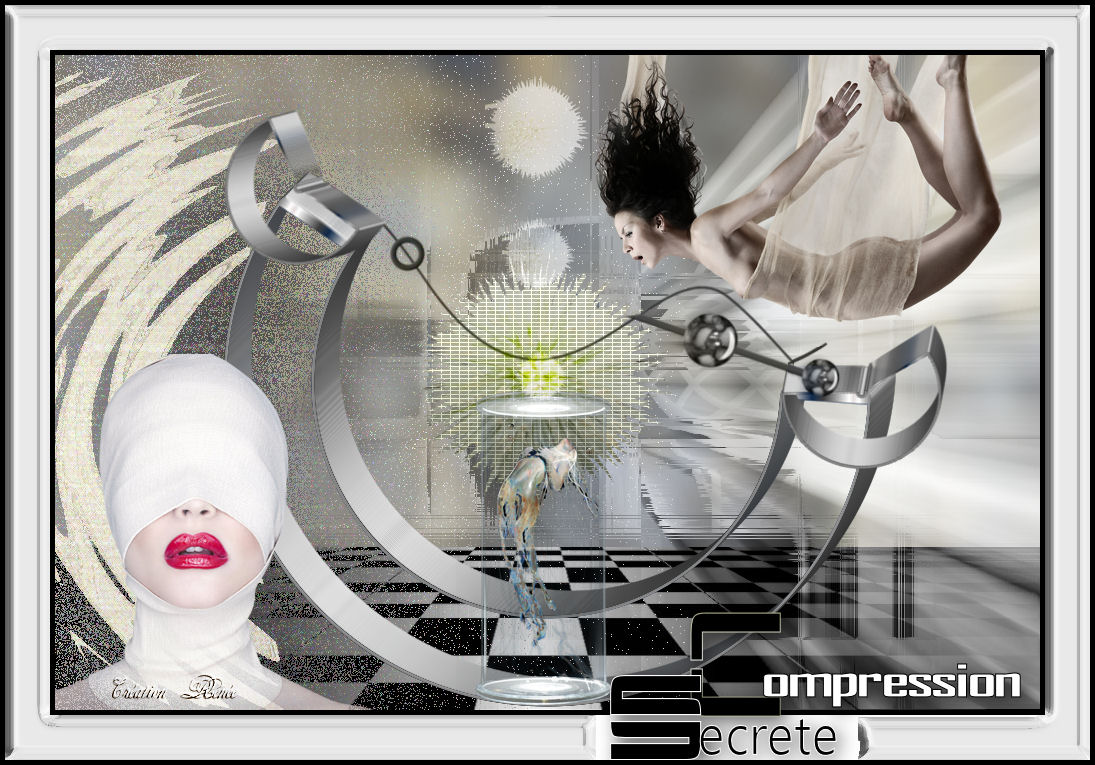
New
Translations here
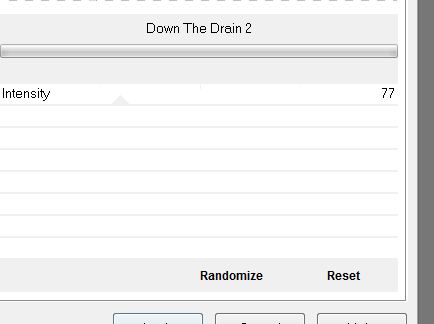
Let's start the lesson. 1. Open the Background Image -fond ''renee _Compression secrete-Window - Duplicate (or shift+D) - Close the original and proceed on the copy-Promote Background layer=Raster 1 2. Layers- New raster Layer 3. Selections - load/save selection- load selection from disk and select my file ''renee_Compression secrete '' 4. Open the tube ''WIOSNA by_Mago 74'' Edit/Copy-Edit paste into selection 5. Selections-Deselect All 6. Effects- Plugins - Unlimited 2.0 - Distorsion Filters /Down The Drain 2
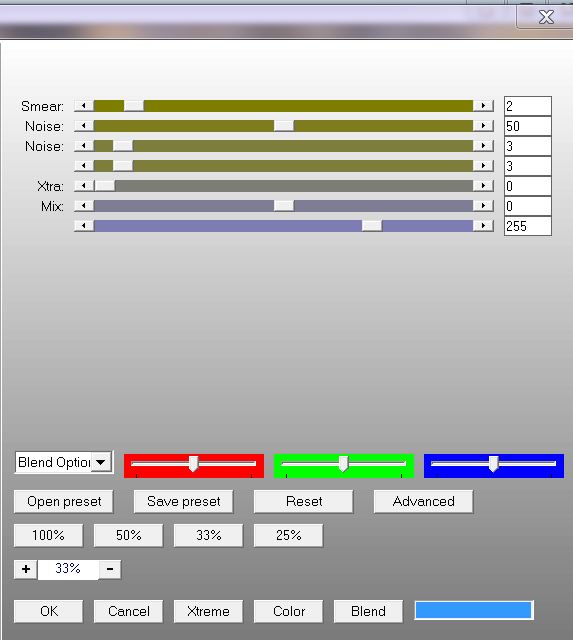
7. Effects- Plugins -EyeCandy 5 Impact /Perpsective shadow – Drop shadow low 8. Effects- Plugins - AP 05 (noise) / FaintLine with these settings
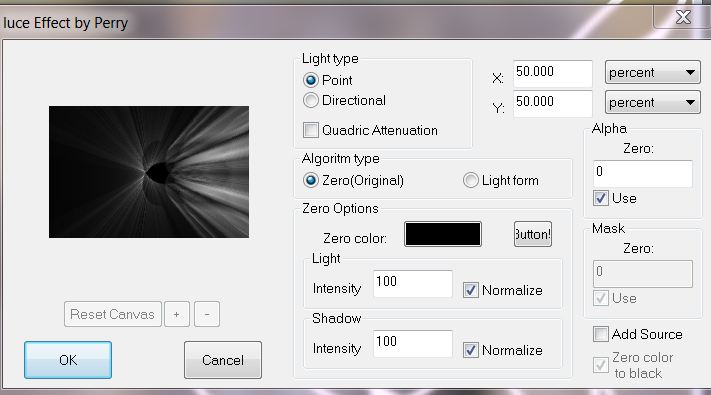
9. Layer Palette -Double click on this layer and set the Blendmode to Dissolve 10. Layers- New raster Layer 11.Selections - load/save selection- load selection from disk and select my file ''renee_Compression secrete_4'' 12. Activate Flood Fill Tool and fill the selection with color white/#ffffff 13. Selections-Deselect All Do you have problems with this filter ( l'amigo Perry- luce )''lamigo perry pspimage'' is into the zipfile and paste as a new layer on your working area *** *Attention filter L'amigo Perry -luce the filter effect is under Luce but installs under the L' amigo Perry filter in your psp 14. Effects- Plugins - L'amigo Perry-Luce with these settings
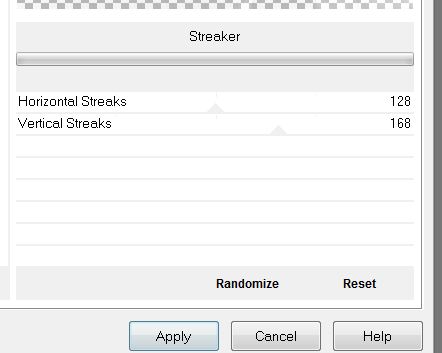
15 Effects-Plugins - Unlimited2.0 -Psychosis/ Streaker (it can also be found in Plugins-Funhouse)
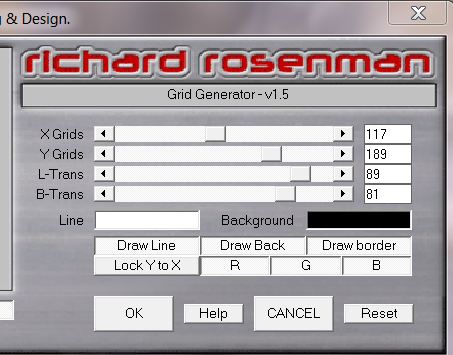
16. Layer Palette -Double click on this layer and set the Blendmode to Hard Light - For a powerful color on the tube play with the blend mode 17. Open the tube ''dalhia ' Edit/copy-Edit paste as a new layer on your working area /Do not move it is the right place 18. Effects- Plugins – Richard Roseman /Grid generator Click for the filter Reset and Lock Y to X and then the settings
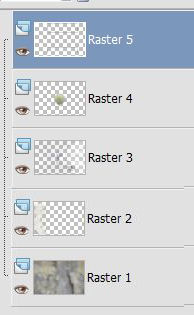
19. Layers- New raster Layer 20. Selections - load/save selection- load selection from disk and select my file ''renee_Compression secrete_2'' 21. Properties Foreground:foreground to gradient and select my file in the list ''Xtrem 23ms'' Prepare a linear gradient configured like this 0/0 invert not checked - Activate Flood Fill Tool and fill the selection with the gradient 22. Selections-Deselect All 23. Layers- Duplicate- Image- Flip 24. Layers- Merge- Merge- Down - Your layer palette looks like this, you should have this result:
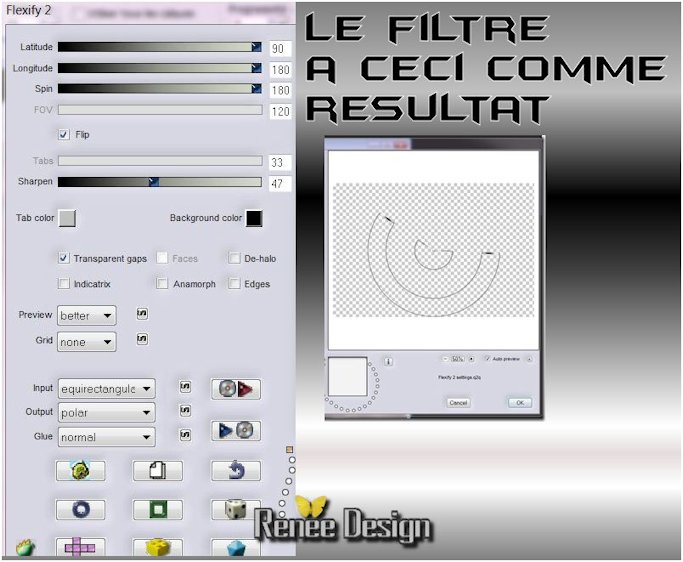
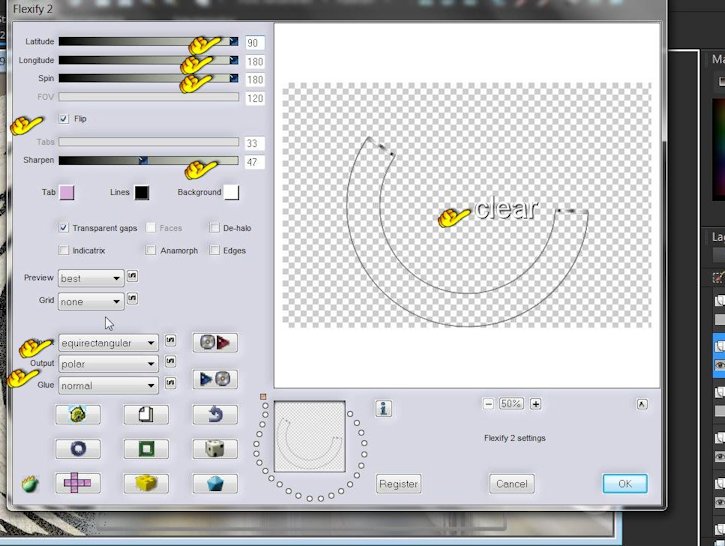
25. Effects-Plugins - Flaming Pear- Flexify 2-(preset in zip file )click the little red arrow and choose my preset : ''Flexify2 setting.q2q'' /click on the preset and OK (Or manuell settings like this ) if you do not get this small effect in the middle/activate this tube '' 2 demi cercles .pspimages '' and skip point 27 to 33 on the lesson
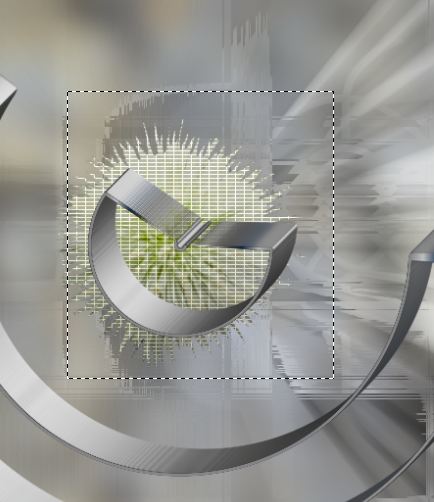
26. Effects-Plugins -EyeCandy 5 Extrude - tab settings/user settings - choose my preset - ''renee_extrude_compression secrete'' 27. With your Selection Tool-Rectangle (S) select the central part like this
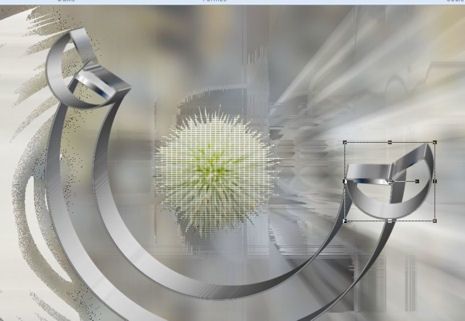
28. Selections- Promote selection to layer 29. Activate the layer underneath /Hit the Delete Key of your Keyboard 30. Selections- Deselect All 31. Activate the top of the layer-Palette (the small shape layer) 32. Image Resize with 80 % 33. Layers- Duplicate-Hit the K key of your Keyboard and place like this
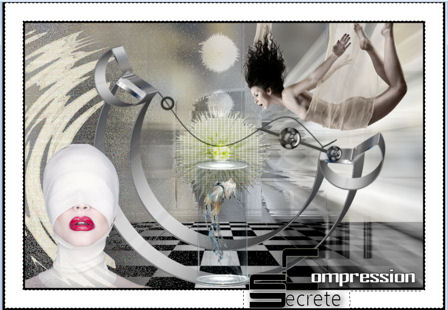
**resume here *if you do not succeed I've put the effects into the zip-file -paste as a new layer on your working area 34. Layers- Merge- Merge 2x Down 35. Activate the bottom of the layer-Palette=Raster 1 36. Open the tube ''sol'' Edit - Copy-Edit - Paste as new layer on your working area - Attention -WITH arrow keys on the keyboard to move the layer down to 500 pixels 37. Activate the top of the layer-Palette 38. Open the tube ''Compression secrete_1'' Edit - Copy-Edit - Paste as new layer on your working area and move 39. Layer Palette -Double click on this layer and set the Blendmode to Luminance Legacy 40.Open the tube ''nicole-etrange5b-2012'' /Image Resize with 35% Edit - Copy-Edit - Paste as new layer on your working area and move 41.Open the tube ''rene_Compression secrete _image _2'' Edit - Copy-Edit - Paste as new layer on your working area and move 42. Layer Palette -Double click on this layer and set the Blendmode to Overlay and set the layer opacity of this layer to 60% 43. Open the tube ''Nicole-portrait 17-2012'' /On this tube !!!! Layers-New mask layer from Image and choose mask: ''!ket01''/Layers- Merge-Merge Group - Image Resize with 80% - Edit -Copy-Edit - Paste as new layer on your working area and move 44. Open the tube ''nicole-femme 58'' Image Resize with 50% Edit -Copy-Edit - Paste as new layer on your working area and move 45. Layers- Merge- Merge All 46. Image - Add borders-Symmetric checked: 5 pixels color black 47. Image - Add borders-Symmetric checked: 45 pixels color white 48. Image - Add borders-Symmetric checked: 5 pixels color black 49. Open the text/ Edit/copy-Edit paste as a new layer on your working area .Ore write your own text 50. Layers- Merge- Merge All (flatten) 51. With the magic wand -select the white border of 45 px but not the text !!!
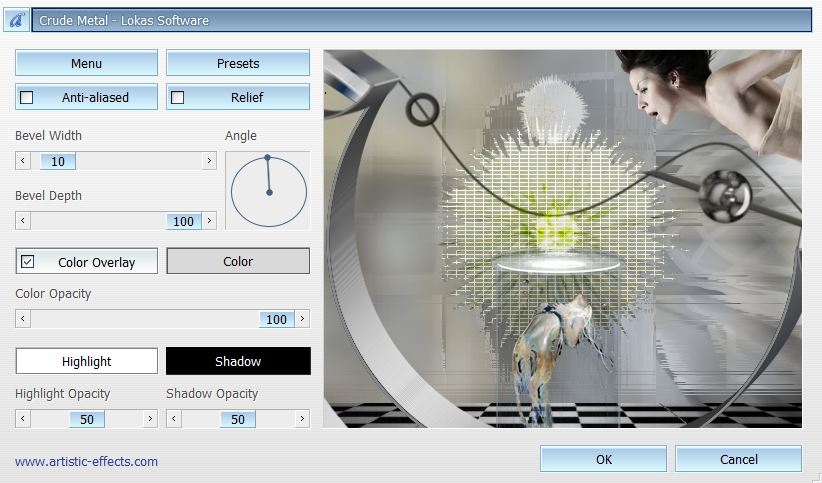
52. Effects- Pluigns- Lokas /Crude Metal -COLOR =#d9d9d9
53. Selections Deselect All . Save as JPG
- I hope you enjoyed this lesson This lesson was written by Renée Renée 18/01/2013 *
Any resemblance with an existing lesson is merely a coincidence * * Don't forget to thank the people who work for us and with us. I named the tubeurs - Testers and the translators. Thanks Renée. * 2014 reçu de TWInc I am part of Tutorial Writers Inc. My tutorials are regularly recorded. ReneeGraphisme_All rights reserved *
|
 Translations


