|
Traducteur ici
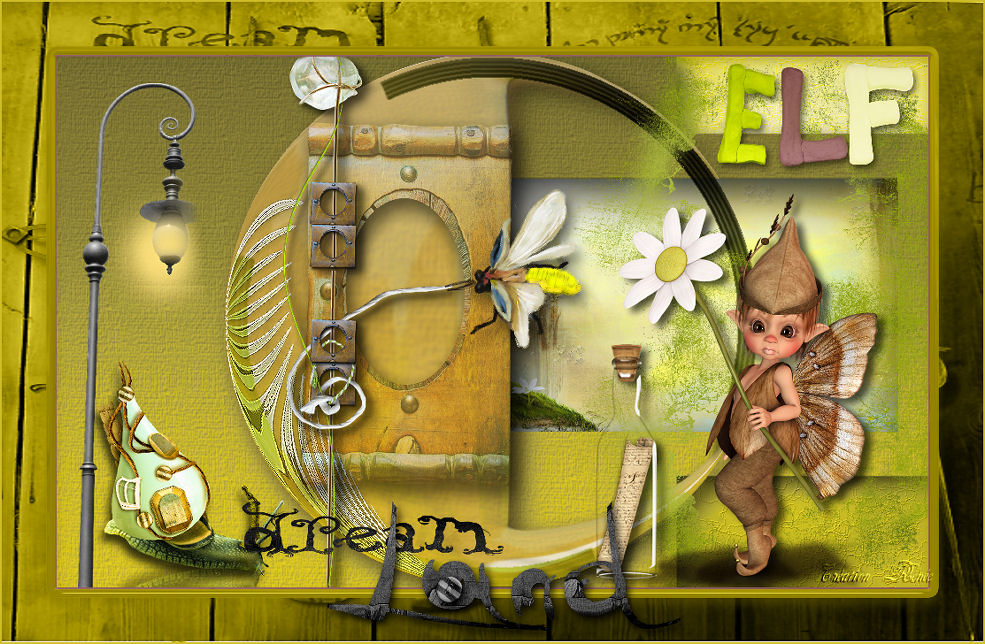
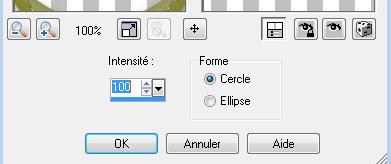
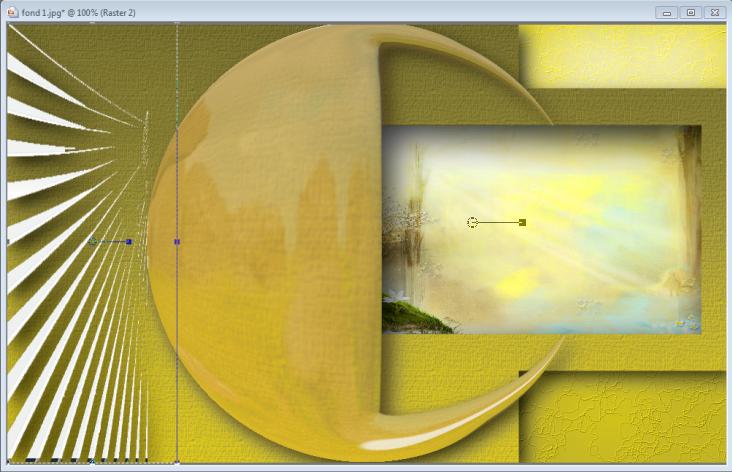
- Let's start the lesson. 1. Open the tube '' pspimage -fond1'' Window - Duplicate (or shift+D) - Close the original and proceed on the copy -Promote Background Layer =Raster 1 2. Effects-Plugins - EyeCandy5impact/perspective shadow-tab Settings/User settings choose my preset: ''renee-perspective-elfe1'' 3. Layers-Duplicate 4. Effects-Geometric Effects-Circle with these settings- transparent 5. Effects-Plugins -Eyecandy5impact/Glass -tab Settings/User settings choose my preset: ''renée -dreamland-elfe-glass'' 6. Effects-Geometric Effects-Spherize with these settings
- Repeat- Effects-Geometric Effects-Spherize with the same settings 7. Effet -Eyecandy5impact/ perspective
shadow 8. Selections - load/save selection - load selection from disk and choose my selection: ''renee-dreamland-elfe2'' /Hit the Delete Key of your Keyboard - Activate the top of the layer palette 9. Layers-New raster layer 10. Selections - load/save selection - load selection from disk and choose my selection: ''renee-dreamland-elfe 3'' 11. Effects-3D Effects-Cutout with these settings
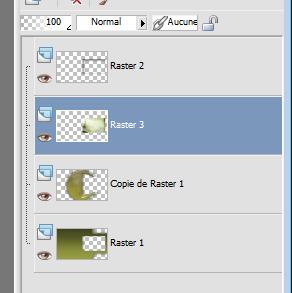
12. Layer Palette -Double click on this layer and set the Blendmode to Hard Light - Keep selected 13. Layers-New raster layer /Open the tube ''paysage dreamland'' -Edit/copy- Edit/ paste into selection 14. Selections-Deselect All /Layers-Arrange -Move Down Layer palette look like this now
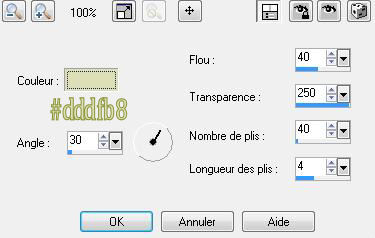
15. Selections-Deselect All - Activate the top of the layer palette 16. Layers-New raster layer 17. Flood Fill Tool: fill the layer with : #8a9436 18. Effects-Texture Effects-Fine Leather with these settings
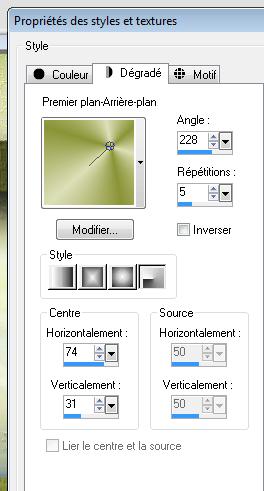
19. Layers-Arrange-Sent to Bottom 20. Material Properties: Set your foreground color to: #dddfb8 -Set your background color to: #8a9436 - Set your foreground to gradient 'Foreground-background' -Radial with settings below
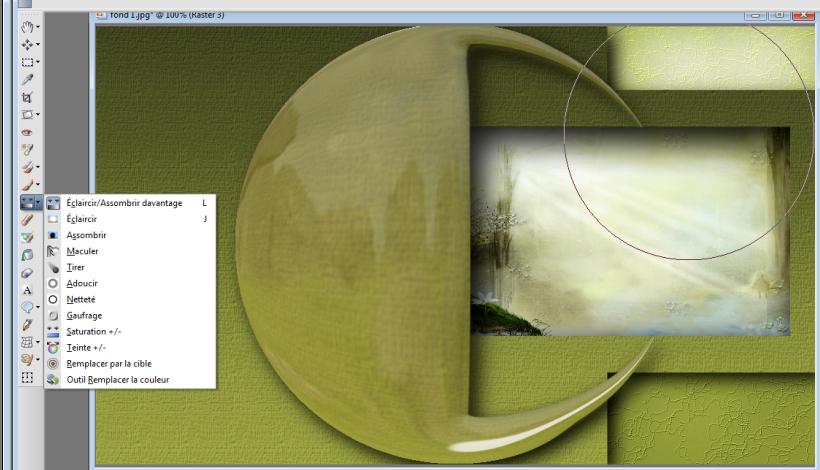
21.Activate Lighten/Darken Brush Tool (L) with settings below
- - Activate the bottom of the layer palette /apply like this as shown below-Your example has to be simular on mine (click with the left mousebutton)
- Click 8 a 10 times in the upper right corner,(click with the left mousebutton) the brush head moves slightly from side to side 22. Layers-Merge- Merge- Visible 23. Effects-Plugins -Flaming Pear /Kyoto color with these settings
24. Open the tube ''image1-dreamland-elf -
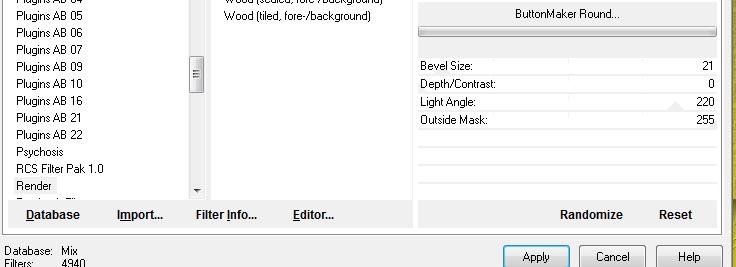
25. Effects-Plugins -Eye Candy5 - Impact - Glass -tab Settings/User settings choose my preset: ''renée -dreamland-elfe-glass'' 26. Effects-Geometric Effects-Circle with these settings- transparent 27. Effects-Edge Effects-Enhance - Activate the top of the layer palette 28. Layers-New raster layer 29. - Material Properties:-Set your background color to #8a9436 30. Effects-Plugins -Unlimited 2.0 / Render/Button Maker round with these settings
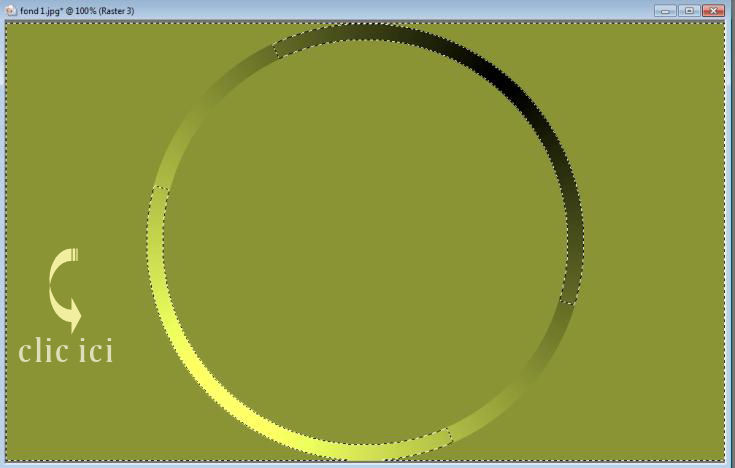
31. Activate the Magic Wand with these settings
- Activate the Magic Wand and select the left part
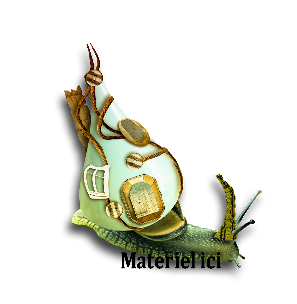
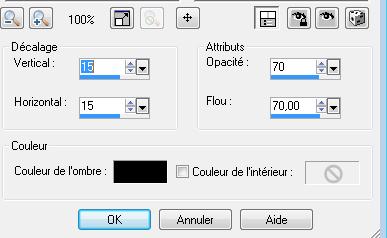
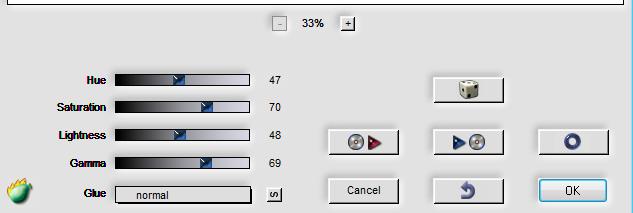
32. Hit the Delete Key of your Keyboard 33. Effects-Plugins - Eyecandy5impact/blacklight -tab Settings/User settings choose my preset: ''renee-blaklight-dreamland-elf - Layer Palette -Double click on this layer and set the Blendmode to Multiply 34. Selections-Deselect All 35.Open the tube ''porte bois -dreamland-elf'' -Edit/copy-Edit /paste as a new layer on your working area-Move Tool (M) move it into the right place Layer Palette -Double click on this layer and set the Blendmode to Hard Light and set the layer opacity of this layer to 59% 36. Open the tube ''renee-dreamland-elfe-enfant papillon - Edit/copy- Edit/ paste as new layer on your working area - Move Tool (M) move it into the right place -Image Mirror 37. Effects - 3D Effects - Drop shadow with these settings: 5/8/65/12 black 38. Open the tube ''renee-dreamland-elfe-reverbere''/Edit/copy- Edit/ paste as new layer on your working area and move 39. Open the tube ''renee-dreamland-elfe-escargot /Edit/copy- Edit/ paste as new layer on your working area and move 40. Calque dupliquer /image renverser /placer dessous et- Layer Palette -Double click on this layer and set the Blendmode to Hard Light and set the layer opacity of this layer to 46% 41. Open the ''renee-dreamland-elfe-attaches" /Edit/copy- Edit/ paste as new layer on your working area and move 42. Open the ''renee-dreamland-elfe-abeille /Image Resize 2x 85% Edit/copy- Edit/ paste as new layer on your working area 43. Material Properties: Set your foreground color to : #2e2a05 Layers-New raster layer - Open the Brush "tache" in your PSP File- Export -Custom Brush- Give it a name "tache" Activate the Brush Tool and choose my brush "tache" - Stamp your brush in the bottom right corner by using your foreground color- Layers-Arrange-Move Down (underneath Elfe enfant papillon) 44. Open the tube ''tache verte '' Edit/copy-Edit paste as a new layer. With your move tool move to the top right corner /Layers-Duplicate-Image Flip - Layers-Merge-Merge Down /Layers-Arrange-Move Down underneath raster 4 as shown in the example 45. Open the tube ''renee-dreamland-elfe-bouteille'' Edit/copy- Edit/ paste as new layer on your working area and move 46. Open the tube ''ecriture ELF''/Edit/copy- Edit/ paste as new layer on your working area and move Effects-Plugins Nick color and give it a nice color, see what is best for you ! 47. Layers-Merge- Merge All 48. Image - Add borders-Symmetric checked: 2 pixels #905f5f 49. Image - Add borders-Symmetric checked: 60 pixels #cfbd27 50. With the Magic Wand -select the border of 60 pixels 51. Layers-New raster layer 52.Open the tube ''renee-dreamland-elfe-cadre'' Edit/copy- Edit/ paste into selection - Double click on this layer and set the Blendmode to Luminance Legacy 53. Selections-Modify-Select-Selection Borders with 10 pixels -Outside 54. Layers-New raster layer -Flood Fill Tool: fill the selections with your background color #8a9436 55. Effects-Plugins -EyeCandy5impact/glass -tab Settings/User settings choose my preset: ''renée -dreamland-elfe-glass'' 56. Selections- Deselect All 57. Image - Add borders-Symmetric checked:2 pixels #cfbd27 - Activate the tube ‘’titre’’ - Edit - Copy -Edit - Paste as new layer on your working area and move - Image Resize with 985 pixels Width. Save as JPG I hope you enjoyed this lesson Renée
This lesson was written by Renée
edited and update
* Any resemblance with an existing lesson is merely a coincidence *
* Don't forget to thank the people who work for us and with us. I named the tubeurs - Testers and the translators.
Thanks Renée.
I am part of Tutorial Writers Inc.
My tutorials are regularly recordedt
ReneeGraphisme_All rights reserved
|
