|
New
Translations here
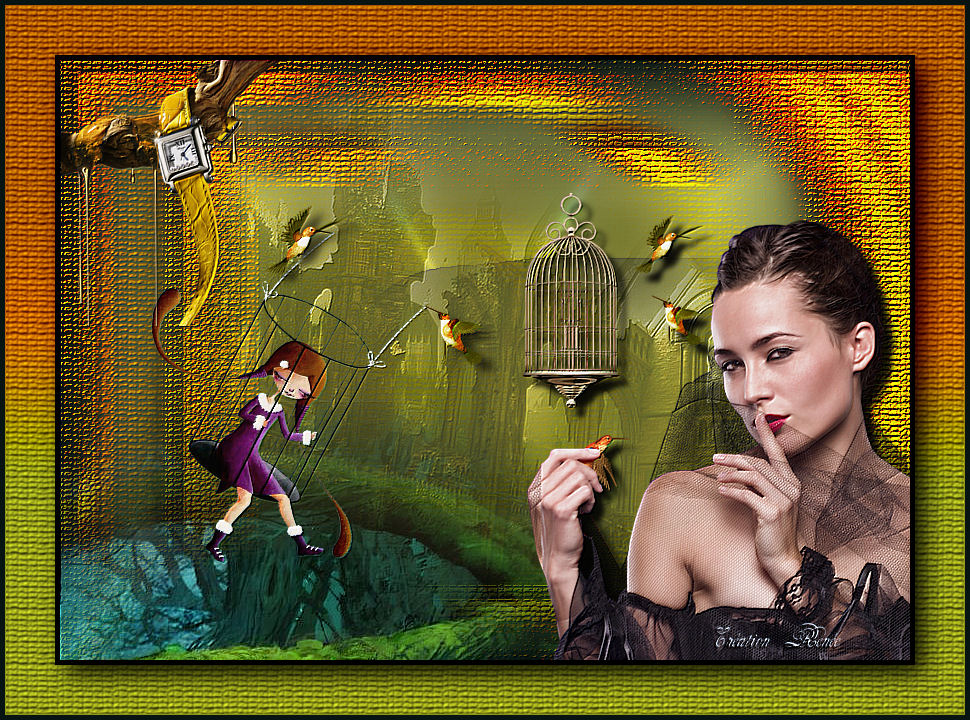
IN CAGE These Plugins are used for this Tutorial PHOTO TOOLS Nick color effex Pro.3 You can find my filters here: http://www.reneegraphisme.fr/filtres/Mes filtres.html Tube are of Kikirou- Anna- Bibiche -Nicole- Reverie
If it is your intention to share these tubes or these lessons in a group,club or forum please ask permission to the owner .
The tube may not be send without the lesson .
Please do not make changes to the tube, because this tube was made for this lesson only.
It is forbidden to share this tutorial without a link to the original lesson.
Thank you very much Renée *
* * These tubes were received from tubeurs sharing groups Or found by me searsching on the net.
I Am grateful to have been given permission these beautiful tubes so please use any copyright information as needed. If one of these tubes is yours? Contact me. so I can make a link to your site or remove it. Thank you very much Renée *-*-*-*
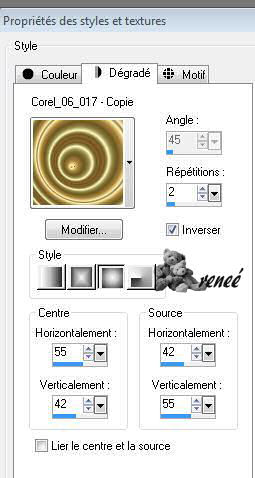
Let's start the lesson. 1. File: Open a new transparent image of 850 x 600 pixels 2. Color-palette:Set your foreground color to color #d0d56d //Activate Flood Fill Tool and fill the layer with the foreground color #d0d56d 3. Layers- New Raster Layer 4. Color-palette:Set your foreground color to color#071412 //Activate Flood Fill Tool and fill the layer with the foreground color #071412 5. Effects- Plugins - L and K /Dimitri a 137 6. Layers- New Raster Layer 7. Material palette:Change foreground material into gradient and select my file in the list ''corel 06-17 ''Prepare a sunburst gradient configured like this. Activate Flood Fill Tool and fill the layer with the gradient
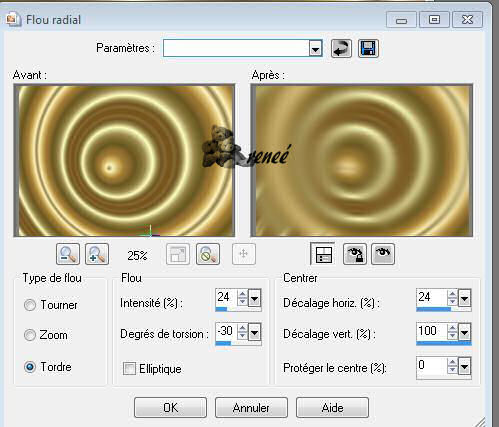
8.Adjust- Blur- Radial Blur use settings below
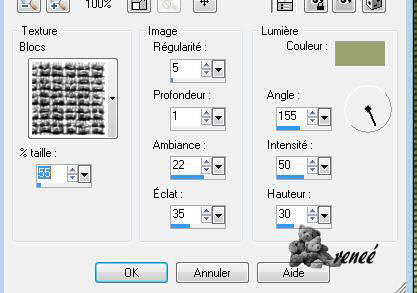
9. Effects -Texture Effects /Texture and select: ''blocs''- use settings below- Color #90952f
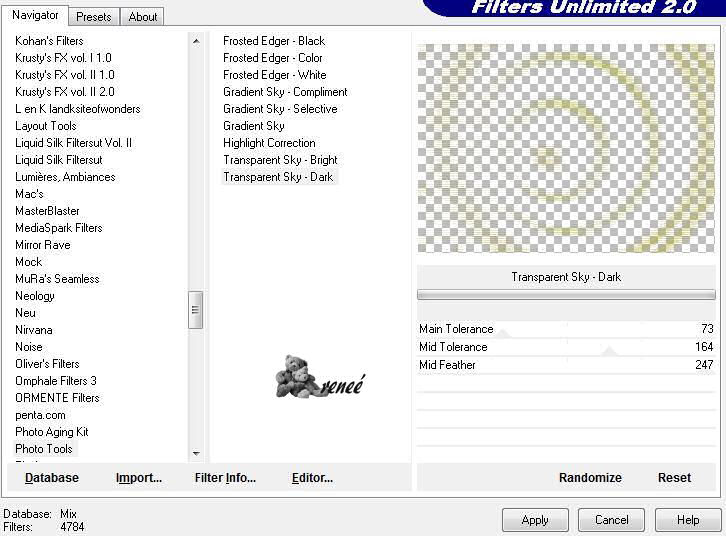
10. Effects- Plugins- Unlimited 2.0 - Photo Tools/Transparent Sky Dark
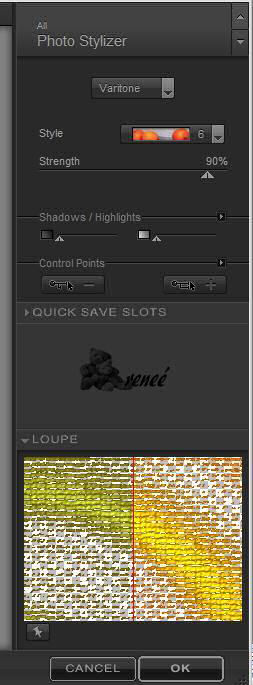
11. Layer Palette - Double click on this Layer and set the Blend Mode to "Hard Light " - Layer opacity of this layer to 100% 12. Effects- Plugins - Nick color effex Pro.3 /Photo Stylizer/varitone /6
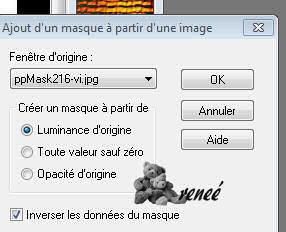
13. Layers- Duplicate - Layers- Merge- Merge Down 14. Layer Palette - Double click on this Layer and set the Blend Mode to "Hard Light " -Set the layer opacity of this layer to 89% 15. Layers- Duplicate 16. Layers- New Mask layer from Image and choose Mask:« ppmask216-vi.jpg
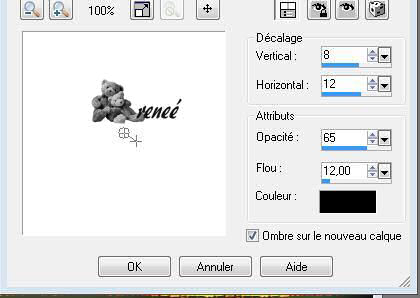
17. Layers- Merge- Merge Group 18. Effects- 3 D Effects- Drop Shadow use settings below -Shadow on new Layer checked -Repeat 3 times with the same settings
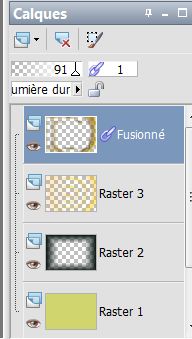
-Repeat 3 times with the same settings 20. Close the layers raster 1, 2 and raster 3 -Activate an open layer in the layer palette -Layers- Merge Merge Visible 21. Open the 3 Layers 22. Make the Merged Layer active -Double click on this Layer and set the Blend Mode to "Hard Light " -Set the layer opacity of this layer to 91% -Layer Palette look like this now
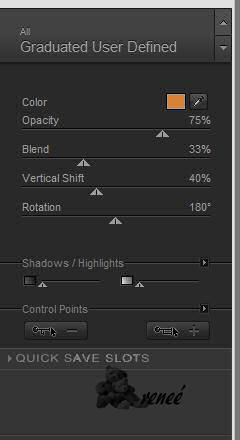
23. Activate the top of the layer palette (Merged Layer)- Effects- Edge Effects- Enhance 24. Make Raster 3 active -Double click on this Layer and set the Blend Mode to "Hard Light " -Set the layer opacity of this layer to 89% 25. Activate the top of the layer palette ( Merged Layer)- 26. Effects- Plugins -Nick Color Effex Pro3 -Graduated User Defined -Color #DC8131
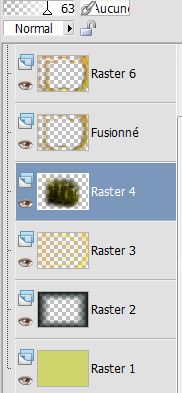
27. Open the tube '' en cage 3 -image 3 '' Edit/ Copy-Edit - Paste as new layer on your working image 28. Activate the top of the layer palette 29. Open the tube » 1228506093-feerie »Edit/ Copy-Edit - Paste as new layer on your working image - Opacity to 63% 30. Layers- Arrange- Move 2x Down - Layer Palette look like this now
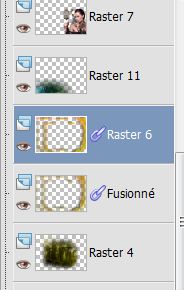
31. Activate the top of the layer palette 32. Open the tube «Nicole- montre » Edit/ Copy-Edit - Paste as new layer on your working image and move - 33.Open the tube « anna-1.br-freedom-27-08-09 -Edit/ Copy-Edit - Paste as new layer on your working image /Image Resize to 85% and move 34. Effects -Plugins -Eyecandy5 Impact - perspective - preset -Drop shadow high 35. Open the tube « kikirou1354-birdcage_les toiles_d_az » -Edit/ Copy-Edit - Paste as new layer on your working image /Image Resize to 45% all layers not checked - and move to the left 36. Open the tube "des oiseaux « image 1 and image 2 « Edit/ Copy-Edit - Paste as new layer on your working image and move to the right place 37.On the two Birds Layers 38. Effects- 3 D Effects- Drop Shadow with these settings : 8/12/65-12 black // Shadow on new Layer checked 39. Open the tube « AAAbibichescenety103 » Edit/ Copy-Edit - Paste as new layer on your working image and move *Layer Palette look like this now
-Ist all in Place ??? 40. Layers- Merge- Merge- Visible 41. Effects- Plugins - FM Tile Tools Blend emboss using the default settings 42. Image - Add borders-Symmetric checked: 5 pixels black 43. Image - Add borders-Symmetric checked: 50 pixels #d0d56d 44. Activate the Magic Wand and select the Border of 50 pixels 45. Effects -Texture Effects /Texture and select: ''blocs''- use settings below- Color #90952f
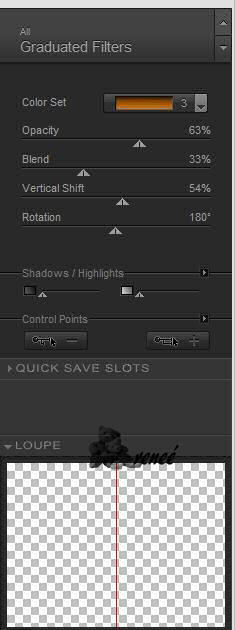
46. Selections- Promote selection to Layer 47. Selections- Invert 48. Effects -Plugins- EyeCandy 5 Impact - perspective shadow -Drop shadow blury 49. Selections- Deselect All 50. Effects-Plugins -Nick Color effex Pro3/ Graduated Filters / >> Color set =3 with these settings
51. Repeat this filter 1x 52. Image - Add borders-Symmetric checked: 5 pixels black Save as JPG
|
 Translations


