|
New
Translations here
Espoir d'été
Let's start the lesson.
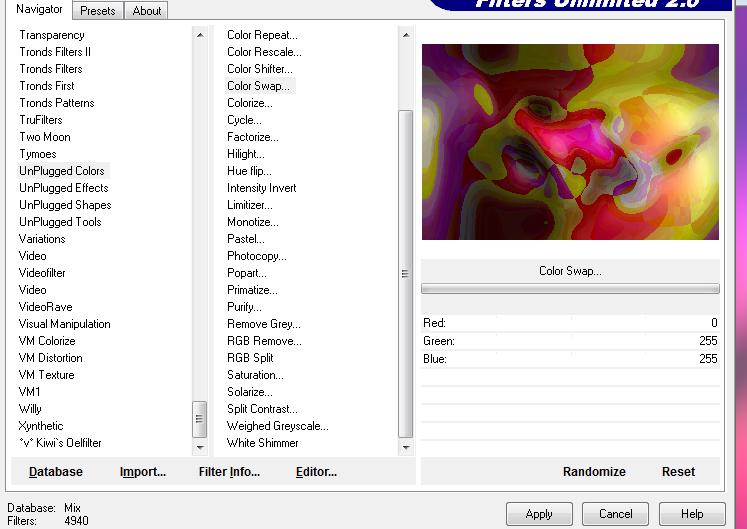
2. Layers- Duplicate 3. Effects- Plugins -Unlimited 2.0 - Unplugged Colors /color Swap ..with these settings .
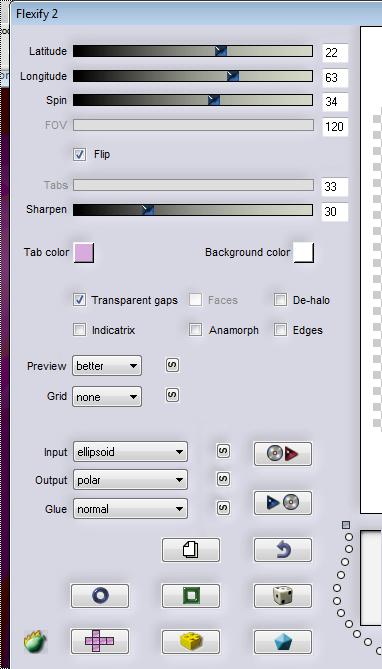
4. Effects- Plugins- Flaming pear / Flexify 2 with these settings
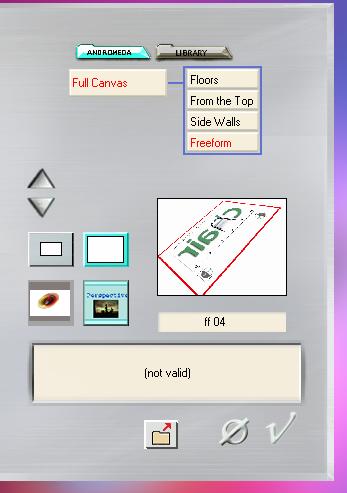
5. Effects-Plugins - Andromeda perspective/Freeform /ff 04 a / repeat this filter with the same settings
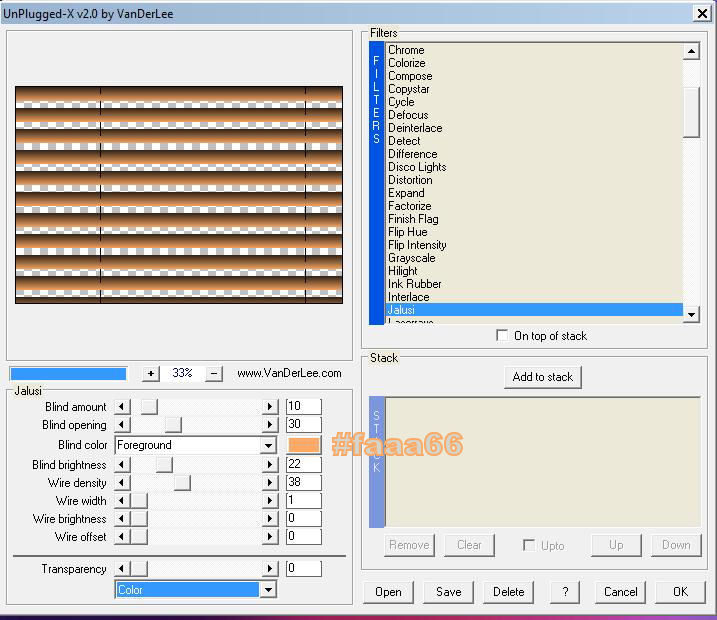
6. With your Move Tool -move to the upper right corner// Double click on this layer and set the Blendmode to Overlay 7. Open the tube ''renee-espoir ete _lune '' /Edit/ Copy-Edit - Paste as new layer on your working area -With your Move Tool -move to the upper right corner 8. Layers- New raster layer 9. Effects- Plugins -Vanderlee - Unplugged X-v.2 with these settings
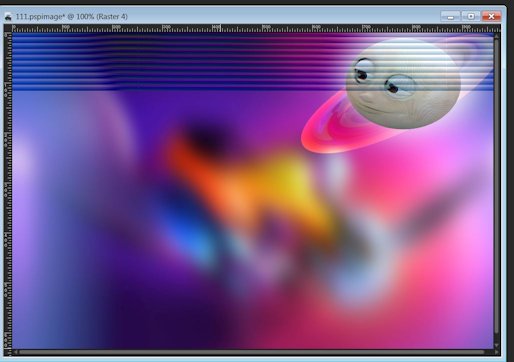
10. Activate the Pick Tool/Deformation tool (K) Mode Scale Pull the bottom Node to high 110 pixels as shown in the example below 110 pixels - Your work looks like this now:
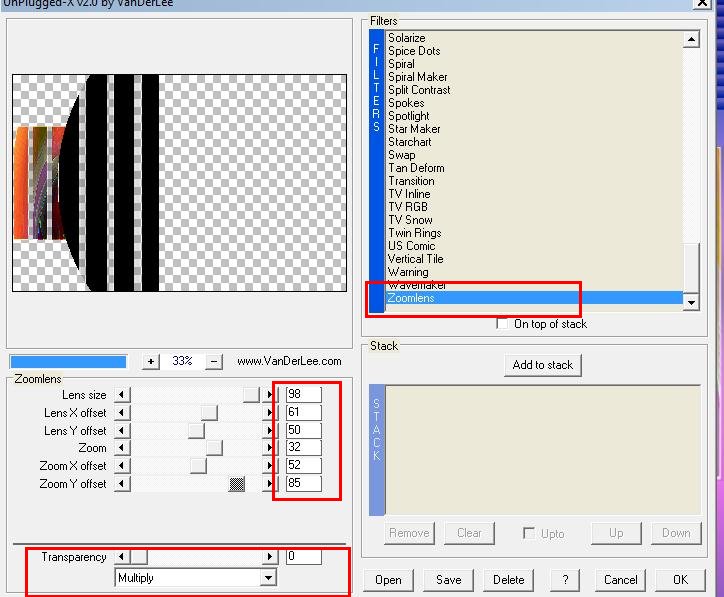
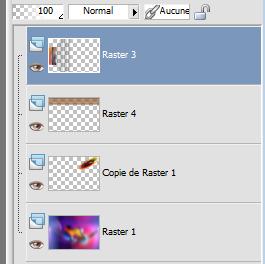
11. Layer Palette -Double click on this layer and set the Blendmode to Difference and set the layer opacity of this layer to 42 12. Open the tube ''renee-espoir ete -barres tranversales'' Edit/ Copy-Edit - Paste as new layer on your working area (do not move it is in the right place) 13. Effects-Plugins -Vanderlee Unplugged X /zoomlens with these settings
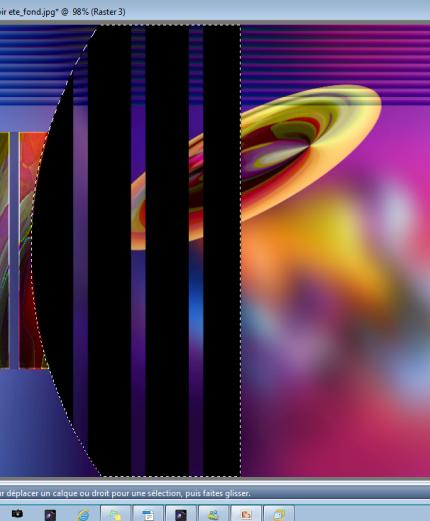
14. With the Magic Wand select the black parts like this
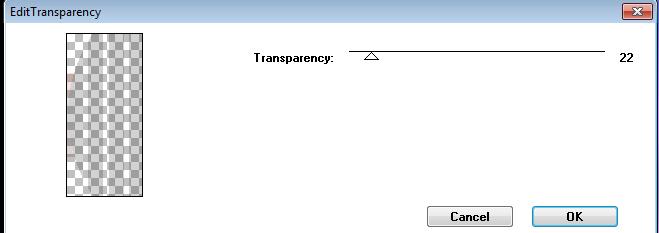
15. Effects- Plugins -Transparency /Edit Transparency (the filter is into the zipfile)
- **Promote selection to layer/Activate the layer underneath/ Hit the Delete Key of your Keyboard /Activate the layer above =promoted selection layer /Selections-Deselect All /Reduce the Opacity for the same result as with this filter Layers- Merge- Merge -Down vers le bas / -Activate the magic wand and select the black border as shown below
- Hit the Delete Key of your Keyboard - - Layer palette look like this now
16. Layers- New raster layer 17. Selections - load/save selection - load selection from disk and select my file:''renee-espoir ete'' 18.Color Palette : Set your foreground color to #acabdb -Set your background color to #ffffff/ Prepare a sunburst gradient configured like this - Flood Fill Tool: Fill the selection with the gradient
19. Effects - 3D Effects - Drop shadow with these settings 8/24/21/100 black /repeat Drop Shadow with the same settings 20. Layers- New raster layer 21. Selections - load/save selection - load selection from disk and select my file: ''renee-espoir ete 2'' -Flood Fill Tool: Fill the selection with the gradient Color Palette: Change the sunburst gradient into a linear gradient with these settings
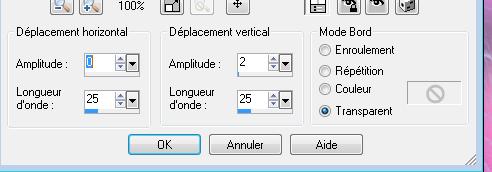
22. Flood Fill Tool: Fill the selection with the gradient/Selections Deselect All 23. Effects- Distortion Effects- Wave with these settings
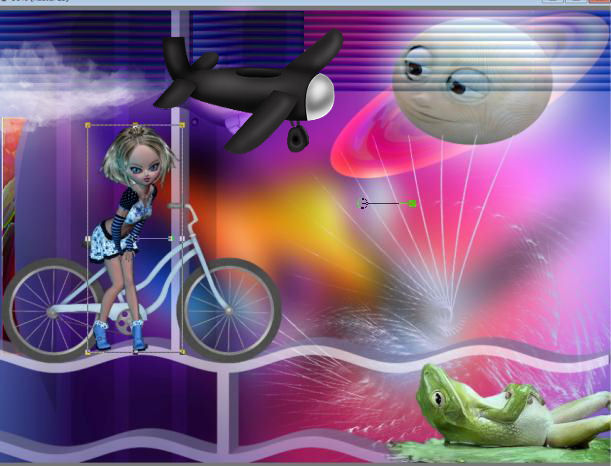
- Double click on this layer and set the Blendmode to Normal-and set the layer opacity of this layer to 65% 24. Effects- Plugins-Eyecandy 5 / Extrude tab Settings/User settings choose my preset: renee-espoir ete'' 25. Open the tube ''angeledesign_animaux23''/Image Mirror/ Edit/ Copy-Edit - Paste as new layer on your working area Place it at the right place 26. Open the tube ''kimc_d_bicycle 'Image resize with 70% /Edit/ Copy-Edit - Paste as new layer on your working area Place it at the right place 27. Open the tube ''avion
-manu-designs/ 28. Open the tube ''sm_CGUrain3_5 ''
Image resize with 60% Place it at the right place like this
29. Open the tube ''arbre bleu '' 30. Open the tube ''petit chat '' Edit/ Copy-Edit - Paste as new layer on your working area -Place it at the right place 31. Open the tube ''Designs-siamois '' Image resize with 70% Edit/ Copy-Edit - Paste as new layer on your working area- Place it at the right place 32. Open the tube ''AD_My_happy_cats-46'' Image resize with 35 % Image Mirror -Edit/ Copy-Edit - Paste as new layer on your working area Place it at the right place 33. Open the titre ''renee-espoir-ete-bonnes -vacances '' -Edit/ Copy-Edit - Paste as new layer on your working area -Place it at the right place 34. Open the tube ''etiquette du titre'' -Edit/ Copy-Edit - Paste as new layer on your working area -Place it at the right place 35. Layers- Merge- Merge- Visible 36.Image - Add borders-Symmetric checked:5 pixels - #383c81 37.Image - Add borders-Symmetric checked:20 pixels white 39. Open the tube ''renee-espoir-ete-barre pointillé'' -Edit/ Copy-Edit - Paste as new layer on your working area (do not move it is in the right place) Layers- Duplicate for a stronger effect 40. Image - Add borders-Symmetric checked:5 pixels #383c81 Save as JPG
I am part of Tutorial Writers Inc. My tutorials are regularly recorded ReneeGraphisme_All rights reserved
*
|

 Translations