|
Let's begin
1.
File: Open the image ''fond _extraordinaire_techno'' /Promote Background Layer = raster 1
2.
Layers-New raster layer /Activate Flood Fill Tool and fill the layer with your color black
3.
Layers-New Mask Layer from Image and choose Mask:" Extraordinaire Techno"
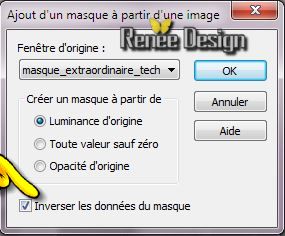
-
Layers- Merge-Merge Group
4.
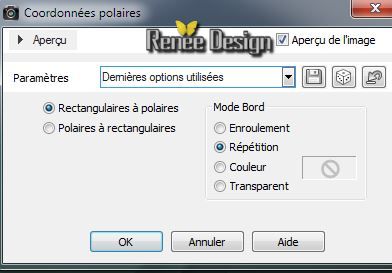
Effects-Distortion Effects- Polar Coordinates-Regtangular to Polar/checked Repeat
5.
Material Properties: Foreground color to color:#adc4c5.
Background color to color: #224138
6.
With your colors starting to prepare a linear / gradient configured like this
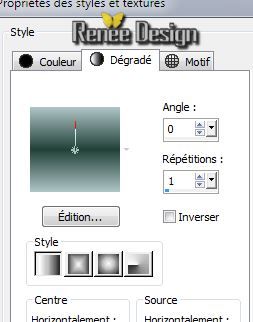
7.
Layers-New raster layer /Activate Flood Fill Tool and fill the layer with your gradient
8.
Effects-Plugins - Distort - Tour Your Inside Outside
/ 155
9.
Effects-Plugins - Xero -
Artworx
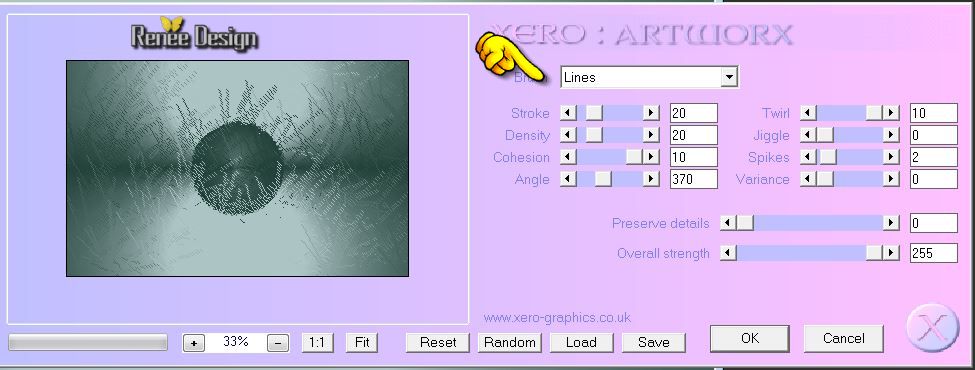
10.
Layers-New raster layer /Activate Flood Fill Tool and fill the layer with your FG-Color: #adc4c5
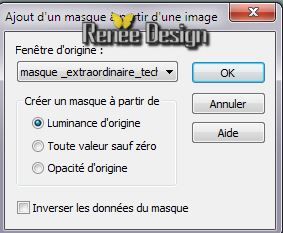
11.
Layers-New Mask Layer from Image and choose Mask:
''masque _extraordinaire_techno _36''
12.
Layers-Merge-Merge Group
13.Layers-load/save Mask-load Mask from Disk and choose Mask ''20/20''
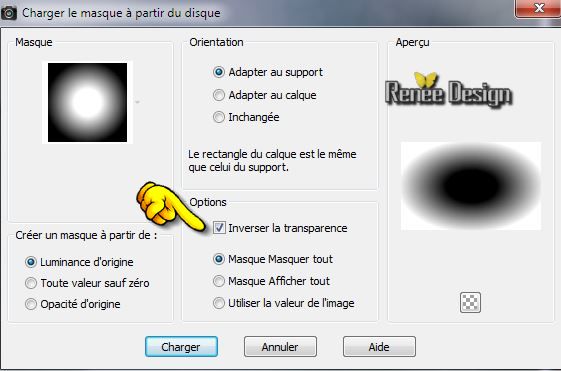
-Layers-Merge-Merge Group
14.
Layers- Arrange- Move 2x Down(above background
)
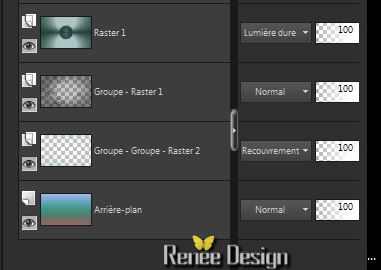
Activate the top of the layer-palette. Blend Mode "Hard Light"
Layer(Groupe-Groupe raster 2) Blend Mode "Overlay"
Your work look like this now
Activate the top of the layer-palette.
15.
Layers-New raster layer
16.
Selections - Load/save selection - load selection from disk and select: ''extraordinaire_techno_1'/Activate Flood Fill Tool and fill the seletion with your color whitede blanc
17.
Selections - Deselect all
18.
Effects-3D effects-Drop Shadow: 1/1/100/0
black
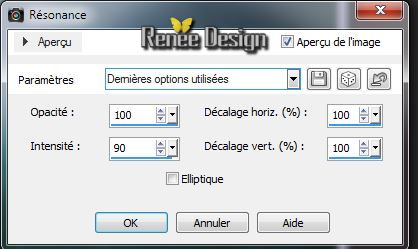
19.Effects- Reflection Effects-Feedback
20.
Layer palette: Blend mode "Soft Light"
21.
Layers-New raster layer
22.
Selections - Load/save selection - load selection from disk and select:
''''extraordinaire_techno_2''/ Activate Flood Fill Tool and fill the seletion with your color white
DO NOT
ADD NEW LAYER
23.
Selections-Modify-Contract 10 pixels
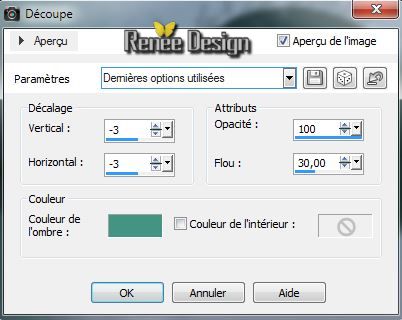
24.Effects-3D effects-Cutout/Color#459483
25.Effects-Plugins Eyecandy 5 Impact Glass- in the settings tab, click on the preset'' extraordinaireHITEC_glass''
(Opacity between 80 and 75 to reduce the circle around eye)
26.
Selections-Deselect all
27.
Activate the tube ''extraordinaire_techno_lignes''/ Edit/copy-Edit/paste as a new layer.
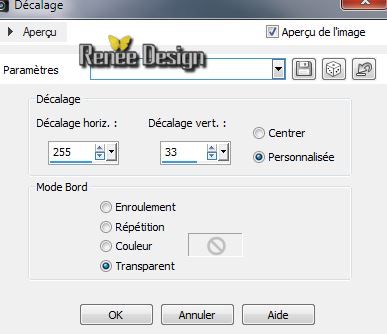
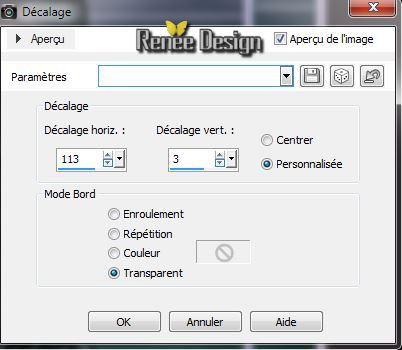
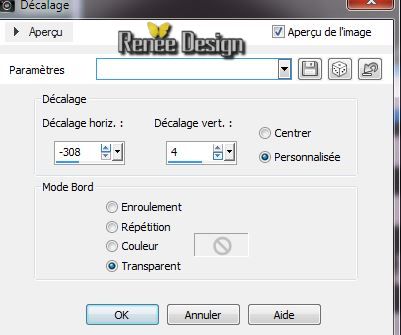
28.Effects-Image Effects-Offset
29.Effects- Edge Effects-Enhance More
Your work look like this now

30. Activate the tube'' beautiful_woman_tubed_by_thafs''/ Edit/copy-Edit/paste as a new layer.
- Layer palette: Blend mode "Soft Light"
31.Effects-Image Effects-Offset
The result

32. Activate the tube '''extraordinaire_techno_grille '' Edit/copy-Edit/paste as a new layer.
33. Effects-Image Effects-Offset
34. Effects-Distortion Effects-Twirl-Degrees:= 720
35. Effects-Distortion Effects-Twirl-Degrees:= 550
36.
Effects-Plugins Unlimited - Enki's filters/ Jon Mullen's Japonese Fan /
10
37. Layer-Palette: Blend Mode "Dodge" Opacity : 81%
38. Layers-New raster layer
39.
Selections - Load/save selection - load selection from disk and select:
''extraordinaire_techno_3''
40 Material Properties: Foreground color to color: #adc4c5
41. Activate Flood Fill Tool and fill the selection with your foreground color
42. Effects-Plugins - AFS sqborder2 / :
255/22/255
43.
Effects-Plugins - Toadies - What are
you / 20/20
44.
Selections-Deselect all
45. Activate the tube''extraordinaire_techno_logo'' /
- Choose two icons from the tube to taste Edit/copy-Edit paste as a new layer and move (see complete)
46. Layers-Merge- Merge Down and Repeat
47. Layer palette: Blend mode "Normal"
48. Effects-
3D Effects-Drop Shadow: 1/1/50/5 black
49.
Layer-Palette: Opacity 85%
50. Layers-New raster layer
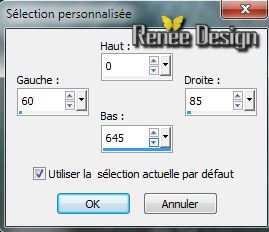
51.
Selections-Custom Selection with these settings
52. Activate Flood Fill Tool and fill the selection with your color black
53.
Selections-Deselect all
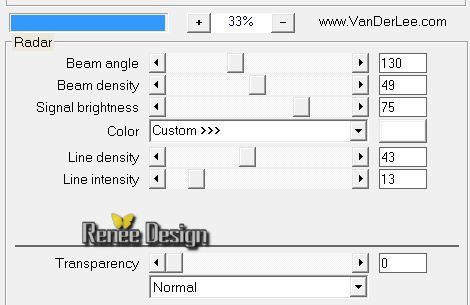
54. Effects-Plugins - Vanderlee Unplugged x /Radar
55. Effects-Plugins - Transparency - Eliminate black
56.Layer-Palette: Blend Mode "Soft Light"
57. Layers-Duplicate
58. Image
Mirror -Image Flip
59. Layers- Merge-Merge Down (Layer-Palette: Blend Mode "Soft Light")
60. Activate the tube ''rond_techno '' Edit/copy-Edit/paste as a new layer.
/Duplicate 4 x. With your move tool place it in the right place
61. Layers-New raster layer
62.
Selections - Load/save selection - load selection from disk and select: ''
extraordinaire_techno_4''
63.Pot of Paint opacity 45% /Activate Flood Fill Tool and fill the selection with your color white
64.
Selections - Deselect all
65. Effects-Plugins - Graphic Plus /Quick tiles I
/ 128/128/128
66. Layer palette: Blend mode "Soft Light"
67. Activate the tube '' extraordinaire_techno_thermostat_HT''/ Edit/copy-Edit/paste as a new layer and move to the left side.
68. Layer-Palette: Blend Mode "Luminance-Legacy" Opacity
87%
69. Activate the tube '' extraordinaire_techno_radar_HT''/Edit/copy-Edit/paste as a new layer and move to the right side.
70.
Layer-Palette: Opacity 81%
71. Layers- Merge -Merge Visible
72. Image - Add Borders - Symmetric :3 pixels black
73. Image - Add Borders - Symmetric :35 pixels white
74. Image - Add Borders - Symmetric :1 pixel black
75 Image - Add Borders - Symmetric :50 pixels white
76. Material Properties: Foreground color to color white. Background color to color:
#d3e1b8
77. Activate text tool with these settings:Font ''Bulwark'' /ATTENTION DIRECTION OF WRITING

78. Type the name''extraordinaire " and another layer
type the name ''techno''
79.
Convert to raster layer /With your move tool place it in the right place
80. Layers- Merge-Merge Down
81. Effects -
3D Effects-Drop Shadow: 1/1/100/1 black
82 Layers - Merge - Merge all layers (flatten)
83. Image
Resize 995 pixels Width
I hope you enjoyed this lesson
Renée
This lesson was written by Renée the 14/05/2014
Created the
...05/2014
*
Any resemblance with an existing lesson is merely a coincidence
Don't forget to thank the people who work for us and with us. I named the tubeurs - Testers and the translators.
Thanks Renée. | 
 Translations