Translations
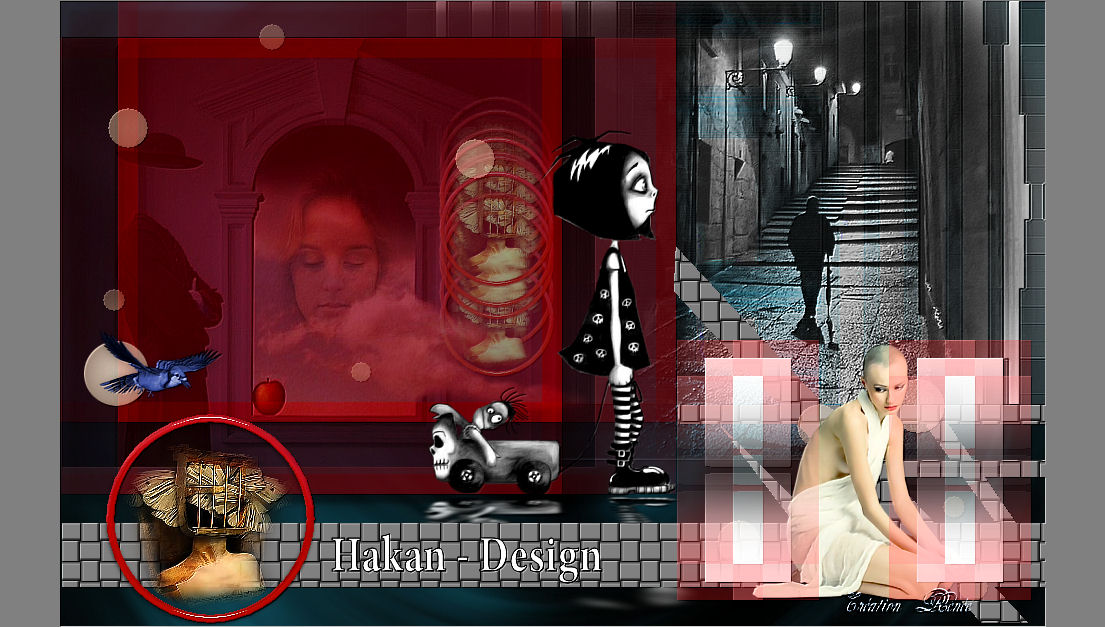
HAKAN Design
New Translations
|
In [Dutch translated ] by Marion Here
|
In [English translated ] by Marion Here
|
In [Italien translated ] by Graziella Here
|


|
These Plugins are used for this Tutorial * Toadies Eye Candy5 &<Bkj designer sf10 III Mura's Meister Nick Color Pro3 Simple FM Tile Tools
You can find my filters here
Website
|
|
Tubes are of * Mist- Ben Goossens-Silvana_vanesa_orsi- Ann - Marif * ATTENTION : If it is your intention to share these tubes or these lessons in a group, please ask permission to the owner . The tube may not be send without the lesson . Please do not make changes to the tube, because this tube was made for this lesson only. It is forbidden to share this tutorial without a link to the original lesson. Thank you very much Renée * * These tubes were received from tubeurs sharing groups. Or found by me searsching on the net. I Am grateful to have been given permission these beautiful tubes so please use any copyright information as needed. If one of these tubes is yours? Contact me. so I can make a link to your site or remove it. Thanks Renée
|
Let's start the lesson.
- File - New - Transparent - New Image: 985 x 625 pixels
- Selections- Select All---Open the image ''fantasie_back'' Edit /copy -Edit -Paste into selection
-Selections- Deselect All
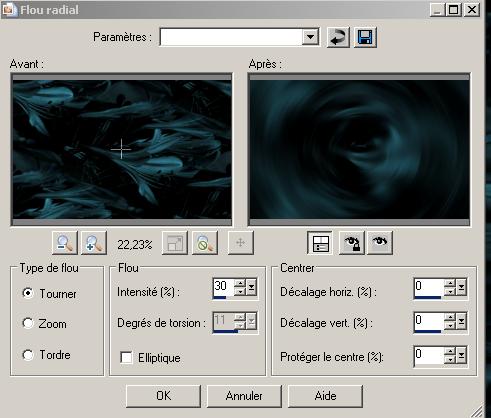
- Adjust- Blur- Radial Blur with these settings
- Layers- New raster layer
- Activate Flood Fill Tool and fill the layer with color white
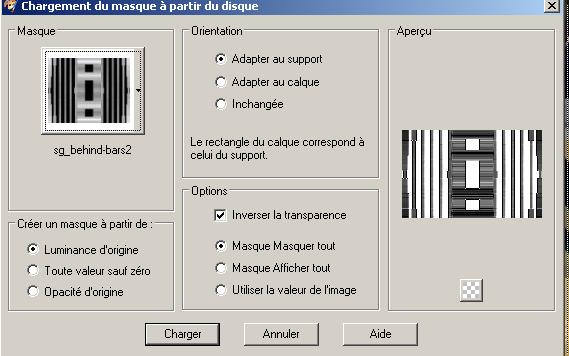
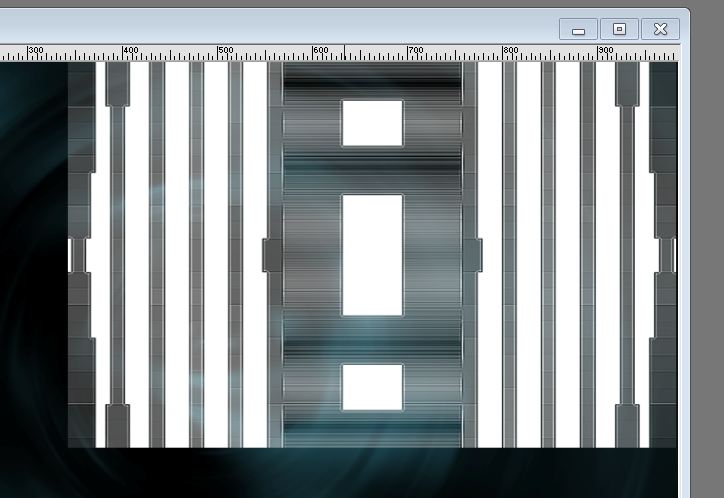
- Layers- Load/Save mask-Load Mask from Disk and select: ''sg_behind_bars2''
- Layers- Merge- Merge Group
- Image Resize with 65 % (Resize all the layers not checked)
- Edit/copy-Edit paste as a new layer on your working aera and move to the upper right corner as shown in the example
- Open the tube ''592__rua_LB_Tubes'' Edit/copy-Edit paste as a new layer on your working aera
- Place as shown in the example below
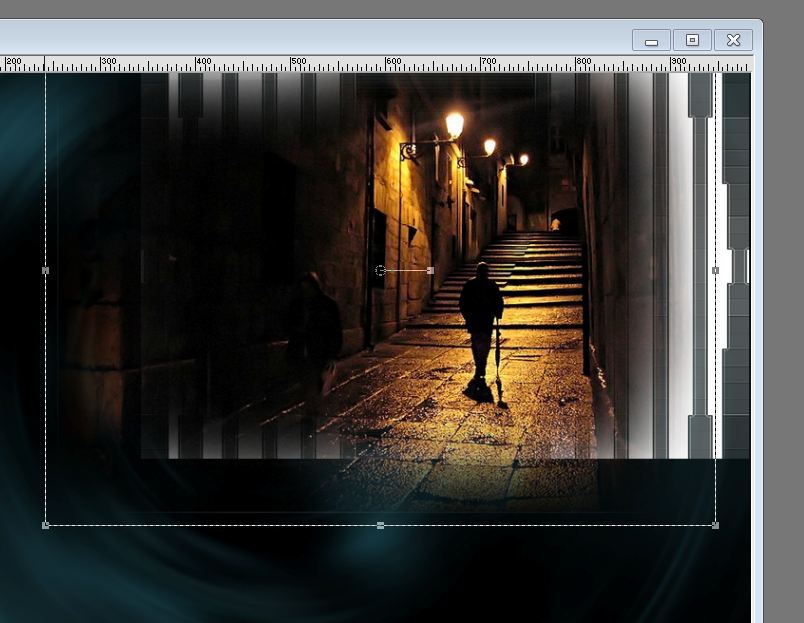
- Double click on this layer and set the Blendmode to Luminance and set the layer opacity of this layer to 89%
- The image is too large it is not important
- Layers- New raster layer
- Selections - load/save selection - load selection from disk and select my file: ''renee-hakan 1''
- Activate Flood Fill Tool and fill the selection with the this color #911518
- Selections- Modify-Contract with 20 pixels
- Activate Flood Fill Tool and fill the selection with the this color #6D2B35
- Selections- Deselect All
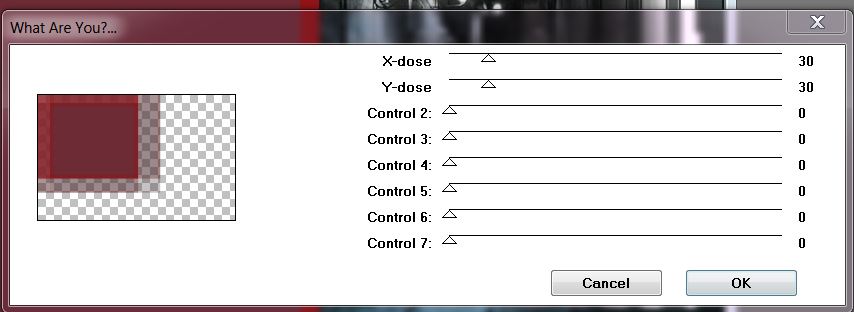
- Effects- Plugins -Toadies -What are you - 30/30 (not in d'unlimited)
- Effects- Plugins - Eye Candy 5 -perspective shadow -tab Settings-Drop shadow hight
- Layers- New raster layer
- Selections - load/save selection - load selection from disk and select my file: ''renee-hakan2 ''
- Open the image 'Ben-Goosens-artworks1'' - Edit /copy -Edit -Paste into selection
-Selections- Deselect All –
Double click on this layer and set the Blendmode to Soft Light and set the layeropacity of this layer to 89%
- Stay on the top of the Layer Palette
- Open the tube ''Ann_toy''Resize with 65%>>Edit/copy-Edit paste as a new layer on your working area -Do not move it is in the right place
- Effects- Plugins- Eye Candy 5 perspective -reflect in front
- Layers- New raster layer
- Selections - load/save selection - load selection from disk and select my file: ''renee-hakan 3''
- Activate Flood Fill Tool and fill the selection with the this color #808080
- Effects- Plugins- Unlimited - &<Bkg Designer sf10III> Weaver 20/69
- Effects- User Defined Filter Emboss3/ with the default settings
- Selections- Deselect All
- Layers- New raster layer
- Selections - load/save selection - load selection from disk and select my file: ''renee-hakan4''- Activate Flood Fill Tool and fill the selection with the this color #e01014
- Effects- Plugins- Eyecandy 5 glass-Tab- Settings-Clear no drop shadow
-Selections- Deselect All
- With your Magic Wand select the inside of the round 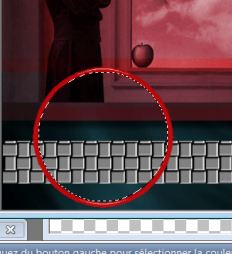
- Layers- New raster layer
- Open the tube ''Marif_2006_octobre_misted_fantasy051''-Image Mirror- Edit /copy -Edit -Paste into selection
- Selections- Deselect All
- Layers- Merge- Merge- Down
- Layers- Duplicate
- Image Resize with 55% (Resize all the layers not checked)
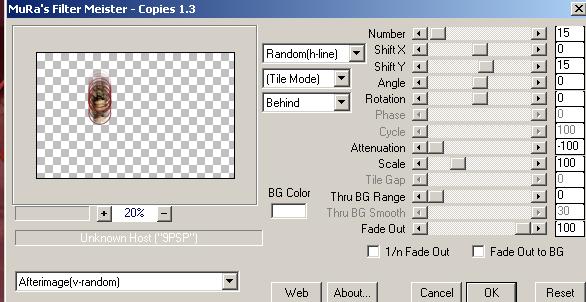
- Effects- Plugins -Mura's Meister – Copies with these settings- Color white
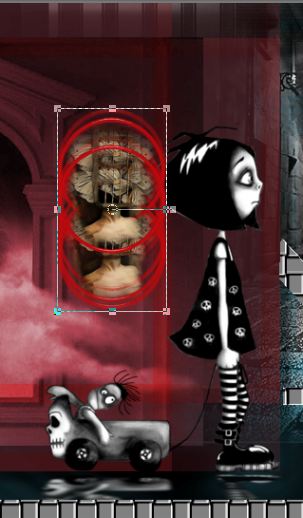
-With the move tool, move it as shown in the example below
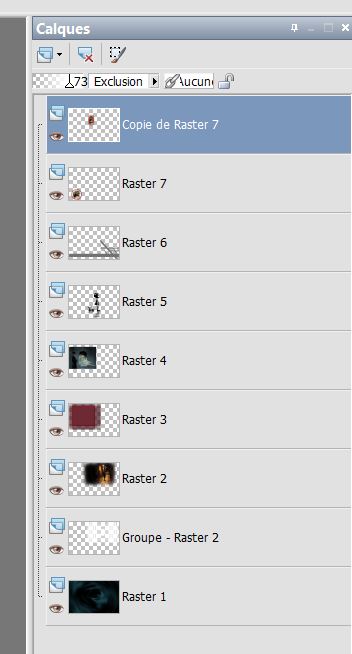
- Double click on this layer and set the Blendmode to Exclusion and set the layer opacity of this layer to 73%
- Layer Palette look like this now-You should have this result
- Layers- New raster layer
- Selections - load/save selection - load selection from disk and select my file: ''renee-hakan5''
- Activate Flood Fill Tool and fill the selection with the this color #fdfdfd- Selections- Deselect All
- Double click on this layer and set the Blendmode to Screen and set the layer opacity of this layer to 71%
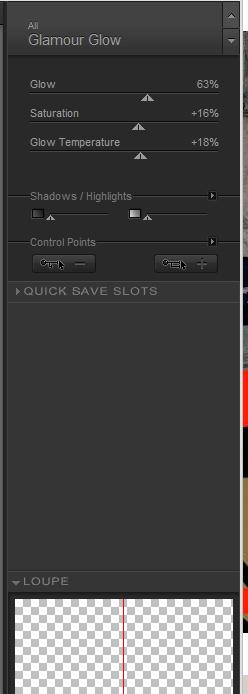
- Effects- Plugins- Nick Collor Effex Pro3 -Glamour Glow with these settings
- Open the tube ''birds '' Edit /Copy -Edit - Paste as new layer on your working area -Move to the left
- Stay on the top of the layer -palette
- Layers- New raster layer
- Selections - load/save selection - load selection from disk and select my file:''renee-hakan-6''
- Material Properties:Foreground color to white-Background color to #e01014 --Prepare a foreground/background linear gradient with these settings 0/0- Activate Flood Fill Tool and fill the selection with the gradient
-Selections- Deselect All
- Effects-Plugins -Simple -Zoom Out and Flip
- Layers- Duplicate
- Toadies - What are you 15/15 (not in l'unlimited)
- Layers- Merge- Merge- Down
Effects- Image Effects- Offset with these settings H=55 and V =O
- Open the tube '''366_Sivana_vanesa_orsi_Abril_30_2009'' Resize with 50%
- Edit /Copy -Edit - Paste as new layer on your working area and move
-Layers- Arrange- Move Down
- Layers- Merge- Merge Visible
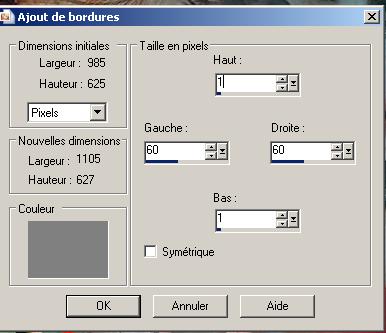
-Image - Add borders with these settings- Color #808080
- Open the titre ''Hakan ''Edit /Copy -Edit - Paste as new layer on your working area and move
- Effects- Plugins-FM Tile Tools - Saturation emboss default.
Save as JPG
I hope you enjoyed this lesson
Renée
This lesson was written by Renée
Placing
15/12/2013
*
Any resemblance with an existing lesson is merely a coincidence *
* Don't forget to thank the people who work for us and with us. I named the tubeurs - Testers and the translators.
Thanks Renée.
I am part of Tutorial Writers Inc.
My tutorials are regularly recorded
ReneeGraphisme_All rights reserved


*
|
Your Gallerie click here
|