|
New
Translations here
Les Heures Protéas
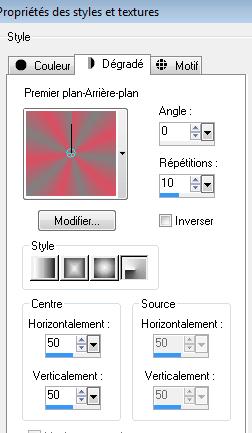
Let's begin . 1. Material Properties: Foreground color to color: #dd4d61. Background color to color: #808080 2. Material Properties: Change material from the foreground into Foreground/background radial gradient with these settings
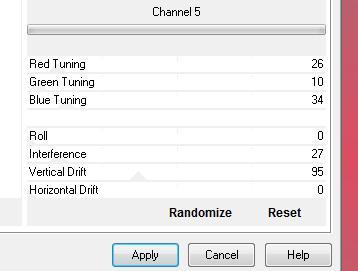
3. File: Open a New Transparent image of : 985 x 635 pixels 4. Flood Fill Tool :Fill the layer with the gradient 5. Layers-Duplicate 6. Effects -Plugins VM Distorsion /Channel 5(Or Plugins VM Extravanga)
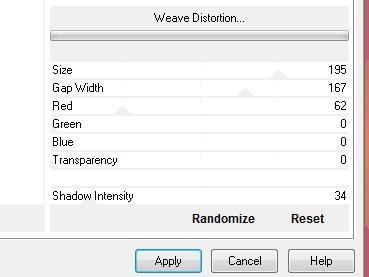
7. Effects - Plugins - VM Natural /Weave distorsion
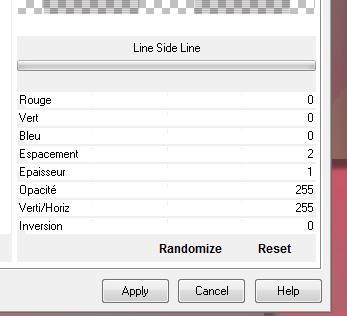
8. Effects - 3D Effects-Drop Shadow: / default 10/10/50/5 black /repeat negative -10 /-10 9. Selections - load/save selection- load selection from disk and select my file ''renee -protea '' 10. Selections - Promote Selection To Layer 11. Selections - Deselect all 12. Effects -Plugins Unlimited2.0 - &<BkgDesigner sf10 I /4 way average 13. Effects - Plugins Unlimited2.0 - & <BkgDesigner sf 10 II /Line side line
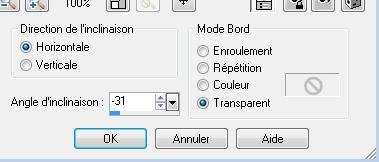
14. Layer-Palette: Change the Blend Mode to "Overlay" 15. Effects- Geometric Effects / Skew
16. Effects- Plugins Unlimited2.0 - &<Bkg Kaleidoscope/4 flip Upperl 17. Effects - Plugins -EyeCandy5 Impact /perspective shadow -preset'' renee-protea'' - Repeat this filter effect 18. Layerpalette: aktivate raster ''copie de raster 1'' 19. Selections - load/save selection- load selection from disk and select my file "renee -protea2" 20. Selections - Promote Selection To Layer 21. Selections - Deselect all 22. Effects- Plugins - Mura's Meister /perspective tilling
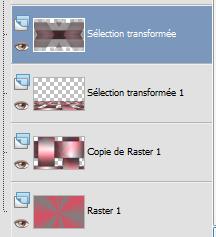
23. Aktivate the top of the layer palette ''Sélection transformée''
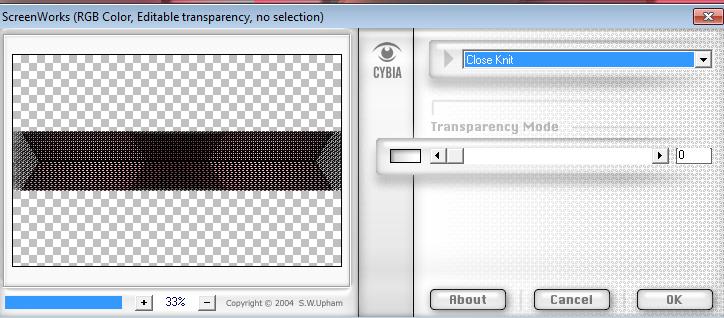
24.Selections - load/save selection- load selection from disk and select my file ''renee -proteas3 '' 25. Selections - Promote Selection To Layer 26. Selections - Deselect all 27. Effects - Plugins - Cybia ScreenWorks
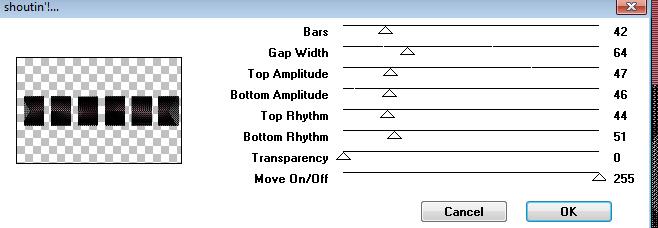
28. Effects- Plugins - VM Extravanga - shouting!...
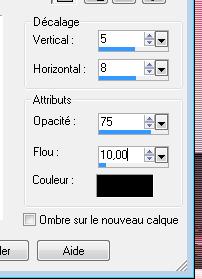
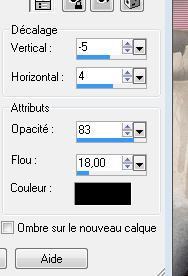
29. Effects- 3D Effects- Drop Shadow
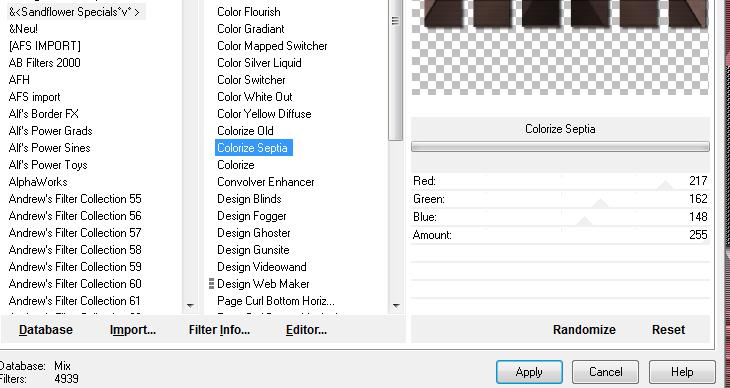
30. Effects-Plugins Unlimted 2.0 >& Sandflower Special°v° >/ Colorize Septia
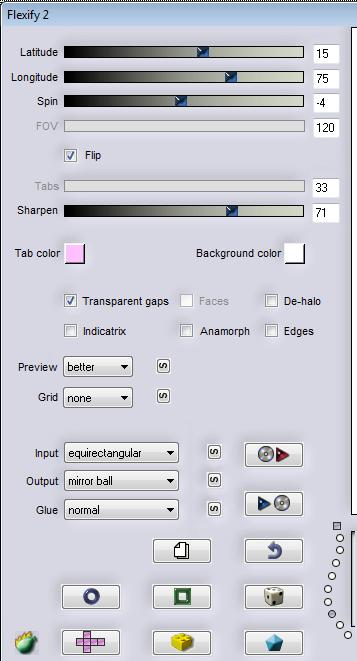
31. Image Resize 50% (Resize all the layers NOT checked). 32. Image Free rotate 90° right 33. Effects - Plugins -Flaming pear /Flexify2 (checked flip)
34. Effects- Distortion Effects /Twirl 210 35. Repeat -Distortion Effects /Twirl 100 (If you have any problems :you find the pspimage in the file.Edit/copy-Edit past as a new layer ) 36. Image -Mirror 37. Effects- 3D Effects- Drop Shadow 5/5/75/10 black 38. Aktivate your Pick Tool (K) and place like this
39. Open the tube ''nicole-etrange-by_njakk'' /Image Mirror/Image Resize 79% /Edit/copy -Edit/paste as a new Layer and place to the right 40. Effects- Plugins -EyeCandy5 Impact / Perspective shadow/ Preset -drop shadow blury 41. Open the following tubes: Edit/copy -Edit/paste as a new Layer élément 3 and place élément 2 and place élément 5 and place élément 4 and place Your work look like this now
42. Aktivate the top of the layer palette 43. Layers- New Raster Layer 44. Selections - load/save selection- load selection from disk and select my file ''renee-protea4 " 45. Flood Fill Tool :Fill the selection with this color: #ffffff /Change the opacity of colors to 50 % (Layer Palette: Change the Blend Mode to "Soft Light")
46. Selections - Deselect all 47. Effects - Plugins -VM Extravanga /shouting!..
48. Layer-Palette: Change the Blend Mode to : "Screen" and lower the opacity down to 26% -** Don t forget!: Put the opacity of colors to 100% and set the Blend Mode to Normal" ** 49. Open the tube ''The-Corridors- of- time ''. Edit/copy -Edit/paste as a new Layer and place 50. Arranging the tube layer above raster 2 51. Effects- 3D Effects -Drop Shadow
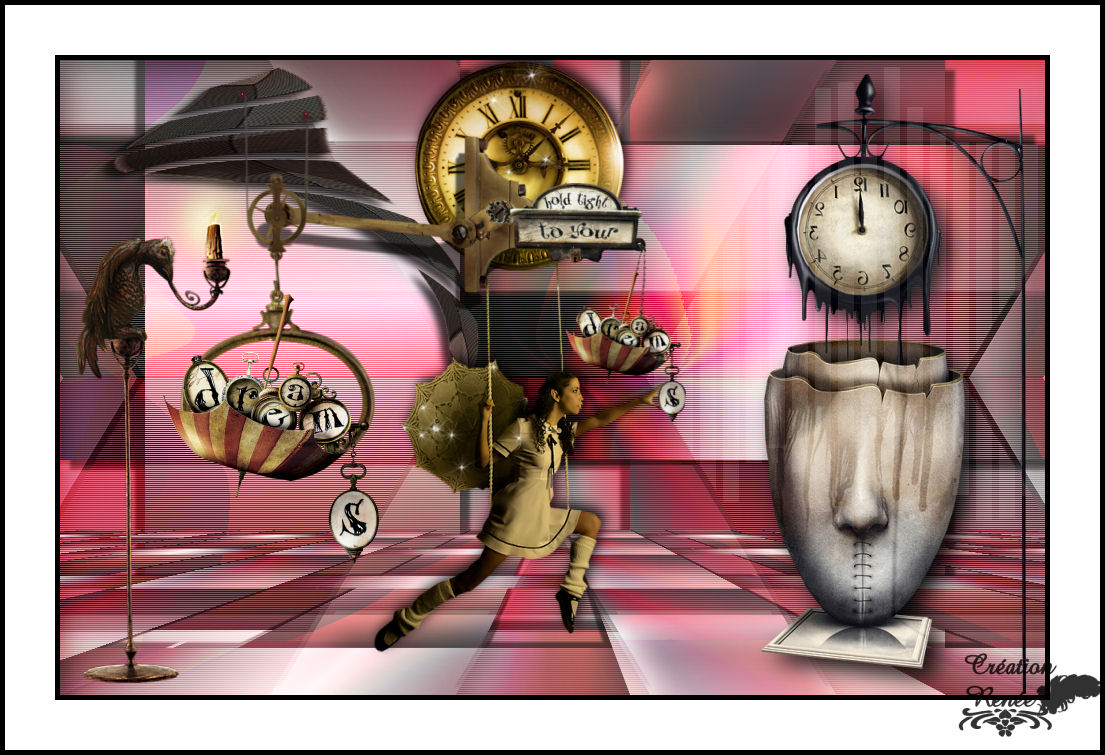
52. Layers-Merge-Merge Visible 53. Image - Add Borders - Symmetric checked: 5 pixels black 54. Image - Add Borders - Symmetric checked: 50 pixels white 55. Image - Add Borders - Symmetric checked: 5 pixels black
I am part of tutorial writers inc. My tutorials are regularly recorded
*
|
 Translations