|
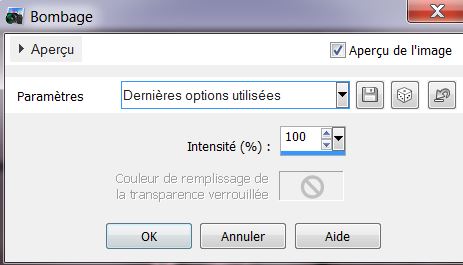
Let's begin
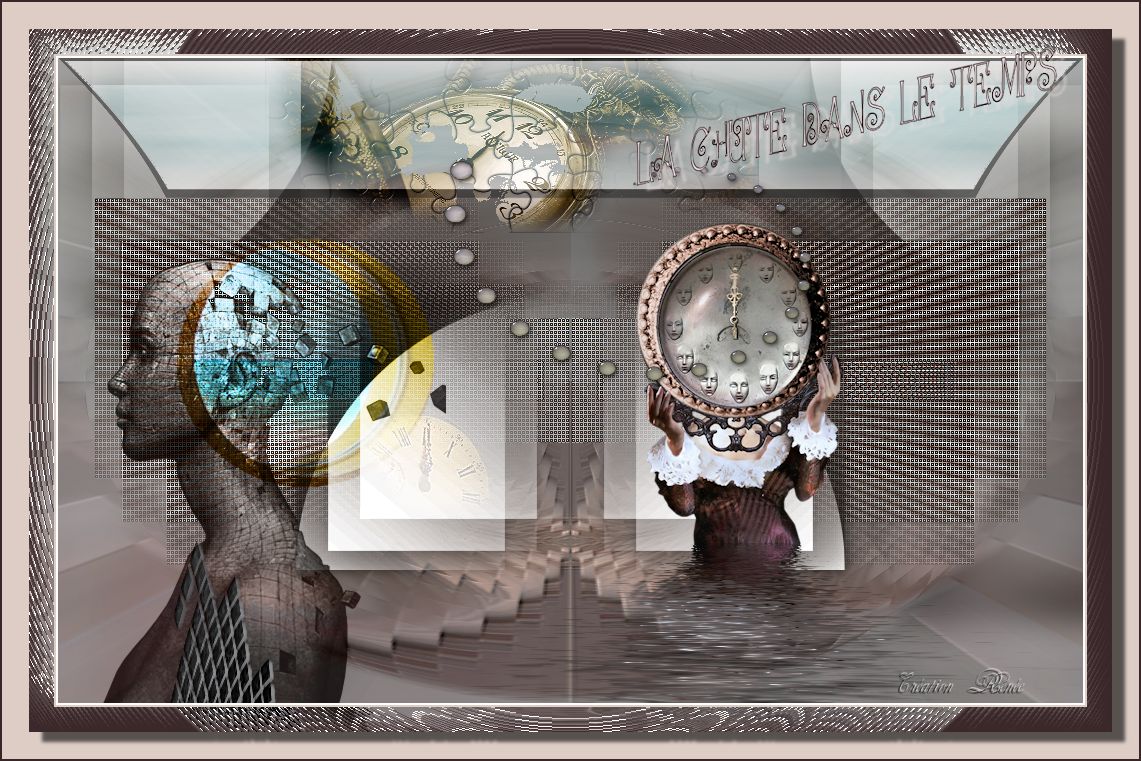
1. Open your tube ''fond_chute dans le temps '' of 1025
x 645 pixels
Window - Duplicate and close the original
2. Layer - Add a new layer
3. Selections - select all
4. Open the tube ''what time what side-by Artifice A PSP
Devils'' and paste into selection
5. Selections - deselect
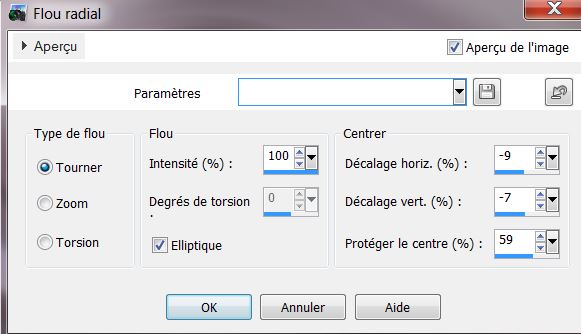
6. Adjust - blur - radial blur
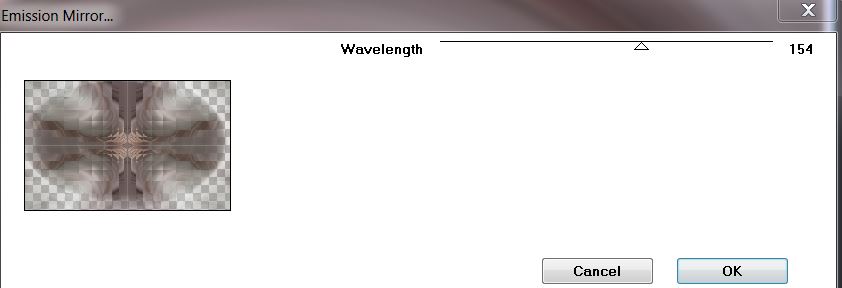
7. Effects - Funhouse - Emission Mirror
8. Effects - FM Tile Tools - Blend Emboss Default
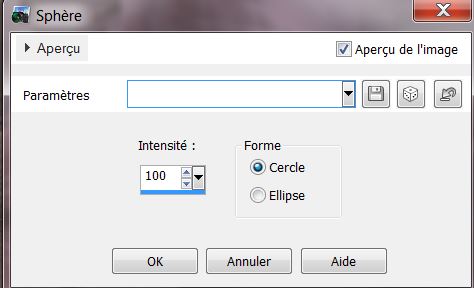
9. Effects - Geometric Effects - Spherize
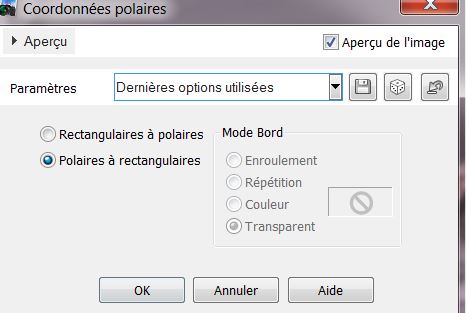
10. Effects - Distortion effects - Polar Co-ordinates

11. Layers - add a new layer
12. Selections - load selection "temps_1"
13. Colors Palette - Set foreground color to #e6e2e0 and
background to #ac9287
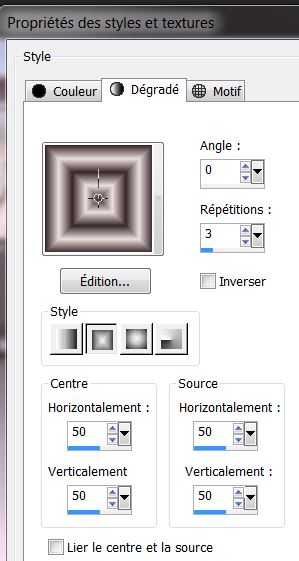
14. Prepare a radial gradient/ configured like this
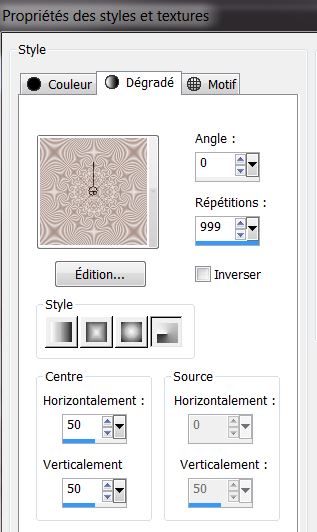
15. Fill the selection with the gradient/ Select none
16. Effects - Edge effects - enhance more
17. Effects - Filters Unlimited 2.0 - &<Bkg Designer
sf10III> SW Hollow Dot
18. Layers - duplicate
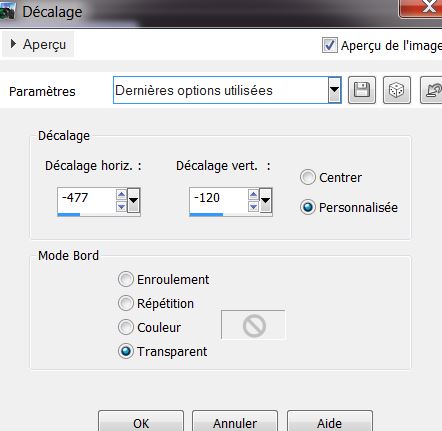
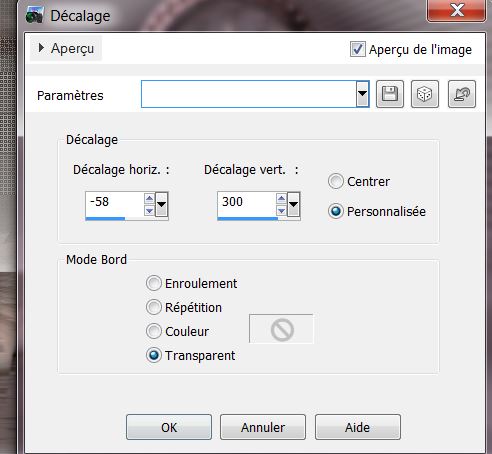
19. Effects - Image effect - Offset
20. Effects - Simple - Top left Mirror
21. Layers - add a new layer
22. Selections - load the selection "temps_2"/ fill with
the color #ac9287
DO NOT DESELECT
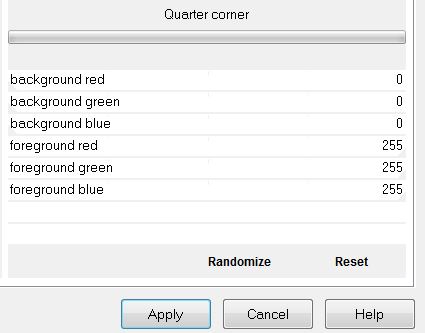
23. Effects - Simple - Quarter Corner
24. Selections - deselect
25. Layers - duplicate - Mirror Image
26. Layers - merge down
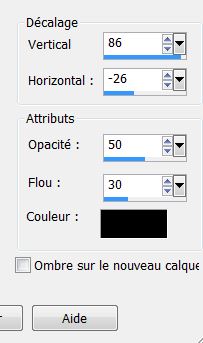
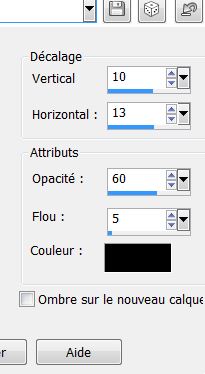
27. Effects - 3 D Effects - Drop Shadow 0/0/100/20 black
28. Duplicate layer / Image flip
29. Effects - Image effect - Offset

30. Change the blend mode to Overlay and opacity 57
31. Effects - Simple - Left Right Wrap
32. Effects - 3 D Effects - Drop shadow
33. Open the tube ''what time what side-by Artifice A
PSP Devil''/ resize to 50% and paste in place
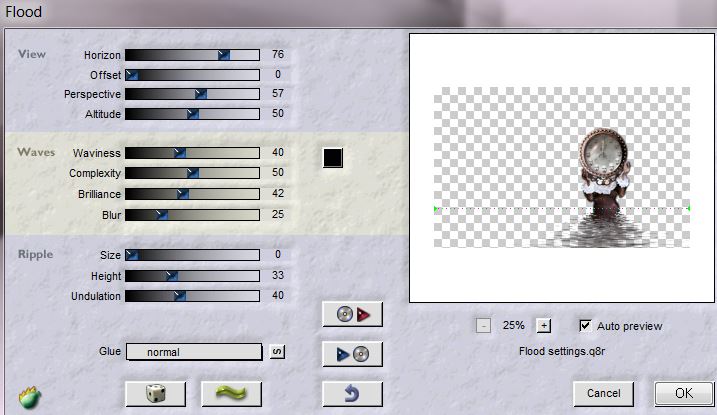
34. Effects - Flaming Pear Flood
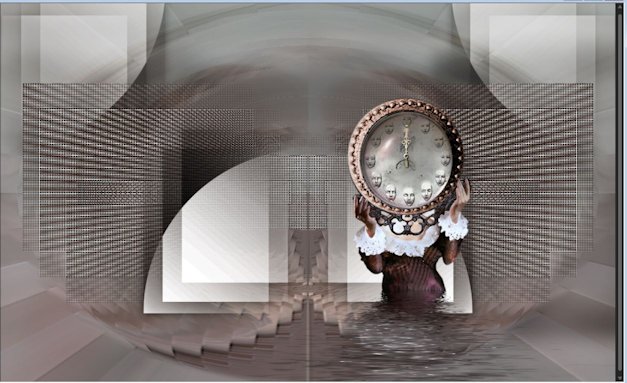
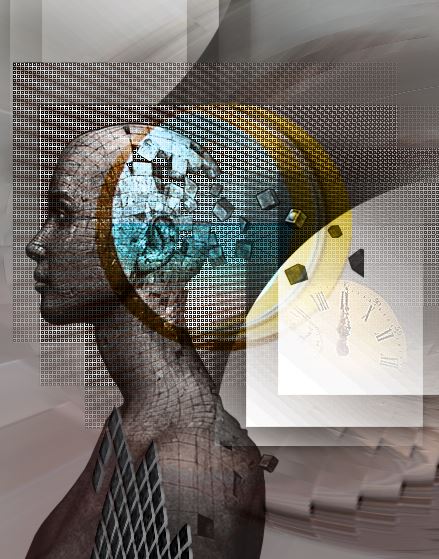
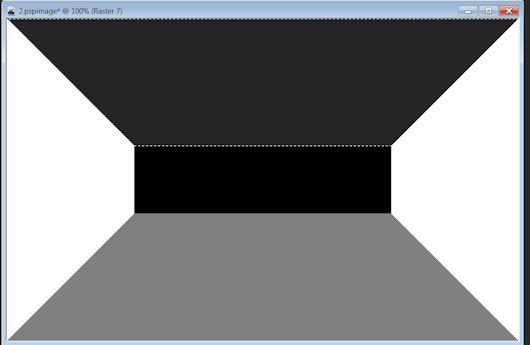
* You're there in your layers palette
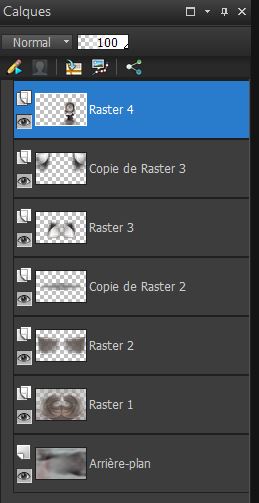
and here in your work
35. Open the tube ''DavidHo Block1a-3rdApachtubez'' and
paste in place. Change the blend mode and opacity to
Luminance 79
36. Layers - add a new layer
37. Brush Tool - brush - ''BrushTip_temps'' and with the
color black / apply like this
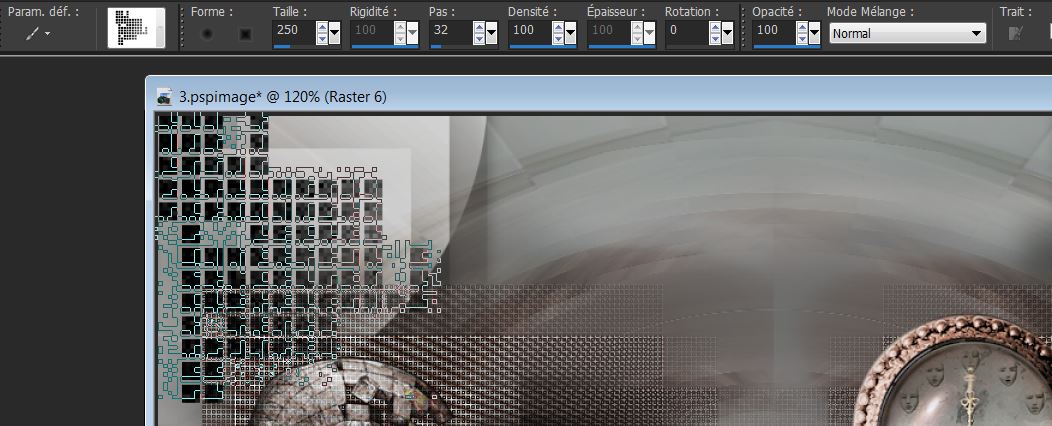
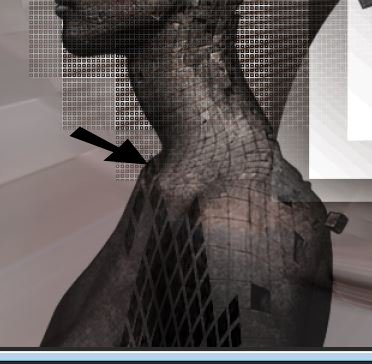
38. Effects - distortion effect - polar coordinates
* Make sure it is moved to the right place as shown here
39. Effects - EyeCandy5 Impact - Extrude - Preset
"chute_du_temps_1"
40. Open the tube "chute_temps_circles" and paste as new
layer
41. With your selection tool (K) move like this
42. Change the layer to Overlay Mode
43. Stay on the top of the Layers palette
44. Layers - add a new layer/ Fill with black
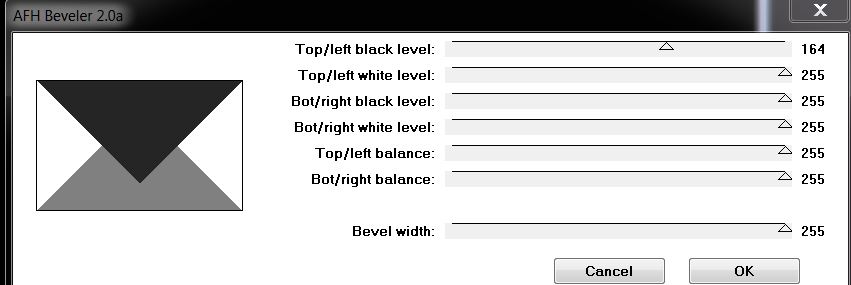
45. Effects - Filters Unlimited 2.0 - AFH-Beveler 2.0a
*With the magic wand select the top part
46. Selections / Invert - Delete
47. Invert Selection / Select Modify Contract by 8
pixels / Delete
48. Selections - Deselect
49. Effects - Distortion effects - Punch 100% - Repeat (same
parameters)
50. Magic Wand - Select inside the frame
51. Layers - add a new layer
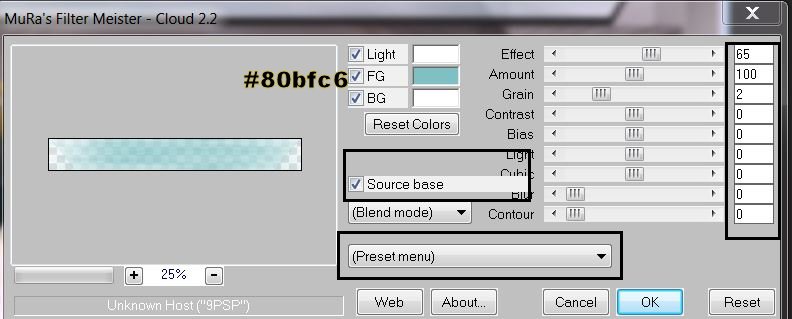
52. Effects - Mura's Meister - Cloud
53. Layers - merge down
54. Change layer opacity to 55
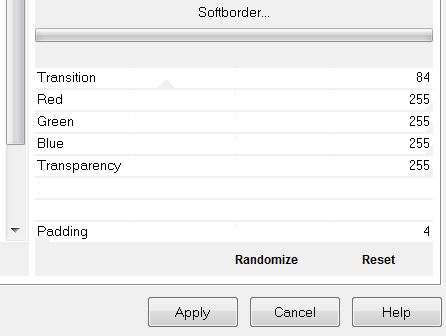
55. Effects - Filters Unlimited 2.0 - VM Toolbox -
Softborder
56. Selections - deselect
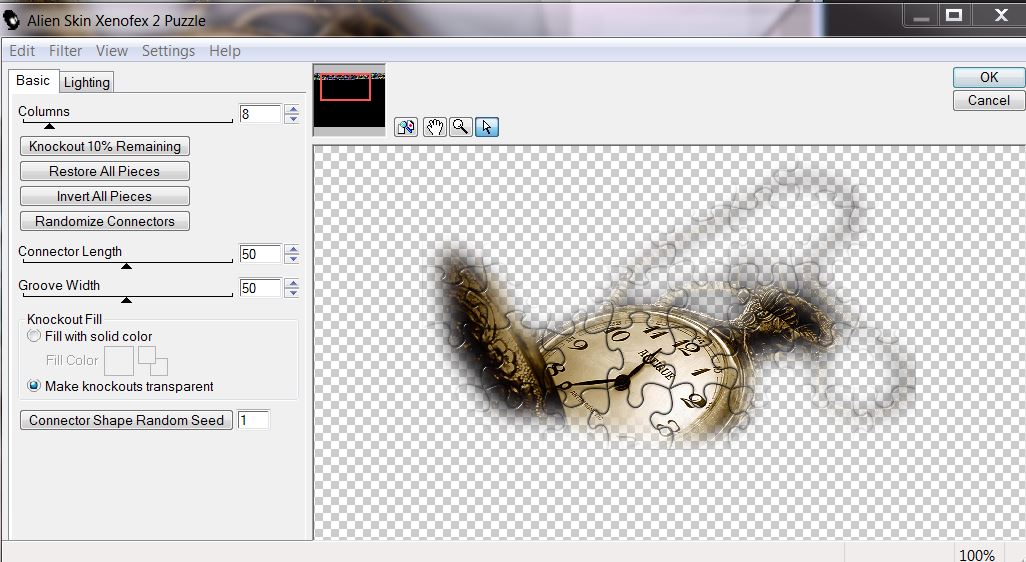
57. Open the tube "montre_gousset" - paste as new layer
58. Effects - Image effects - Offset
59. Effects - Alien Skin Xenofex 2 - Puzzle
60. Selection load the selection "temps_3''
61. Delete - deselect
62. Change the blend mode to overlay
63. Layers - add a new layer
64. In the colors palette set the foreground color to
#382628 and background to #ebdfe0
65. Selections - load the selection "temps_4"
66. Fill it with the foreground color / Selections -
Modify/ contract by 2 pixels / Fill with the background
color
67. Selections - deselect
68. Effect - EyeCandy 5 Impact - Glass - Preset "glass_temps"
69. Layers - merge layers
70. Image add borders 2 pixels white
71. Image add borders 2 pixels #ddcdc5
72. Image add borders 25 pixels white
73. Image add borders 2 pixels #ddcdc5
74. Prepare a rectangular gradient/ Select white border
with the magic wand
75. Fill the selection with the gradient
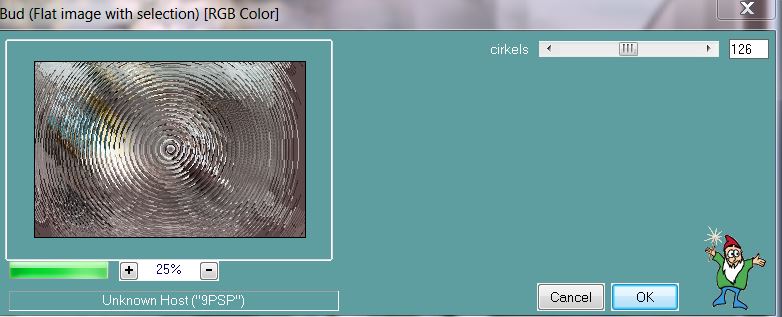
76. Effects - PhotoshopFun II / Bud
77. Image add borders 25 pixels #ebdfe0
78. Select the border with your magic wand
79. Selections - invert
80. Effect - 3D effects - Drop Shadow
81. Selections - deselect
82. Image add borders 2 pixels #382628
83. Copy and Paste the tube titre. Move into place as
shown.
*
All Done
Thanks Sally

|