|
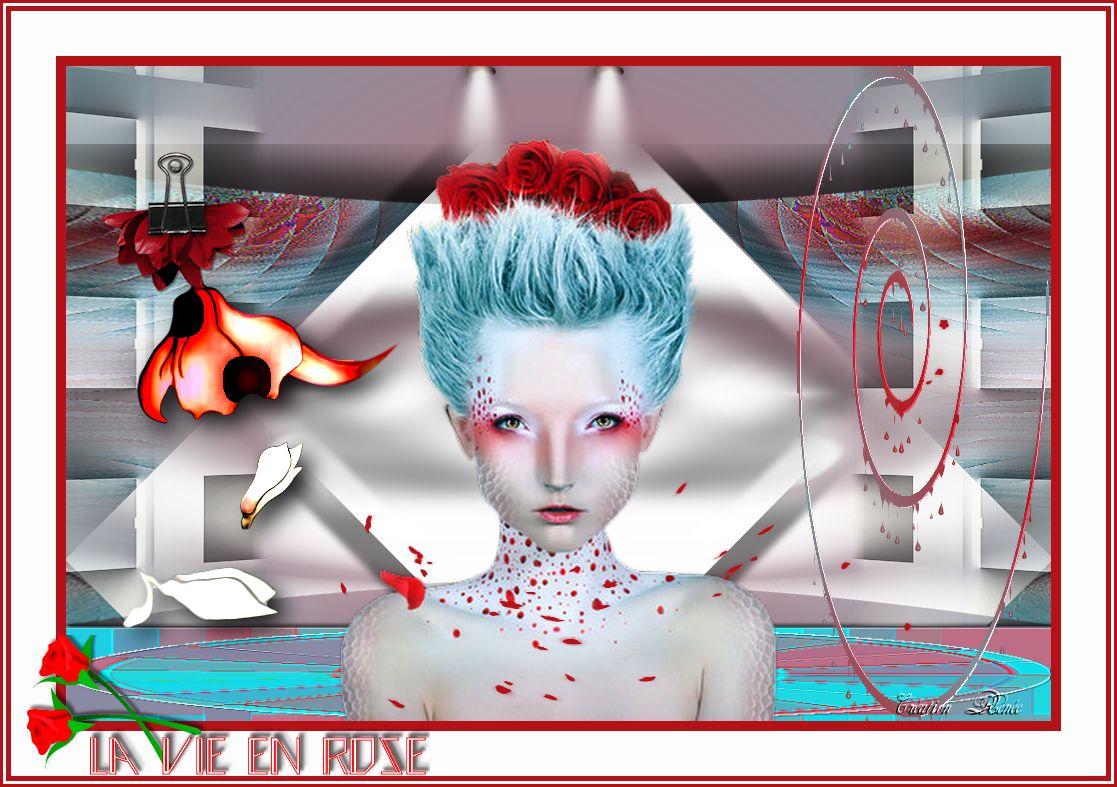
La vie en rose
Let's start the lesson .
1. Open a new transparent image of 985 x 655 pixels
2. Material Properties: Foreground color to this color: #c7707f Background color to this color : #7996a0
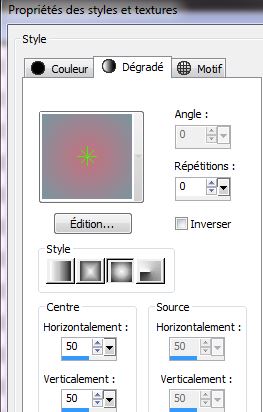
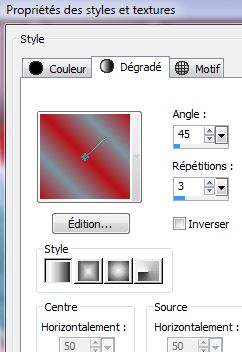
3. Put your foreground/background into a sunburst gradient with these settings
4. Activate Flood Fill Tool and fill the layer with the gradient
5. Layer-New Raster Layer
6. Selections -Select All
7. Open the tube ''d9026eef '' Edit/copy-Edit paste into selection
8. Selections- Deselect All
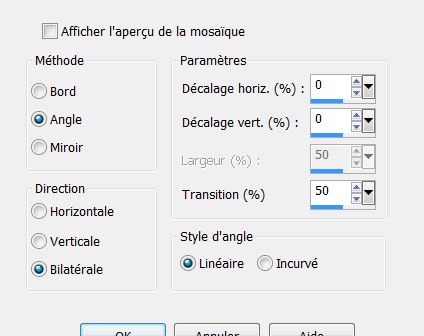
9. Effects-Image Effects-Seamless Tiling use the settings below
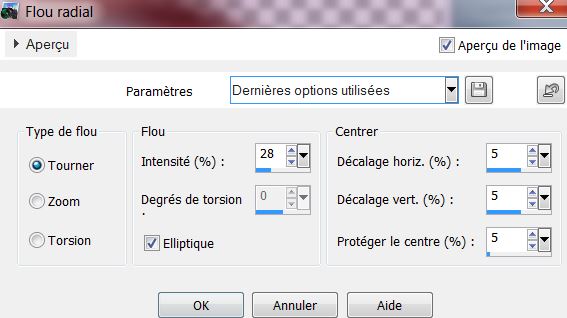
10. Adjust-Blur-Radial Blur use settings below -Elliptical checked
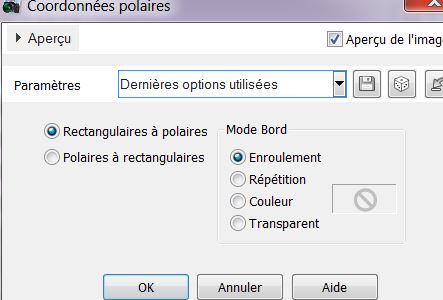
11.
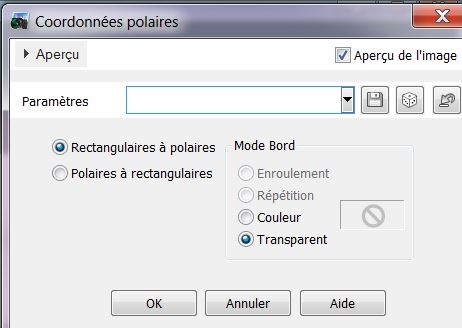
Effects- Distortions Effects-Polar Coordinates-Rectangular to Polar
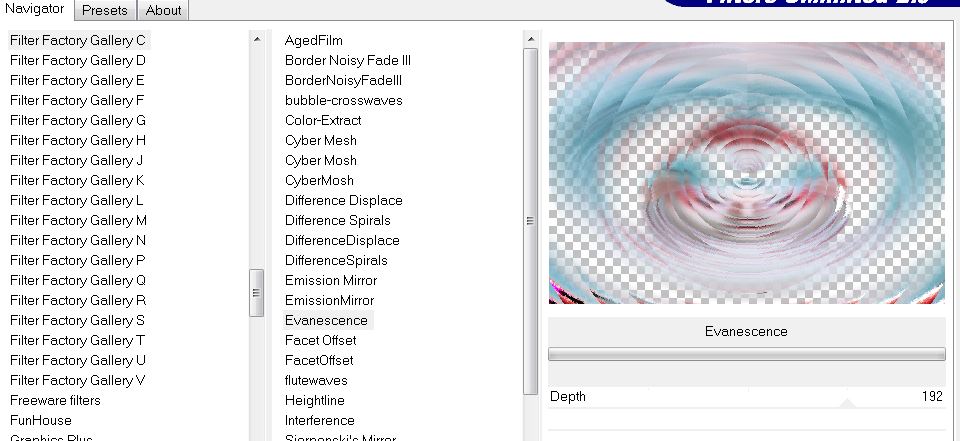
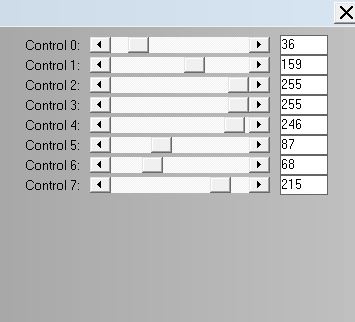
12. Effects- Plugins Unlimited2.0
- Filter Factory Gallery C/ Evanescence / Depth 192
13.Effects- Edge Effects- Enhance More
14. Effects- Plugins Unlimited2.0 - Scribe - 4 Way mirror
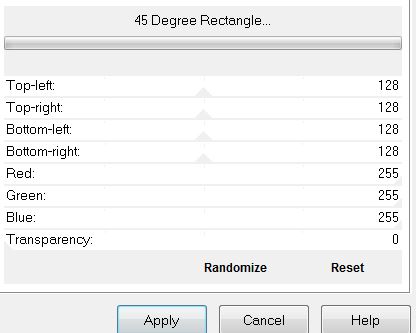
128/128
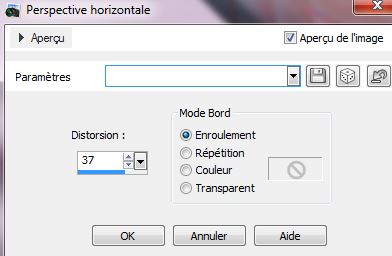
15. Effects- Geometric Effects-Perspective -Horizontal
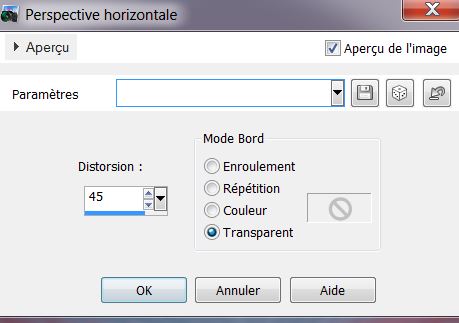
16. Effects- Geometric Effects-Perspective -Horizontal-
Distortion
- 45
17. Effects-Plugins -EyeCandy 5-Impact -Perspective shadow
-tab Settings/User settings - choose my preset-''la_vie_en_rose_perps''
18.Adjust-Fisheye Distortion Correction use settings below
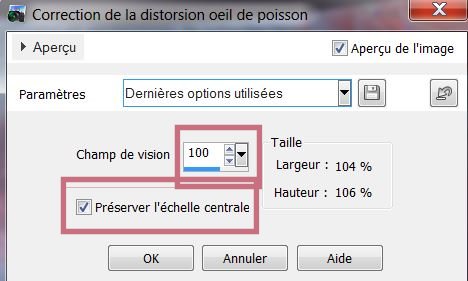 in psp in psp
19. Effects- Plugins Unlimited 2.0 -UnPluggedShapes
/ 45 Degree Rectangle
20.
Selections - load/save selection - load selection from disk and choose my selection: ''la_vie_en_rose_1''
21.Selections-Promote selection to layer
22. Selections- Deselect All
23. Effects - 3D Effects - Drop shadow with these settings 20/20/50/10 color black/ Repeat: -20/-20
24. Effects-Plugins - Simple - Top left Mirror
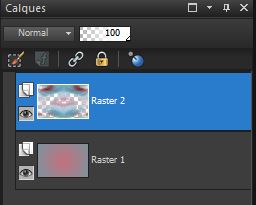
25. Activate the bottom of the layer-Palette = raster 1
26. Layer-New Raster Layer
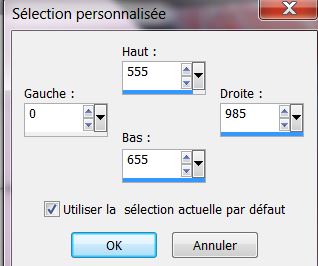
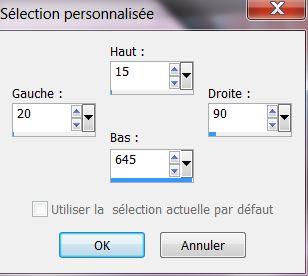
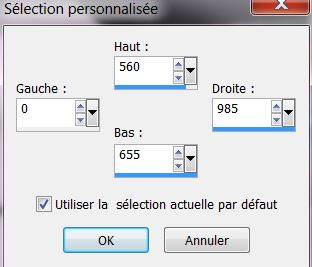
27. Selections-Custom Selection with these settings
28.
Material Properties: Foreground color to this color: #c7707f-Background color to this color : #23c1c9
Prepare a Linear Gradient as configured like this.

29. Activate Flood Fill Tool and fill the selection with the gradient
30.Adjust-Blur-Gaussian Blur: Radius 28%
- Keep Selected
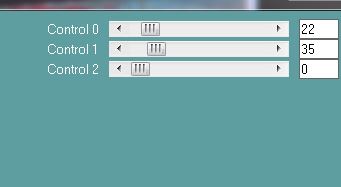
31. Effects- Plugins Caroline & Sensibility/CS- Hlines
settings 22/35/0
32.Effects- Edge Effects-Enhance -More
33. Effects- Plugins Unlimited 2.0 - Mock - Mosaic 12
-
Keep Selected
34. Effects- User Defined Filter-- Emboss 3 default
35.Effects- Distortions Effects-Polar Coordinates-Rectangular to Polar
36. Effects-Edge Effects-Enhance More
- Selections-Deselect All
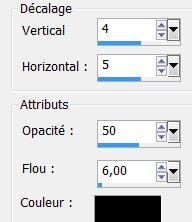
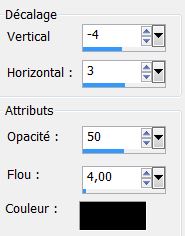
37. Effects - 3D Effects - Drop shadow with these both settings-color black
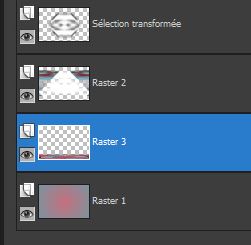
38. Activate raster 3 Layer Palette -Double click on this Layer and set the Blend Mode to"Multiply " Reduce the opacity of this layer to: 85%
39. Effects-Plugins -FM Tile Tools – Saturation Emboss default
Does this processing problems? Tube attached in the zip file : tube ''effet_sol ''/Edit/copy-Edit Paste into selections )
- The result
40.Activate the top of the layer-palette
41. Layer-New Raster Layer
42. Color Palette-FG-Color to this color : #0c4574
43.Selections-Custom Selection with these settings
44. Activate Flood Fill Tool and fill the selection with the foreground color #0c4574
45. Selections-Deselect All
46. Effects- Plugins - Toadies - What are you settings 20/20
47. Effects - 3D Effects - Drop shadow with these settings
48. Effects- Plugins L and K's – Trix
49. Effects- Geometric Effects-Perspective -Horizontal
50.
Layers - Duplicate
51. Image Mirror
52. Layers- Merge- Merge Down
53. Layer Palette -Double click on this Layer and set the Blend Mode to "Hard Light "
54. Selections-Custom Selection with these settings
55. Delete
56. Selections- Deselect All
57. Open the tube ''d9026eef'' Edit/copy- Edit/ paste as new layer on your working area and move
57. Open the tube''spots_roserika''' Edit/copy- Edit/ paste as new layer on your working area and move
58. Layer-New Raster Layer
59. Selections - load/save selection - load selection from disk and choose my selection:
''la_vie_en_rose_2''
60. Material Properties: Foreground color to this color: #b71118 Background color to this color #7996a0-
Put your foreground/background into a linear gradient
-Activate Flood Fill Tool and fill the selection with the gradient
61. Effects- Plugins EyeCandy5-Nature -Drip -
tab Settings/User Settings and choose my preset -''la_vie_en_rose_drip''
62. Effects- User Defined Filter-Emboss 3 default
63. Selections- Deselect All
64. Layer-New Raster Layer
65. Selections - load/save selection - load selection from disk and choose my selection: ''la_vie_en_rose_3''
66. Pot of Paint with these settings
67.Activate Flood Fill Tool and fill the selection with color #b71118

68.
Selections- Deselect All
69. Open the tube ''SS-Grey-Shies-clipped'' Edit/copy-Edit paste as a new layer on your working area and move to the left
Open the tube
''clou'' Edit/copy-Edit paste as a new layer on your working area and move to the left
70. Layers-Merge-Merge Down
71.Activate the top of the Layer-Palette
72. Open the tube ''fleurs-separées_renee'' Edit/copy-Edit paste as a new layer on your working area and move to the left
73. Effects- Plugins EyeCandy 5-Impact -Perspective shadow-
Preset/ Drop shadow blury
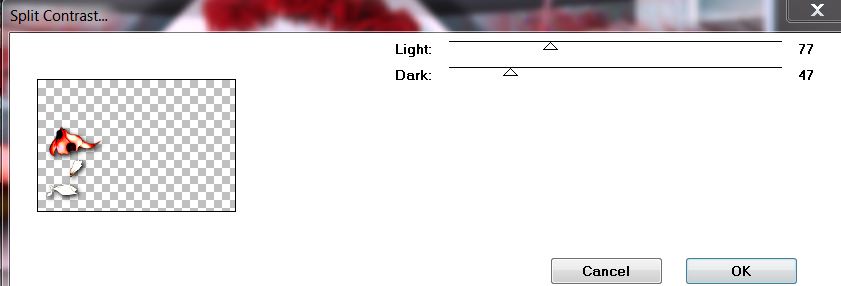
74. Effects- Plugins - Unplugged Colors- Split Contrast
75. Layers-Merge-Merge Down
76. Layers- Merge-Merge All
77. Image - Add borders-Symmetric checked: 10 pixels color #b71118
78. Image - Add borders-Symmetric checked: 45 pixels color #fcfcfc
79. Image - Add borders-Symmetric checked: 5 pixels color #b71118
80. Image - Add borders-Symmetric checked: 3 pixels color #fcfcfc
81.
Image - Add borders-Symmetric checked: 3 pixels color #b71118
82. Activate the Text-Edit - Copy -Edit - Paste as new layer on your working area and move .Ore write your own text
I hope you enjoyed this lesson
This lesson was written by Renée
28 april 2013

|

 Translations