|
New
Translations here
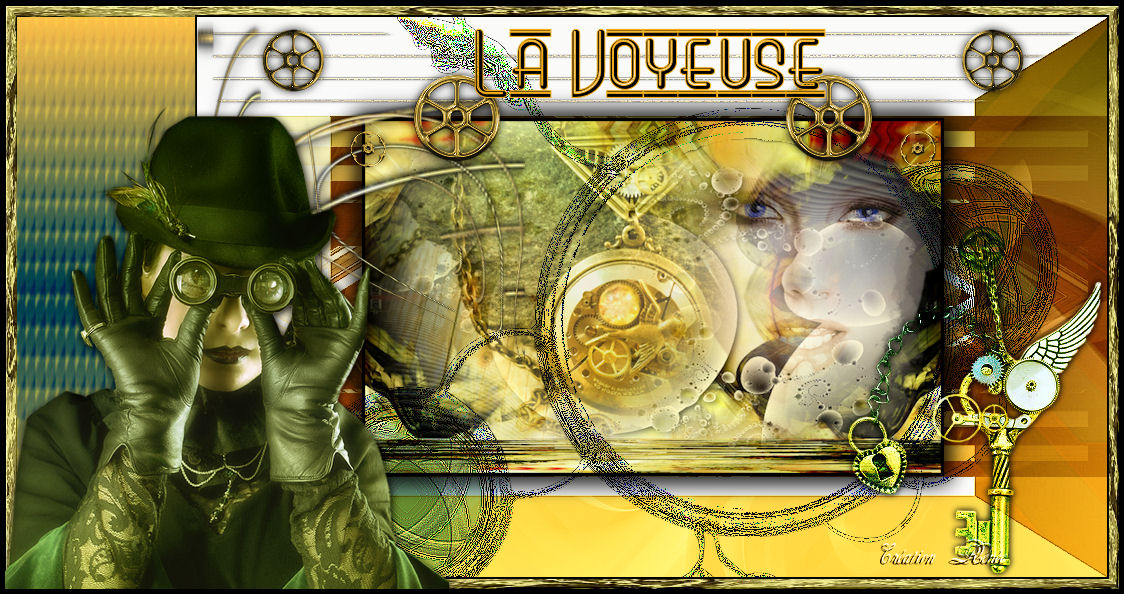
La voyeuse Plugins VM Toolbox /mirror M VMNatural /lakeside reflection Nick softwar color effex pro.3/bicolor Unlimited Filtre /frame textured link for download here :http://www.reneegraphisme.fr/filtres/Mes%20filtres.html
**** Castorke -Louannes Dreams Loganne -Steampunk free-Mask
Cameron Or found by me searching on the net. tubes so please use any copyright information as needed. Contact me so I can make a link to your site or remove it
1. Let's begin . 2. File: Open a New Transparent image of 900 x 500 pixels transparente 3. Selections /Select All. Open the tube « Digital art sharp « Edit/copy-Edit paste into selection 4. Selections - Deselect all 5. Adjust- Sharpness-Sharpen . Layers-Duplicate 6. Effects -Plugins Unlimited 2.0 - VM Toolbox/ Instant tile 77/31 7. Effects -Plugins Unlimited 2.0 - Vm toolbox /Mirrororri M
8. Effects- Plugins Simple /Half Wrap 9. Layer Palette: Set the Blend mode to : "Hard Light " 10.Layers-Merge-Merge Visible 11. Effects-Plugins Vm natural /Lakeside Reflection
12. Layers - New raster Layer Flood Fill Tool :Fill the Layer with color: #fdf6c1 13.Layers- New Mask Layer From Image and choose: » galaxie »
14. Layers-Merge-Merge Group 15. Effects - 3D Effects- Drop Shadow: 3/4/70/13 black 16. Adjust- Sharpness-Sharpen 17.Open the tube « femme aux yeux bleu » Edit/copy -Edit/paste as a new Layer 18. Image Resize 80% Resize all layers not checked.- 19. Effects - Image Effects -Offset: H= 280 et V= 50 transparent - Layer Palette: Lower the opacity down to 75% 20. Open the tube "mecanisme" /Edit/copy -Edit/paste as a new Layer and place
21. Layer Palette: Lower the opacity down to 73% 22. Layers-Merge- Merge Visible / Effects-User Defined - Emboss3- default 23. Layer Palette:Image Resize 80% /Resize all layers not checked.Repeat: Image Resize 80% 24. Selections-Select All/Selections -Float -Selections-Defloat 25. Selections- Modify -Select-Selection Borders
26. Flood Fill Tool:Fill the selection with black - Selections- Deselect all 27. Layers-New raster layer 28. Selections-Select All 29. Open the 'image ''abstract 3d-15'' Edit/copy- Edit/ paste into selection 30. Selections - Deselect all 31. Effects - Edge Effects-Enhance 32. Layers-Duplicate 33. Image Mirror /Image Flip /Lower the opacity down to 50% 34. Layers- Merge- Merge Down 35. Layers-New raster layer - Material Properties: Foreground color to color: #7a2425 Background color to color: #ffffff 36. Flood Fill Tool:Fill the layer with your foreground color :#7a2425 37. Layers- New Mask Layer From Image and choose: '' mask_10 ''
38. Layers- Merge-Merge Group 39. Effects-User Defined filter emboss3 40. Layers-New raster layer/ Flood Fill Tool :Fill the Layer with color: #ffffff 41.Layers- New Mask Layer From Image and choose: '' maskcamerontag -strip6 '' checked: Source Luminance
42. Layers-Merge-Merge Group 43. Effects -Edge Effects-Enhance -Your work is like this right now
44. Close the merged layer 45. Layers-Merge-Merge Visible/Open the bottom layer - Rename the layers 1 and 2 see the example
46 Layers-Arrange- Layer 2 -Move Down (And place in the center to the edge, see example)
47. Aktivate layer 1 Effects - 3D Effects-Drop Shadow: 5/5/100/30 noir / Repeat:Effects -3D Effects-Drop Shadow -5/-5 48. In the layers palette you put on the layer 2 49. Effects-Plugins Nick Color effex Pro3.0 /Bi-color/ GREEN BROWN -color set 4
50. Layers-Merge-Merge All (Flatten) 51. Layers-New raster layer 52. Selections - load/save selection - load selection from disk and choose : @renee_voyeuse1'' 53. Open the tube « ligne centrale" Edit/copy- Edit/ paste into selection Effects -3D Effects-Drop Shadow 5/5/100/30 black/ Selections - Deselect all 54. Layers-New raster Layer 55. Selections-Custom Selection with these settings:
56 . Open the tube ''cercle _la_voyeuse'' /Edit/copy- Edit/ paste into selection 57. Selections - Deselect all/Layers-Duplicate 58. Effects - Distortion Effects /Polar Coordinates-/Rectangular to polar/ Transparent - Eraser Tool: Remove that away what into the image is and place
** These two effects: (raster 2 and copy de raster 2) -Effects-3D Effects -Drop Shadow : 2/2/60/18 - Your work and Layer Palette look like this now
59. Open the tube ''ligne centrale ''Edit/copy- Edit/ paste as new layer and and move to the bottom 60. Effects - Distortion Effects - Punch
61. Open the tube « double cercle « Edit/copy -Edit/ paste as new layer (do not move!!!) Layer Palette:Set the Blend Mode to "Multiply"' /Layers-Duplicate /Layers-Merge-Merge Down 62. Effects - Edge Effects- Enhance More 63. Open the tube « roue « Edit/copy -Edit/ paste as new layer and move on top of your work 64. Aktivate the top of the Layers palette 65. Open the tube « deco 2 « Edit/copy -Edit/ paste as new layer and place 66. Layer Palette:Set the Blend Mode to "Hard Light" 67. Layers-Merge-Merge All (Flatten) 68. Image - add borders symmetric: 2 pixels black 69. Image - add borders asymmetric color: #f1cd3c
70. Activate your Magic wand : Click with your magic wand into the yellow border 71. Selections-Promote selection to Layer 72. Selections - Deselect all 73.Effects-Plugins Unlimited -ICnet Fiters /Frames textured /Textured frame 01
74. Activate your Magic wand : Select the small yellow band 75. Layers-New raster Layer 76 Open the image » texture _cg « Edit/copy-Edit paste into selection /Selections - Deselect all. Layer Palette:Set the Blend Mode to "Exclusion" 77. Open the tube « femme _steampunk » Edit/copy-Edit paste as a new layer and place 78. Effects - 3D Effects-Drop Shadow: 2/1/100/12 black 79. Image - add borders symmetric: 2 pixels color: #f1cd3c 80. Material Properties: Foreground color to color:black Background color to color: #ffdd48 Text Tool: Font: ''beautyschoolDropout2'' Size 72. Write your text
I am part of Tutorial Writers Inc. My tutorials are regularly recorded
*
|

 Translations


