Let's begin
1. Open background tube "fond_cirque _du_soleil. Window
- Duplicate and close the original.
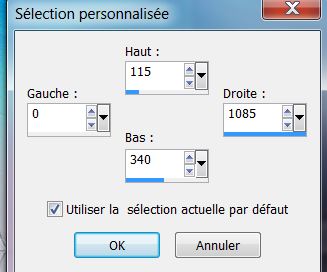
2. Selection tool - Custom selection
3. Selections - Promote selection to layer
4. Selections - Select none
5. Effects - ICNet Filters / Filters Unlimited -
Distorsion Filters / Smelter2 - intensity at 65 (Included
in the materials)
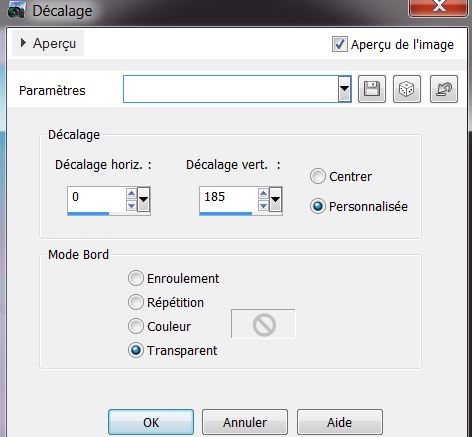
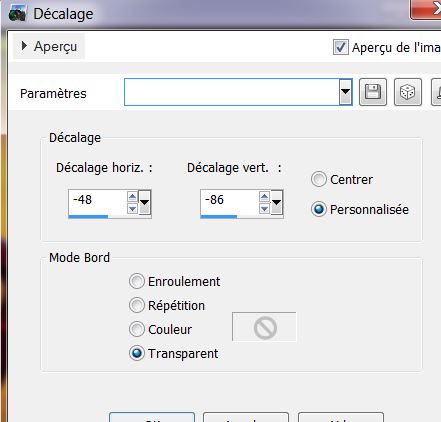
6. Effects - Image effect - Offset
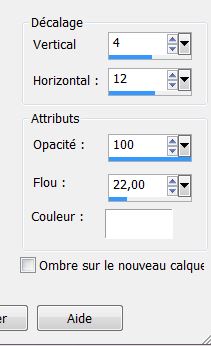
7. Effects - 3-D effect / drop shadow - white
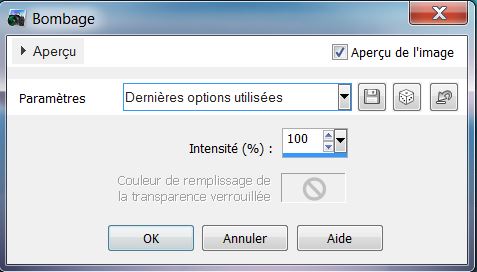
8. Effects - Distortion effects / Punch
9. Layers - New raster layer
10. Selections / select all / paste tube "cirque_du_soleil_art_tubed_by_thafs"
into the selection
11. Selections - Select none
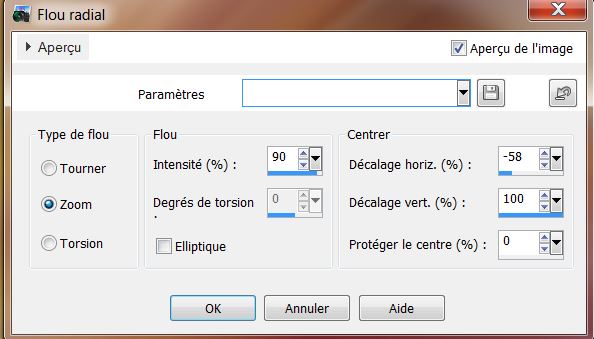
12. Adjust/ blur - radial blur
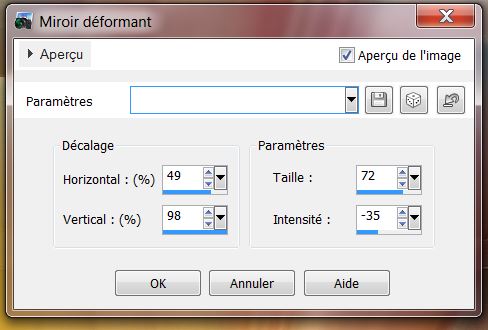
13. Effects - Distortion effects / Warp
14. Image - Flip
15. Effects - Filters Unlimited 2.0 / Filter Factory
Gallery V / Color Booster / Boost to 128
16. Layers - add a new layer
17. Selections - load selection "cirque_soleil_1" and
set foreground color to #131b07
18. Open Flood fill tool / change the opacity to 32

19. Fill the selection
20. Selections - Select none
21. Effects - 3-D effects - Drop shadow
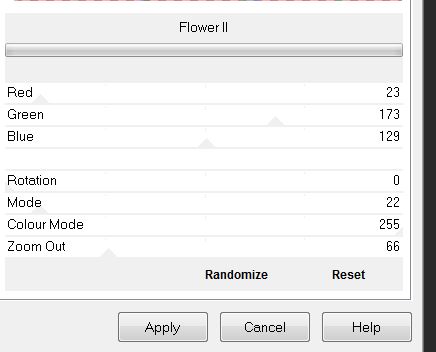
22. Effects - Filters Unlimited 2.0 / Filter Factory
Gallery U / Flower II
23. Effects - Edge effects / Enhance more
24. Layers - Duplicate / merge down
25. Using the Select tool (K) scale fashion / move down
to 500 pixels like this
*
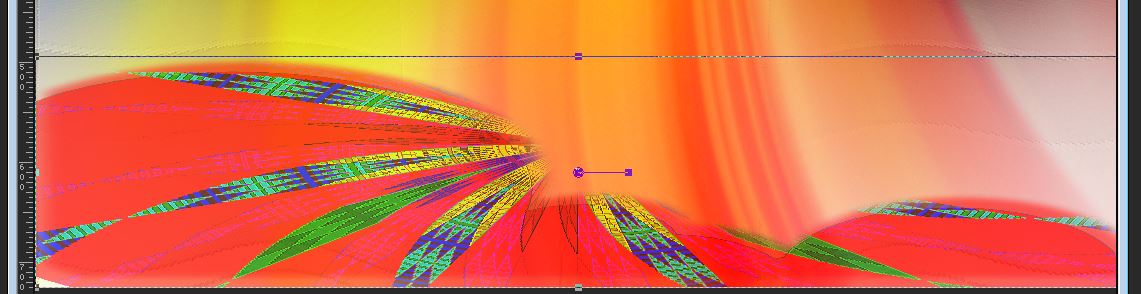
* You
are here
26. Go to Raster 1
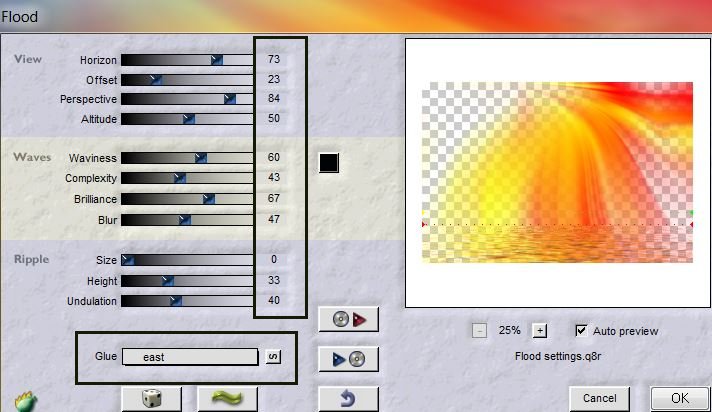
27. Effects / Flaming Pear - Flood - apply the effect as
shown twice
28. Color Palette - Change the foreground color to
#e1351b and background to #75ae31
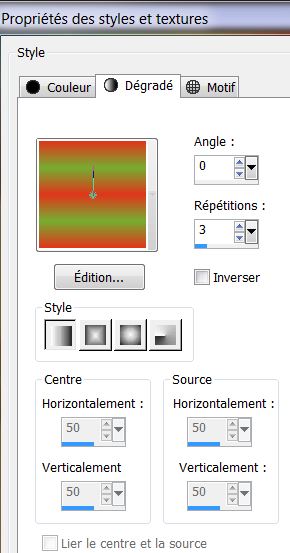
29. Prepare a linear gradient like this
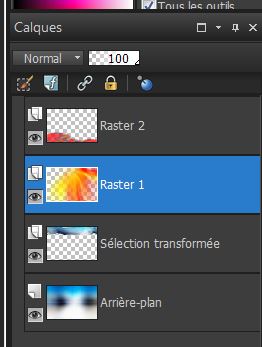
30. Go back to the top of the Layers palette
31. Layers - add a new layer
32. Flood fill tool - Tolerance 200

33. Selections - load the selection
"cirque_soleil_2" - fill the selection with the gradient
34. Selections - Select none
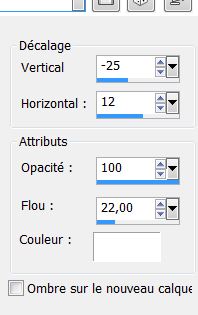
35. Effects - 3-D effect - Drop Shadow 1/-1/100 / 0
black
36. Open the tube "cirque soleil_0e37_L" Paste as new
layer - change this layer to Overlay mode
37. Layers - add a new layer
38. Selections - load selection from disk
"cirque_soleil_3"/ fill with the color #ddc47c (flood
fill tolerance 200)
39. Selection - Select none
40. Layers - Arrange/ move down
41. Change the blend mode to Screen / opacity 59
42. Go back to the top of the Layers palette
43. Layers - New raster layer
44. Selections - load selection from disk
"cirque_soleil_4" fill with the color #cec3b6
45. Selections - Select none / Effects - custom Filter
Emboss 3 (Default)
46: deze laag op modus zacht
licht
46. Change the blend mode to soft light
47. Open the tube "cirque_soleil_cercle" Paste as new
layer - move to the upper left
48. With the wand / select the circle like this
49. Layers - add a new layer
50. Open the tube 'cirque_du_soleil_0_by_thafs "(totem)
and paste into selection
51. Effects - EyeCandy5 Impact - Glass = preset clear
52. Layers - Arrange/ move down
53. Back to the top layer / layers - merge down
54. Open tube "cirque_soleil_etoiles" Paste as new layer
55. Open the tube "cirque _soleil_nuages" Paste as new
layer/ move into place
56. Open the tube "cirque_du_soleil_0-by_thafs"/ Mirror
image and paste as a new layer
57. Effects - Image effects - Offset
58. EyeCandy Effect 5 / perpsective Shadow / Preset
Reflect in front
59. Layer - add a new layer
60. Selections - load selection from disk
"cirque_soleil_5" fill with color #83acb9
61. Effects - EyeCandy 5 Impact / Glass / Preset = blue
lit from below
62. Selections - Select none
63. With your magic wand select the center of the circle
- selections - modify - expand by 6 pixels
64. Layers - add a new layer
65. Open the tube "cirque_soleil_horloge" and paste into
selection
66. Selections - Select none
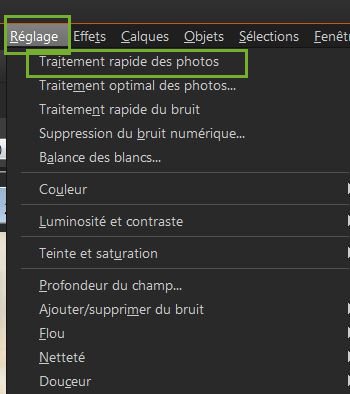
67. Adjust - One Step Photo Fix
68. Layers - Arrange move down
69. Image - add borders 1 pixel black
70. Image - add borders 25 pixels #ae0203
71. Image - add borders 2 pixels black
72. Select the border of 25 pixels with magic wand
73. Effects - Plugins - AP01 Lines Silverling
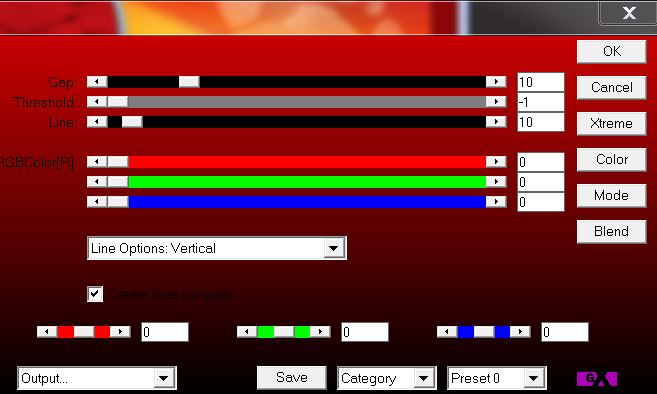
74. Repeat the same effect but
changing Line Options: Horizontal
75. Effects - 3-D effects - Drop shadow black 10/10/50/5
76. Repeat Drop Shadow Black -10/-10/50/5
77. Selections - Select none
78. Open the tube "titre". Paste as new layer
*
Lesson Over
Thanks Sally

|