|
Let's Start
Open your color palette
1.
File: Open the image ''fond__coeur_ouvert''/Promote Background layer = raster 1
2.
Effects - Image effects-Seamless Tilling/default
3.
Adjust-Blur-Gaussian Blur: Radius 40
4.
Layers- Duplicate
5.
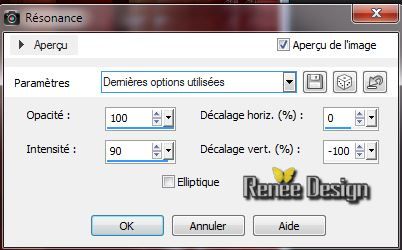
Effects - Reflection effects -
Feedback
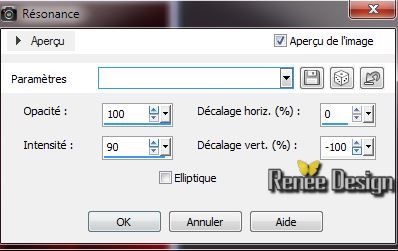
6.
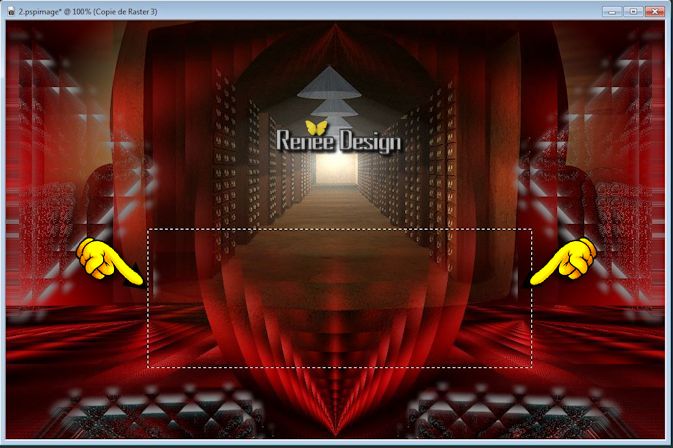
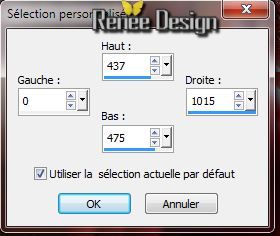
Selections-Custom selection with these settings
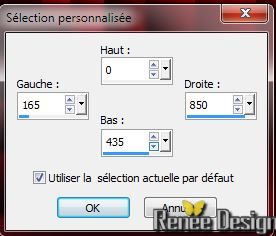
7.
Selections- Promote selection to layer
8.
Selections-Invert
Activate the layer underneath(Copie de raster
1)
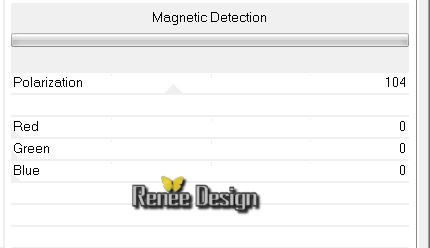
9.
Effects - Plugins Unlimited VM Experimental/Magnetic
Direction
10.
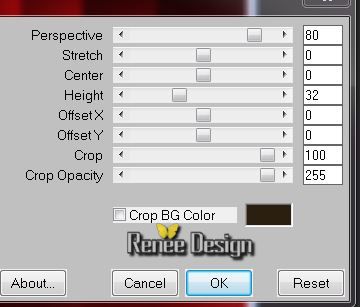
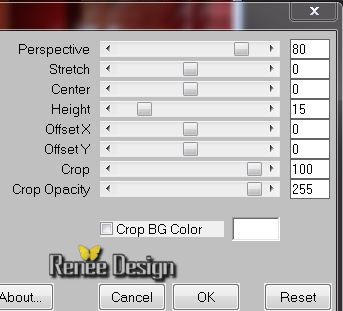
Effects- Plugins - Mura's Meister - Perspective
Tilling
11.
Selections - Deselect all
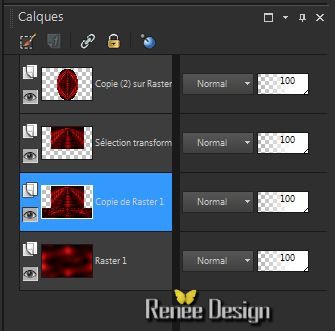
Layer-Palette: Activate -Layer-
copie de Raster 1
12.Layers- Duplicate/Layers- Arrange-Bring to top
13. Effects
-Plugins - Simple -Top left Mirror
14. Effects -
Geometric effects -Circle /Transparent
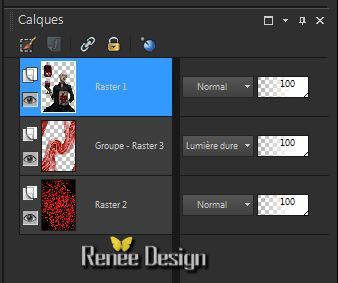
Your work and Layer Palette look like this now:
15. Activate
tube ''coeur_ouvert_image_1'' -Edit/copy -Edit/paste as a new Layer
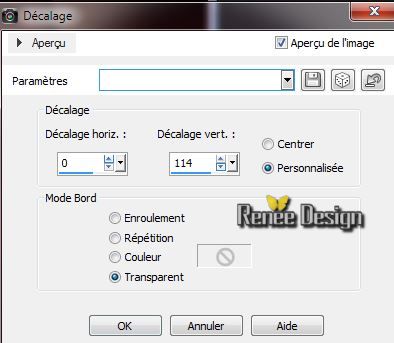
16. Effects -
Image effects- Offset
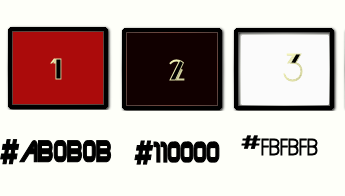
17. Material Properties: Foreground color to color : #ab0b0b Background color to color: #110000
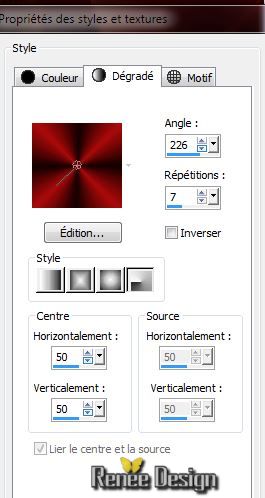
18.
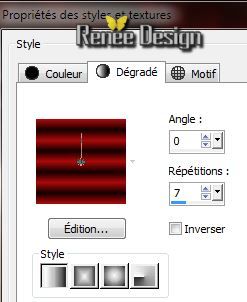
Prepare a Radial Gradient as configured
19.Layers- Newe raster layer/Selections - load/save selection - load selection from disk and choose "coeur_ouvert_1'' /Flood Fill Tool: Fill the selection with the gradient
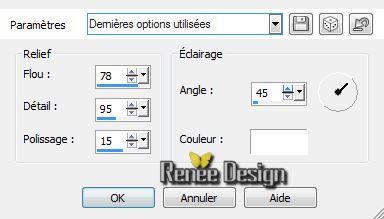
20. Effects -
Textureffects - Polished Stone
21. Effects-
Edge effects-Enhance
22.
Selections - Deselect all
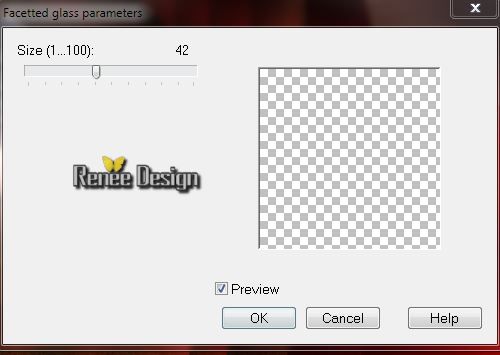
23. Effects-
Plugins - Picture man Collection -Facetted Glass
parameters
24. Effects -
3D Effects- Drop Shadow/white

25. Image Mirror
26. Layers- Merge-Merge Down
27. Layers- Duplicate
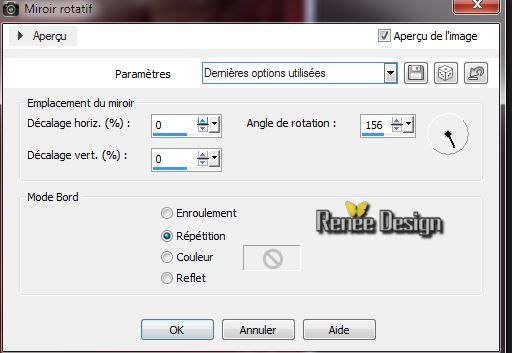
28. Effects -
Reflection effects- Rotating Mirror
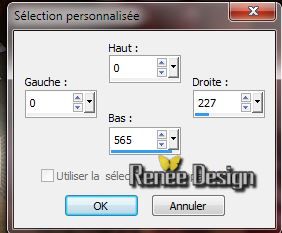
29.
Selections-Custom selection with these settings
30. Delete
31.
Selections - Deselect all
32. Layers- Duplicate/Image Mirror /Layers- Merge- Merge Down
33. Layer-Plaette: Blend Mode "Difference" and the layer underneath (raster 3) Blend Mode" Exclusion"
Your work and Layer Palette look like this now:

34. Image
Flip
35. With your eraser tool to remove these edges
36. Effects
-Plugins - Mura's Meister -Perspective
Tilling
37. Effects-Plugins -Eye Candy 5 Impact / Chrome -choose my Preset
''coeur_ouvert_chrome''
38. Layer-Palette: Blend Mode "Hard Light " Layers- Arrange-Move 3x down, under layer of the circle
Stay on this layer
39. Layers- New raster layer
40.
Selections-Custom selection with these settings
41.Prepare a Linear Gradient as configured
42. Flood Fill Tool: Fill the selections with the gradient
43.
Selections - Deselect all
44. Effects -
Reflection effects- Feedback
45. Layer-Palette:Blend Mode "Lighten"
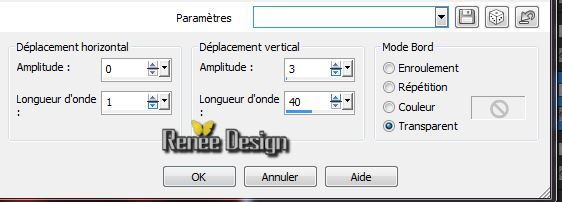
46. Effects -
Distortion effects - Wave
47. Layers- Merge -Merge Visible
48. Activate tube ''krys.pspimage'' activate raster 3 of the
tube /Image Resize 55%
Edit/copy -Edit/paste as a new Layer and place
49.
Layers- New raster layer
50. Material Properties: FG-Color to color White
51. Flood Fill Tool: Match mode none - lower the opacity to 60% /Flood Fill the layer with the FG-Color
52. Activate Mask ''renee_coeur_ouvert.jpg''
Layers- New Mask layer from image and choose mask:
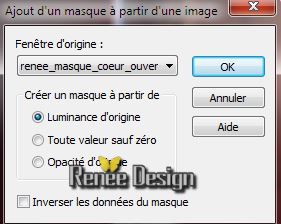
Layers- Merge-Merge Group
Put your work aside
-We will work on image Trizia
54. Material Properties: Foreground color to color :#ab0b0b Background color to color :#110000
55. Activate tube ''Trizia Tubed-Eva_Serrate''/ activate layer 3 of the tube /Edit/copy-Edit paste as a new image !!!
(close the original tube)
56. Image -Resize to 486 pixels Height (Using another tube, keep the right size:317 x 486 pixels )
57. Layers- New raster layer
58.
Prepare a Rectangular Gradient as configured/Opacity to 100%

59. Flood Fill Tool: Fill the layer with the gradient
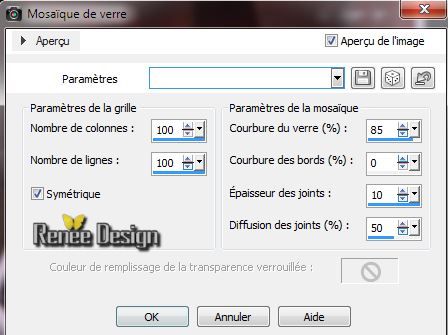
60. Effects-
Textureffects -Mosaic Glass
61. Effects
-Edge Effects - Enhance
62. Layers- New raster layer /Flood Fill Tooll: Fill the layer with your FG-Color
63. Layers-Load/Save Mask-Load Mask From Disk and choose Mask:
''adita-mask-les-Aiko-01''
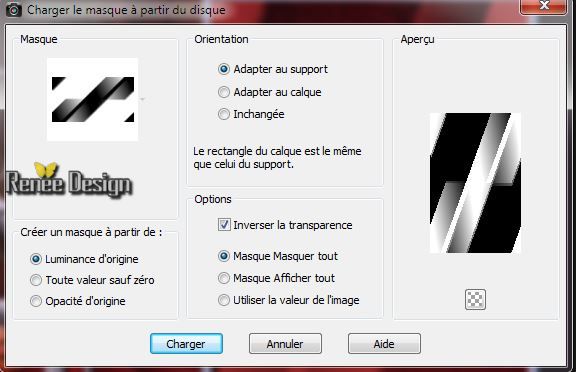
64. Layers- Merge-Merge Group
65. Effects-Plugins
Unlimited -Tramage -Wood grain

66. Effects -
Distortion effects -Twirl 160
67. Layer-Palette: Blend Mode "Hard Light"
This is the result
68. Activate ''Groupe-raster3''/Edit/copy !!
69. Image - Add Borders - Symmetric : 1 pixels color 3
70. Image - Add Borders - Symmetric : 3 pixels color 2
71. Image - Add Borders - Symmetric : 15 pixels color 3
72. Image - Add Borders - Symmetric : 1 pixels color 2
73. With your magic wand- mode Add-shift /RGB /select the border of
15 pixels
74. Edit-paste into selection/ Image memory
75.
Effects -Plugins Unlimited -Tramage - Wee Scratches to
255
76.
Selections-Invert- Selections- Modify- Contract of
20 pixels
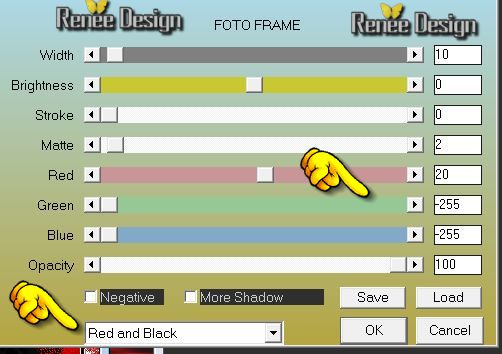
77. Effects-
Plugins AAA Frame -Foto Frame
78. Selections - Deselect all
79. Edit/copy!!- Activate your minimized image/Edit paste as a new layer and move to the left
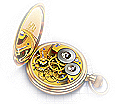
80. Activate tube ''coeur_ouvert_attaches '' /Image Resize to 85%/
Edit/copy -Edit/paste as a new layer and place
81. Layers- Merge- Merge Down
82. Activate tube
''098_silvina_vanesa_orsi_enero_17_2009.pspimage''/Image Resize 2x to 85%
Edit/copy -Edit/paste as a new Layer and and move to the right
83. Effects -
Plugins -EyeCandy5 -Nature - Drip and choose my preset
''coeur_ouvert_drip''
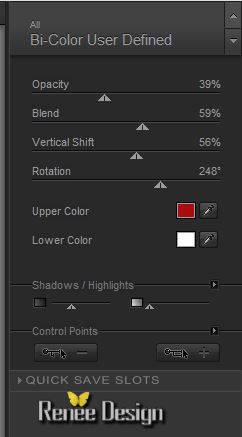
84. Effects
-Plugins -Nick Color Effex Pro3/Bi-color User defined
/Lower Color is your FG-Color
85.
Layer-Palette: Lower the opacity to 69%
86. Layers-Merge-Merge Visible
87.Activate Toolbar Script, choose my file in the list
''coeur_ouvert'' click the little blue arrow /ok
Or manually
Image - Add Borders - Symmetric :1 pixels color 2
Image - Add Borders - Symmetric :2 pixels color 1
Image - Add Borders - Symmetric :2pixels color 2
Image - Add Borders - Symmetric :30 pixels color 3
Image - Add Borders - Symmetric :1 pixels color 2
Image - Add Borders - Symmetric :1 pixel color 1
Image - Add Borders - Symmetric :1 pixel color 2
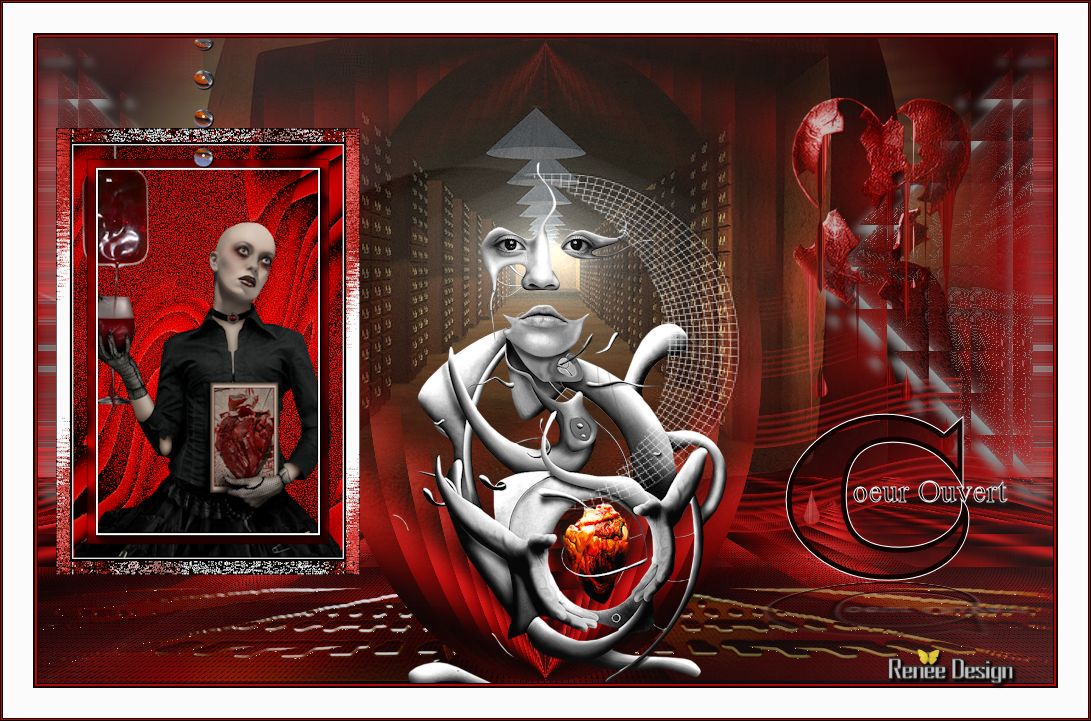
88. Activate tube " text" Edit/copy -Edit/paste as a new layer and place. Or write your own text
89. Layers-Merge-All ( Flatten)
I hope you enjoyed this lesson
Renée
This lesson was written by Renée the 03/04/2014
Created the 0 / 04/2014
*
Any resemblance with an existing lesson is merely a coincidence
*
Don't forget to thank the people who work for us and with us. I named the tubeurs - Testers and the translators.
Thanks Renée
| 
 Translations