|
New
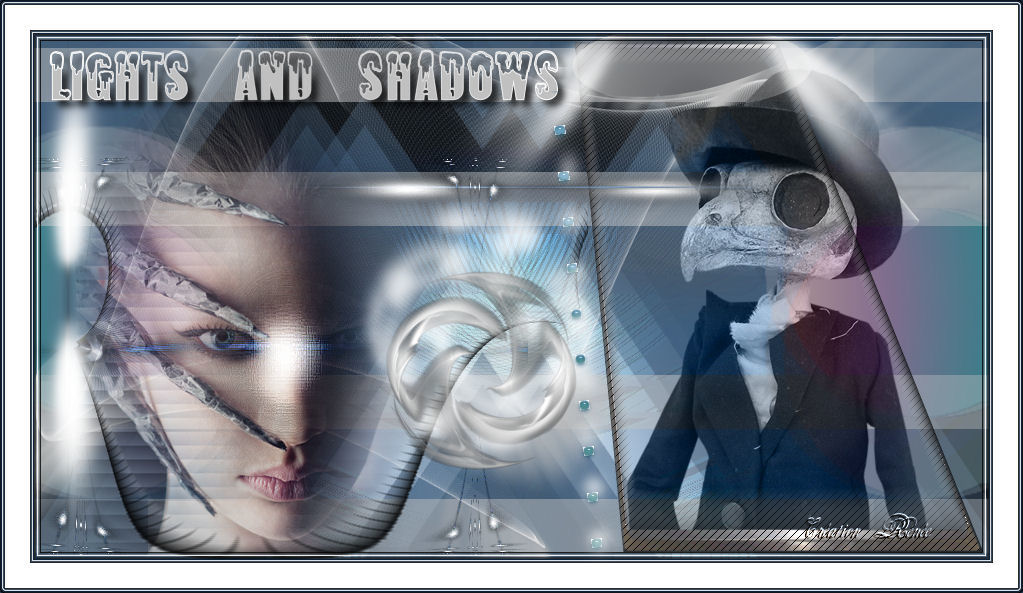
Lights and Shadows Translation
Let's begin 1. Open a transparent image of 955 x 525 pixels 2.
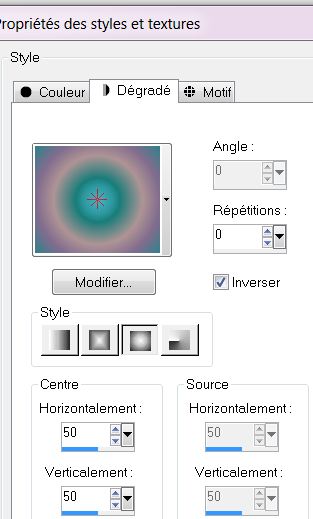
Material Properties:Prepare a Linear Gradient as below: ''lyndiegradient014'' configured like this
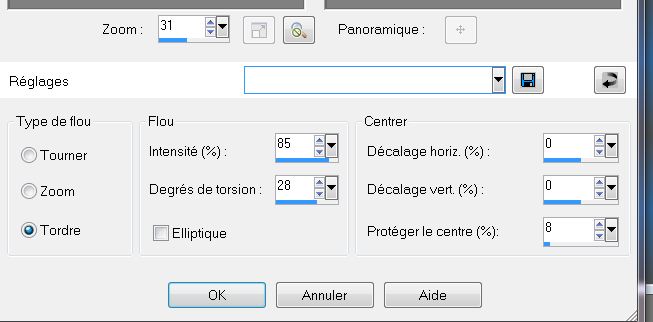
3.Flood Fill tool : Fill the layer with the gradient 4. Adjust-Blur-Radial Blur with these settings
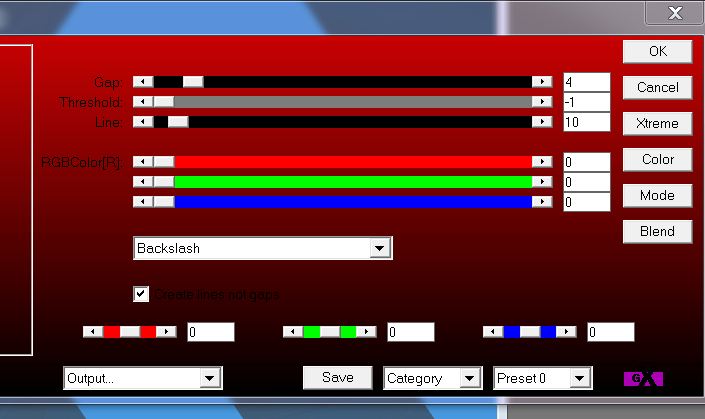
5. Layers-Duplicate 6. Image-Mirror- And the Opacity down to 50% 7. Layers-Merge -Merge Down 8. Effects- User Defined Filter- -Emboss 3-par default 9. Layer - New raster layer. 10. Selections - load/save selection - load selection from disk and choose ''shadows_1'' Flood Fill tool: Fill the selection with :color: #4798df 11. Effects-Plugins AP01 - Line Silverling
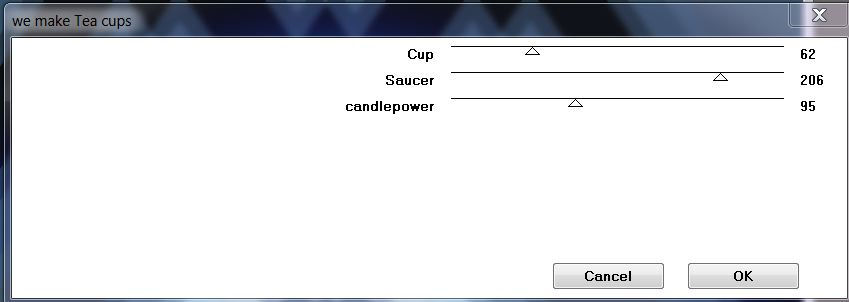
***Color palette: Forgroundcolor:Black and the Backgroundcolor to color : #1B294112. Effects- Plugins Kang 1- we make Tea cups (not in Unlimited)
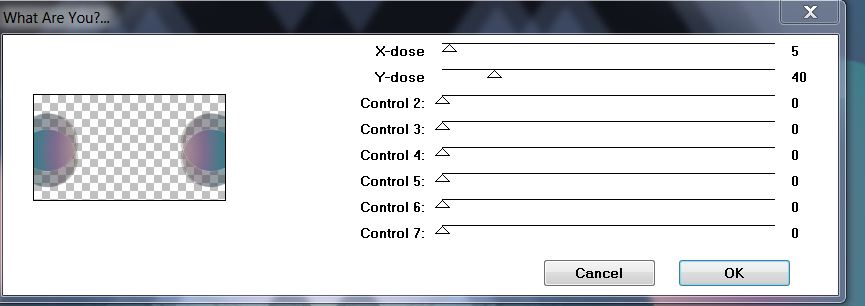
13. And the Opacity down to:79% 14. Selections - Deselect all 15. Effects-Plugins Toadies Unlimited 2.0 - What are you - overdose to 1616. Layer - New raster layer. 17.Selections - load/save selection - load selection from disk and choose ''shadows_2'' Color palette: Forgroundcolor:- Prepare a Sunburst gradient ''shadows_029'' / configured like this
18. Flood Fill tool : Fill the selection with the gradient /Selection -Select None 19. Effects -Plugins Toadies (not in unlimited) - what are you
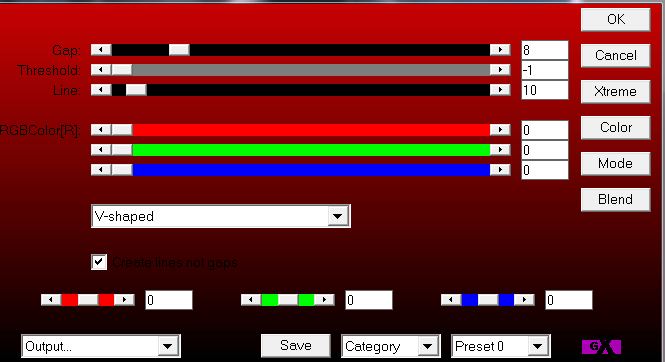
20. Layer - New raster layer. 21. Selections - load/save selection - load selection from disk and choose ''shadows_3 '' Flood Fill Tool: Fill the selection with :color #c0c0c0 22. Selection -Select None 23. Effects - Plugins Toadies Unlimited2.0 - What are you -Overdose 61 Put the Blend Mode to ""Screen "" 24. Layer - New raster layer. 25.Effects -Plugins Dragon fly - Sinedots II (If problems there is a picture in the zip file) Color #C0C0C0
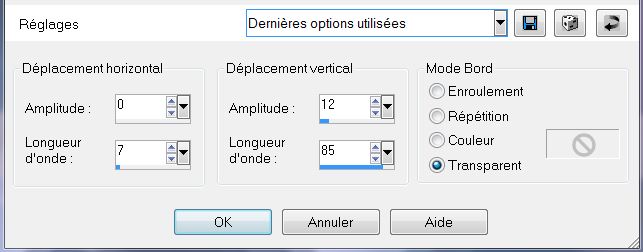
- If you paste as a new layer.Move sinedots-Image to the right place 26. Effects-Plugins Eye Candy 5- Impact -Blacklight / preset ''shadows_blacklight'' 27. Effects - Distortion Effects-Wave– with these settings
28. Layer - New raster layer. 29. Selections - load/save selection - load selection from disk and choose ''shadows_4'' 30. Effects- 3D Effects -Buttonize – color #808080
31.Selection -Select None 32. Effects - Geometric Effects- -Perspective Vertical/ Distortion: = - 45 Edge Mode: Transparent 33.Layers-Duplicate 34. Effects-Plugins Eyecandy 5/impact - chrome - preset ''shadows_chrome'' 35.Effects -Plugins AP 01 -Line silverling
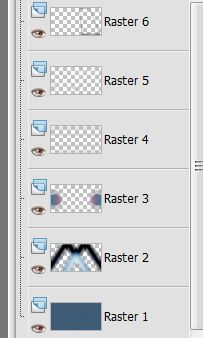
- Your Layer Palette looks like this now
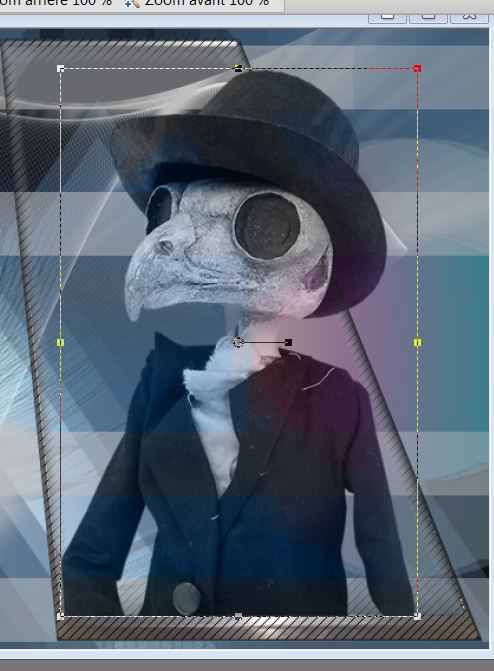
36. Layers-Merge -Merge Down 37. Aktivate the top of the Layers palette 38. Open the tube ''Lexha_ScopsStrangeDoll_oktober'' Image -Rezise 80% . Edit/ copy- Edit/ paste as new layer . Good placed with select tool like this (K)
- Put the Blend Mode to "luminance Legacy" 39. Layers-Arrange-Move Down - Aktivate the Top of the layers palette 40. Open tube ''renee_shadows_rayon'' Edit copy/Edit paste as a new layer . Good placed with select tool like this (K)
41. Open the tube ''renee-shadows_image 1'' Edit copy/Edit paste as a new layer . Good placed with select tool like this (K)
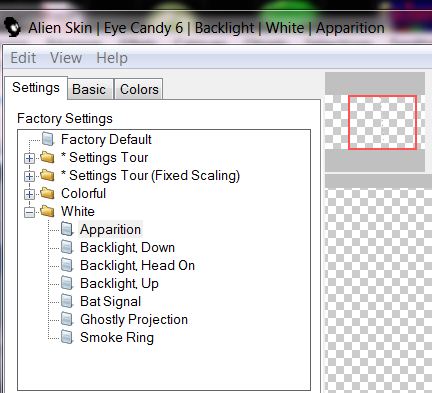
- Put the Blend Mode to "Hard Light" 42. Layer - New raster layer. 43. Selections - load/save selection - load selection from disk and choose '''shadows_5'' Flood Fill tool: Fill the selection with :color #ffffff 44. Effects-Plugins Eyecandy 5 Impact – glass- Preset - Blue with reflection 45. Selection -Select None 46. Effects-Plugins EyeCandy 6- Blacklight -white -apparition
- Color-Palette: Foregroundcolor White #ffffff 47. Layer - New raster layer. 48. Selections - load/save selection - load selection from disk and choose ''shadows_6'' 49. Prepare a Sunburst Gradient (Fading White) configured like this
50. Open your Flood Fill Tool: Configurated Settings like this. Attention Put the Blend Mode to "Soft Light". - Flood Fill Tool : Fill the selection with the Gradient- Selection -Select None 51. Effects-Plugins EyeCandy6 - blacklight-White - Blacklight Down
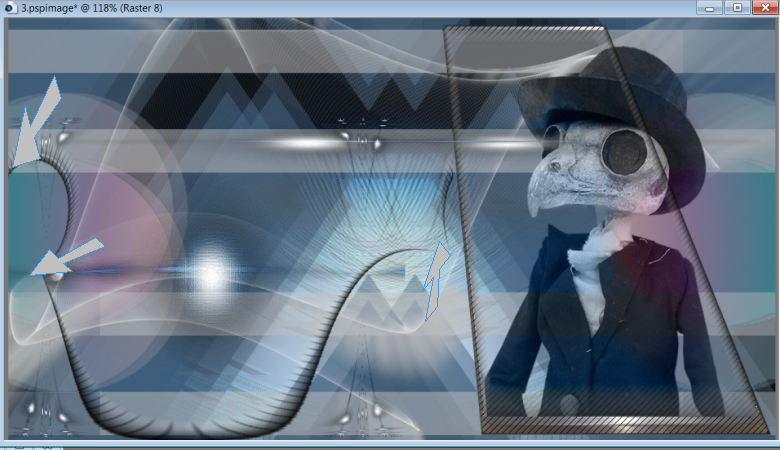
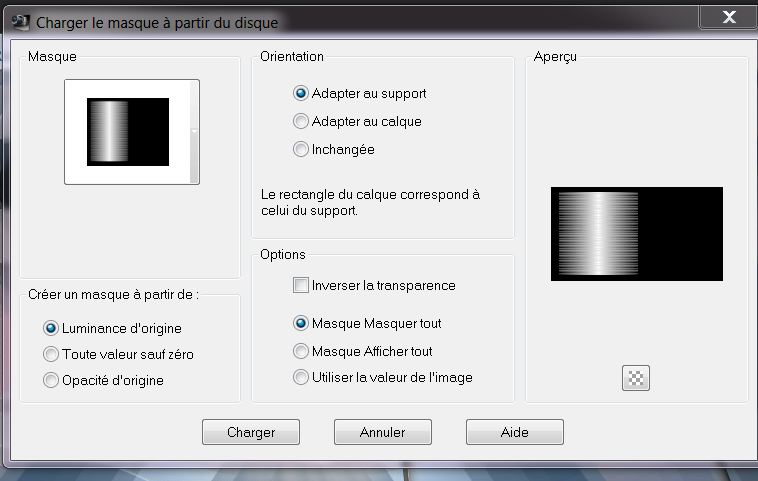
52. Aktivate the top of the Layers palette 53. Open the tube ''Drevers_misted_face_88'' - Image -Resize tot 80% Edit/copy/Edit/paste as a new layer - Move to the border at the bottom and at the side as shown in the example - On this layer: -Layers-Load/Save Mask-Load Maske from Disk and choose Mask: ''20120405_4''-
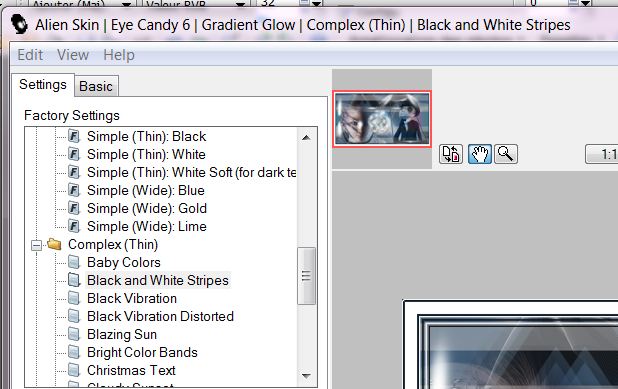
- Layers-Merge-Merge Groupe 54. Layers-Arrange-Move Down ( Twice) 55. Aktivate the Top of the Layers Palette 56. Open the tube ''renee-shadows_rayon_vertical '' Edit/copy/Edit/paste as a new layer and place 57. Open the tube ''renee-shadows_image 2'' Edit/copy/Edit/paste as a new layer and place 58. Layers -Merge-Merge All ( Flatten) 59.Image - add borders symmetric 5 pixels color: #0a2139 60.Image - add borders symmetric 25 pixels color: white 61.Image - add borders symmetric 5 pixels color: #0a2139 62. With the magic wand -select this border of 25 pixels 63. Selections- Promote selection to layer For the selection« shadows 6 », if the effect « blacklight does not work, take pspimage 64. Effects -Plugins Eyecandy 6/Gradient glow/complex(thin)/Black and white Stripes -modified the glow radius to 4%
65. Selections - Deselect all
I hope you enjoyed this lesson Renée Write the introduction 2010 *
Any resemblance with an existing lesson is merely a coincidence * Don't forget to thank the people who work for us and with us. I named the tubeurs - Testers and the translators. Thanks Renée
I am part of Tutorial Writers Inc. My tutorials are regularly recorded
*
|
 Translation