|
Translations here
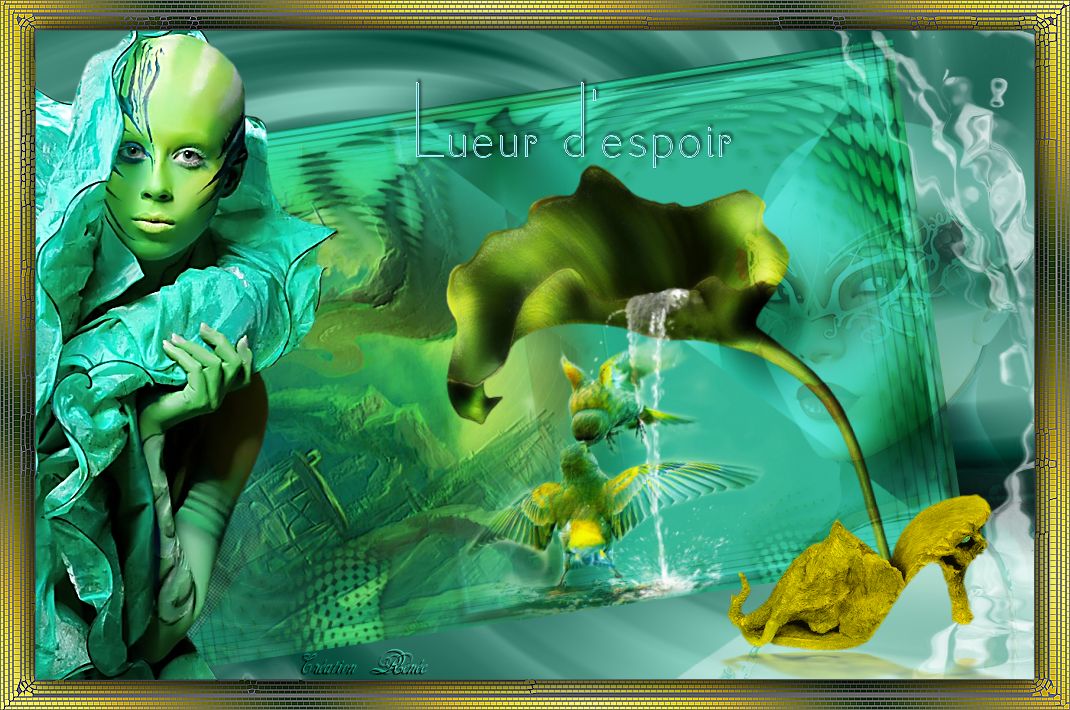
LUEUR D'ESPOIR
New
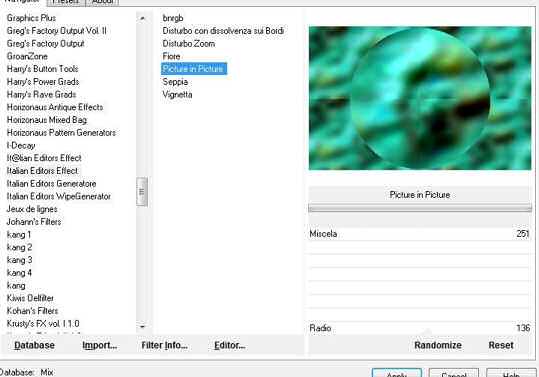
Let's start the lesson. 1. Color-palette:Set your foreground color to color #ecffc9 -Set your background color to color #1e6455 2. File: Open a new transparent image of 1000 x 650 pixels - Activate Flood Fill Tool and fill the layer with the background color #1e6455 3. Selections- Select All - Do not add new layer 4. Open the tube « overdose -tube de thafs »Edit/ Copy-Edit - Paste into selection 5. Selections- Deselect All 6. Effects- Image Effects- Seamless Tiling using the default settings 7. Adjust- Blur- Gaussian Blur: Radius 30 8. Effects- Plugins - Unlimited 2.0- Italian Editor effect/Picture in Picture
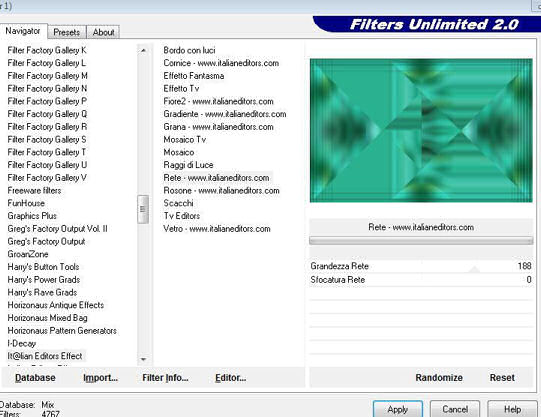
9. Layers- Duplicate 10. Effects- Distortions Effects-Polar Coordinates-Rectangular to Polar 11. Layers- Duplicate 12. Image- Flip- Set the layer opacity of this layer to 53% 13. Layers- Merge Layers Down 14. Effects- Plugins - Simple / Pizza slice mirror/Repeat this Filter 15. Effects- Plugins - Unlimited - It@lian Editors Effect / Rete.wwwitalianeditors.com 188 and 0
16. Selections –load/save selection –load selection from disc and choose my selection:@renee—alizee1'' 17. Selections- Promote selection to Layer - Pot of paint with these settings
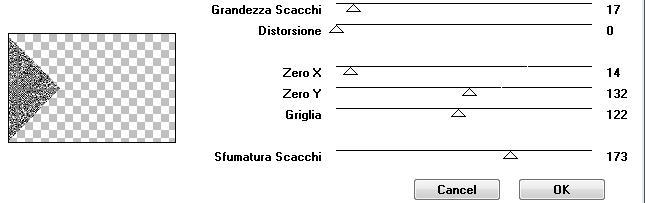
- Activate Flood Fill Tool and fill the selection with the foreground color - Keep Selection 18. Effects- Plugins- Italian Editor / Scacchi use settings below
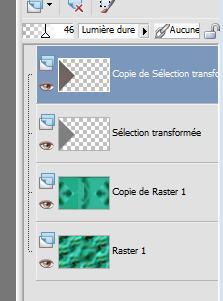
19. Selections- Deselect All -Layer Palette - Double click on this Layer and set the Blend Mode to "Hard Light" -Set the layer opacity of this layer to 46% 20. Layers- Duplicate 21. Effects- Plugins -AP Gradient /Gradient pyramide Do you have problems with this -image is into the zipfile "-gradient pyramide effect "and paste as a new layer on your working area and move/Layers- Merge- Merge Layers Down
- Your Layer Palette look like this now-You should have this result
22. Activate the second layer from the top of the Layer palette-(Promoted layer )
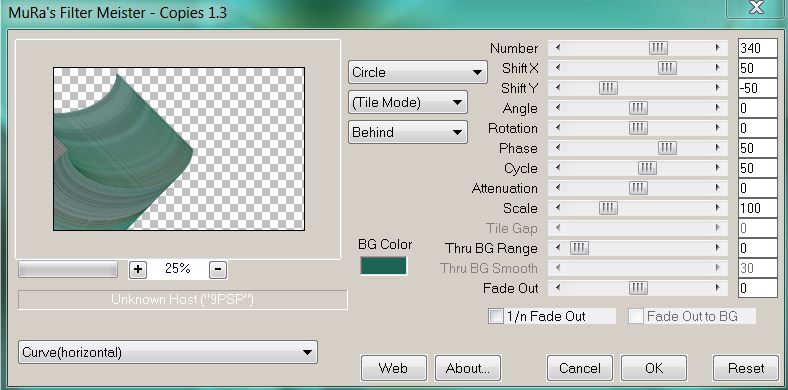
23. Effects- Plugins- Mura's Meister - Copies use settings below
24. Effects- Edge Effects- Enhance - Activate the top of the layer palette 25. Layers- New Raster Layer 26. Selections –load/save selection –load selection from disc and choose my selection:@renee-alizee2'' - Activate Flood Fill Tool and fill the selection with the foregroundcolor (good zoomen ) 27. Selections- Deselect All 28. Layers- Duplicate 29. Image Flip 30. Layers- Merge Layers Down 31. Effects- Distortions Effects-Polar Coordinates-Rectangular to Polar Repeat : Effects- Distortions Effects-Polar Coordinates-Rectangular to Polar - Activate the Eraser Tool use settings below
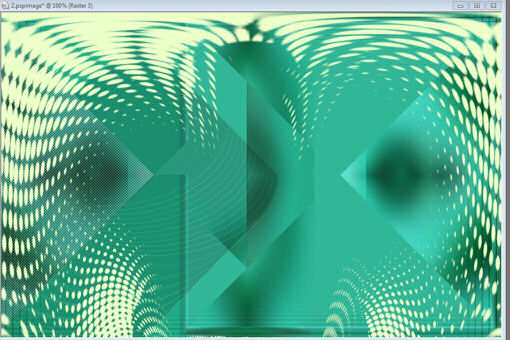
* Erase inside your work to get this
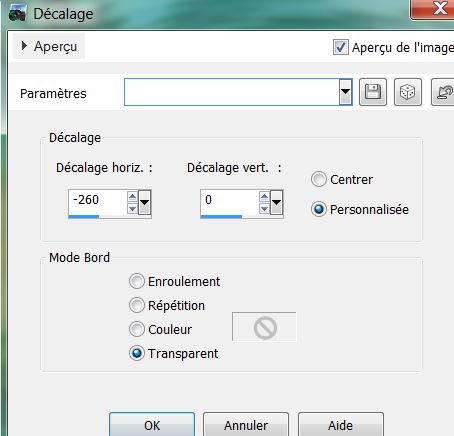
32. Effects- Plugins - Eyecandy5- Impact - Glass -tab Settings/User settings choose my Preset ''@renee colours1'' - Layer Palette - Double click on this Layer and set the Blend Mode to "Overlay " -Set the layer opacity of this layer to 65 % 33. Open the tube « bibiche 032 » Edit/ Copy-Edit - Paste as new layer on your working image 34. Effects-Image Effects-Offset with these settings
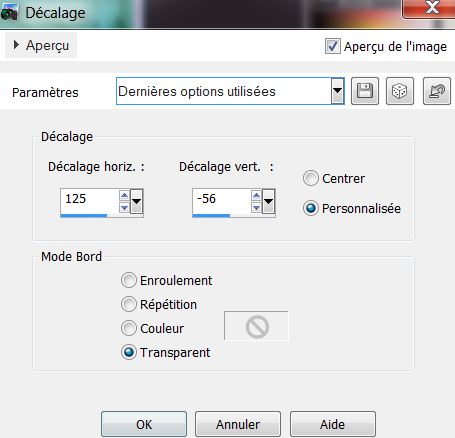
35. Effects- User Defined Filter- Emboss3 36. Layers- Arrange - Move Down 37. Open the tube « MR-spalsh -learn « Image Resize to 55% - Edit/ Copy-Edit - Paste as new layer on your working image 38. Effects-Image Effects-Offset with these settings
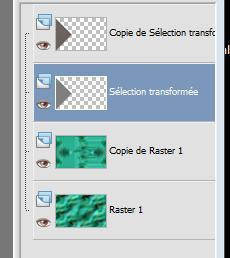
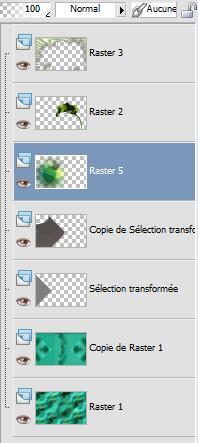
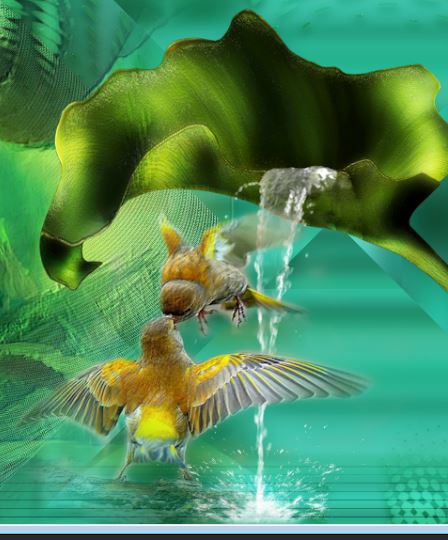
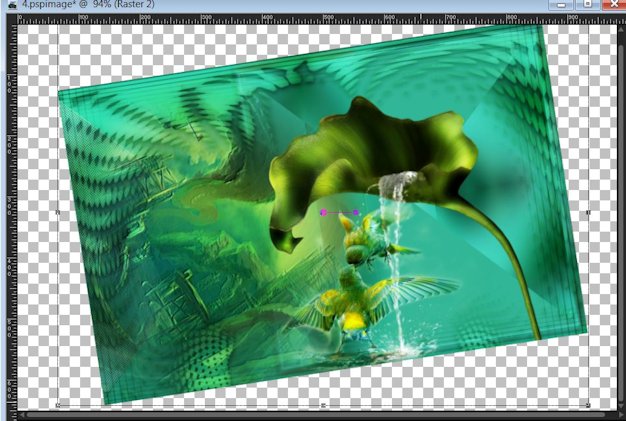
- Your Layer Palette look like this now-You should have this result
39. Open the tube « vif oiseaux baiser » -Image Resize to 55% / Edit/ Copy-Edit - Paste as new layer on your working image and move as shown in the example below
- Layer Palette - Double click on this Layer and set the Blend Mode to "Hard Light " 40. Layers- Merge- Merge Layers All - Promote Background Layer 41. Image Resize to 80%- resize all Layers not checked 42. Image Free Rotate 9° to the left - Activate your Pick Tool (K) stretch on the both sides and upwards that it fits (see finished image)
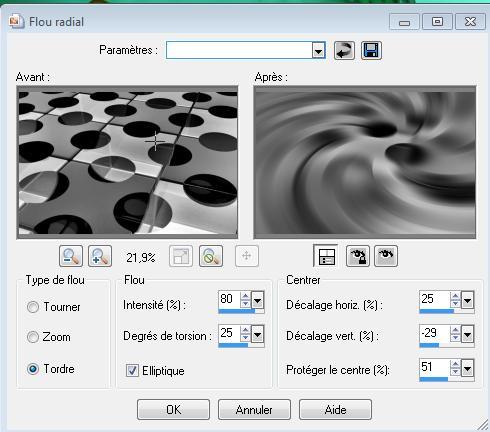
43. Layers- New Raster Layer 44. Layers- Arrange- Sent to Bottom - Activate Flood Fill Tool and fill the layer with the background color #0b9a7c 45. Layers- New Raster Layer 46. Selections- Select All 47. Open the mask -''mask 11 silvana orsi '' Edit/ Copy-Edit - Paste into selection 48. Selections- Deselect All 49. Adjust- Blur- Radial Blur use settings below
- Layer Palette - Double click on this Layer and set the Blend Mode to "Luminance-Legacy" - Activate the top of the layer palette 50. Open the tube ''Beautiful230610'' -Edit/ Copy-Edit - Paste as new layer on your working image and move tot the right side - Layer Palette - Double click on this Layer and set the Blend Mode to "Overlay "-Set the layer opacity of this layer to 34% 51. Open the tube « overdose tube by thafs » - Edit/ Copy-Edit - Paste as new layer on your working image and move to the left 52. Open the tube '' voile droit'' -Edit/ Copy-Edit - Paste as new layer on your working image and move 53. Effects- Distortion Effects- Ripple use settings below
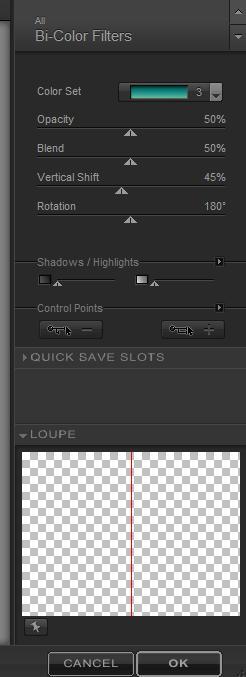
54. Open the tube « 7 de reverie « Image Resize to 55% Edit/ Copy-Edit - Paste as new layer on your working image and move (see finished image) 55. Effects- Plugins -Nick Color effex Pro.3/ Bi-color filters-Color set Moss Repeat this Filter
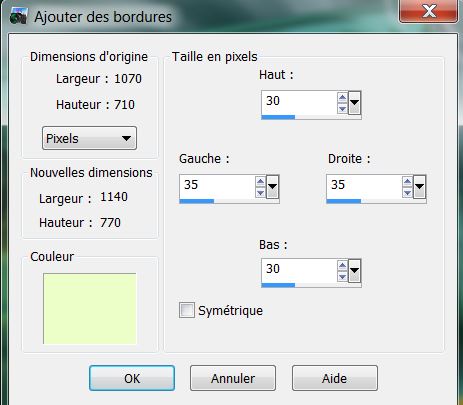
57. Layers- Merge- Merge Layers All 58.Image - Add Borders NO SYMMETRIC with these settings-Foregound color
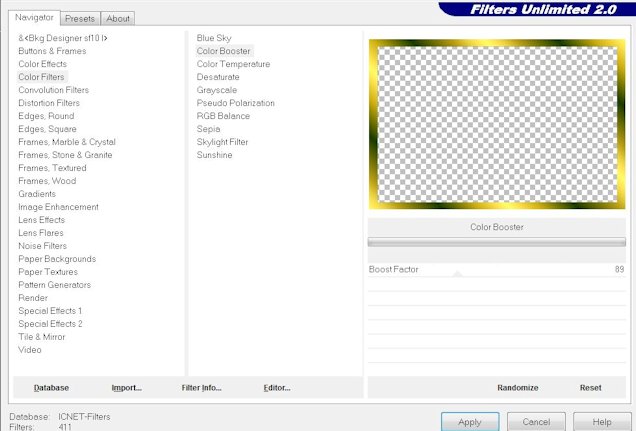
58. Activate the Magic Wand and select the Border 59. Selections- Promote selection to Layer 60.Color-palette:Set your foreground color to color #739721 -Set your background color to color #1a2c05 Set your foreground to gradient 'Foreground-background' - Linear - Angle 45 - Repeats 5 - Activate Flood Fill Tool and fill the selection with the gradient 61. Effects- Plugins - ICNET -Unlimited /Color filters /Color booster a 89
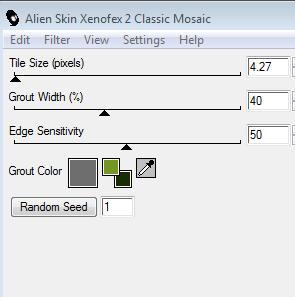
Keep Selection 62. Effects- Plugins- Alien skin xenofex/classic mosaic use settings below
63. Effects- Edge Effects- Enhance 64. Selection- Invert 65. Effects- 3 D effects- Drop Shadow with these settings 3/3/80/32 black / Repeat Drop Shadow -negative -3 / -3 66. Selections- Deselect All 67. Open the tube ‘’titre’’ - Edit/ Copy-Edit - Paste as new layer on your working image -With the Move Tool, move it in the right place (see finished image) -Ore write your own text- 68. Layers- Merge- Merge Layers All -Save as JPEG
I am part of the Tutorial Writers Inc. My tutorials are registered regularly ReneeGraphisme_All rights reserved
*
|
 Translations