|
New
Translations here
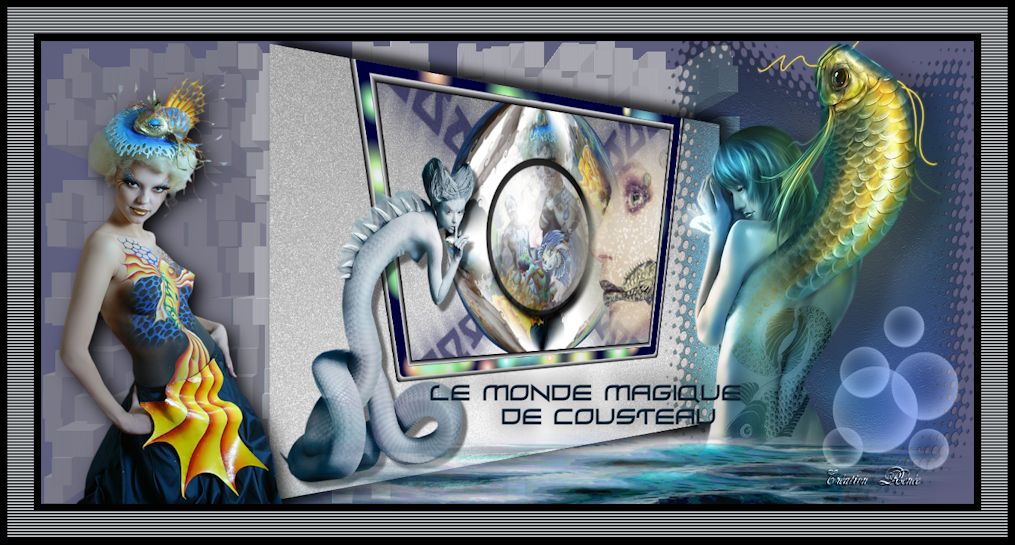
Le Monde magique de Cousteau
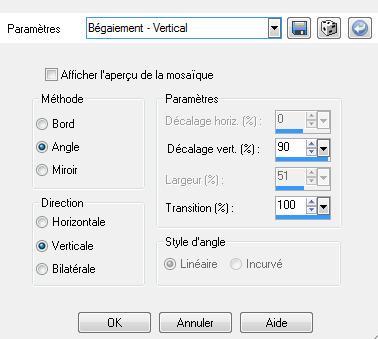
2. Layers- New Raster Layer 3. Selections Select All 4. Open the tube '' Fish_hat _Cibijoux '' -Edit/Copy-Edit Paste into selection 5. Selections- Deselect All 6. Effects-Image Effects-Seamless Tiling use settings below
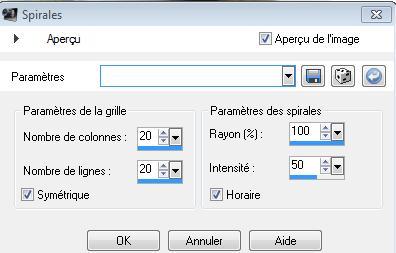
7. Effects- Distortion Effects- Curlicues with these settings
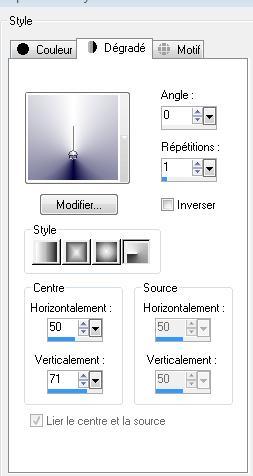
8. Effects-Image Effects-Seamless Tiling useing the default settings 9. Layers- Merge- Merge- Down 10. Effects- Geometric Effects - Circle - transparent 11. Layers- New Raster Layer 12. Material Properties: Set your foreground color to: #ffffff - Set your background color to: #01003b -Set your foreground to gradient 'Foreground-background' -Prepare a radial gradient configured like this.
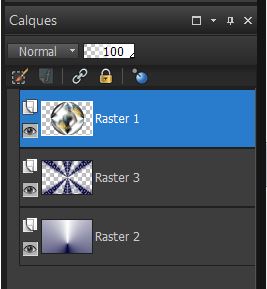
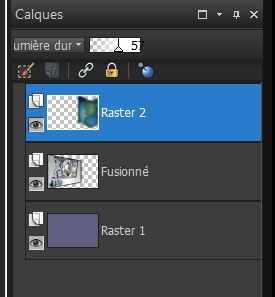
13 Activate Flood Fill Tool and fill the layer with the gradient 14. Layers- Arrange- Move Down 15. Layers- New Raster Layer / Selections -Select All -Open the tube « cerclage « Edit/Copy-Edit Paste into selection 16.Selections- Deselect All/Double click on this Layer and set the Blend Mode to "Multiply " -Set the layer opacity of this layer to 63% Layer palette look like this now
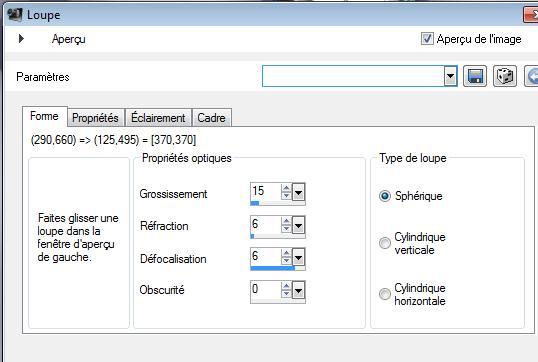
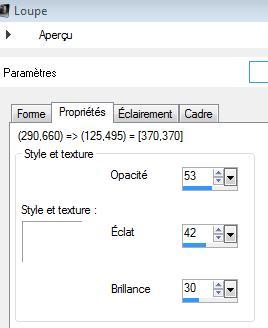
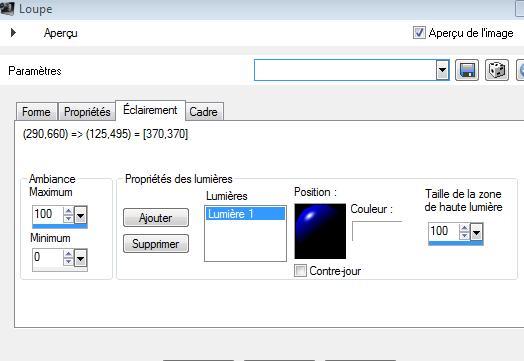
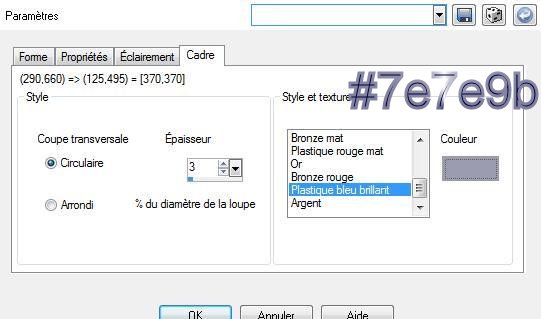
17 Activate the top of the layer-Palette =(raster 1) 18. Layers- New Raster Layer 19. Effects- Artistic Effects-Magnifying Lens with these settings
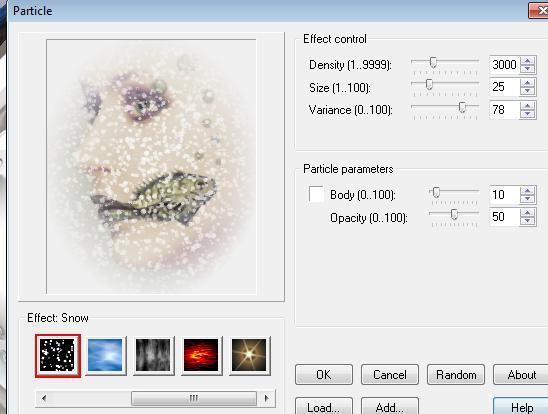
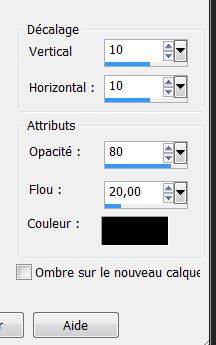
20. Effects- 3D Effects-Drop Shadow with these settings : 10/10/80/20 black - Double click on this Layer and set the Blend Mode to "Multiply " 21. Layers- New Raster Layer/Selections –load/save selection –load selection from disc and choose: " monde de cousteau1" 22. Open the tube « image 3 « Edit/Copy-Edit Paste into selection 23. Selections- Deselect All 24. Open the tube « claudiaviza -mujer950 » - Edit/copy- Edit/ paste as new layer on your working image -Move tool / place your tube on the right side of your image 25. Effects- Plugins- FMTile tools /metallic emboss 26. Effects- Plugins - Ulead effect -particle /effet snow with these settings
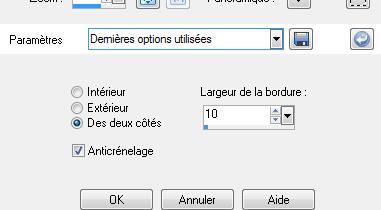
27. Close the bottom layer in the layer palette (raster 2) -Activate an open layer in the layer palette 28. Layers-Merge- Merge Visible 29. Image Resize to 75% resize all layers not checked 30. Selections –load/save selection –load selection from disc and choose:" renee le monde magique de cousteau2" 31.Selections-Modify-Select-Selection Borders with these settings ( Both Sides)
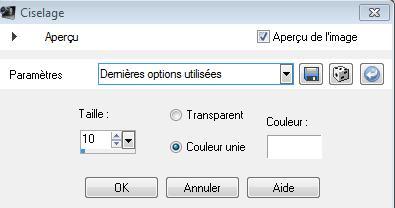
32. Layers- New Raster Layer Activate Flood Fill Tool and fill the the selections with color: #01003b 33. Effects- 3 D Effects -Chisel with these settings/Keep Selected
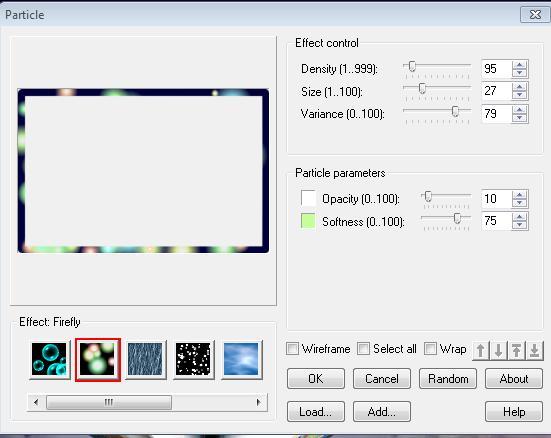
34. Effects- Plugins - Ulead effect /Particle - Firefly with these settings
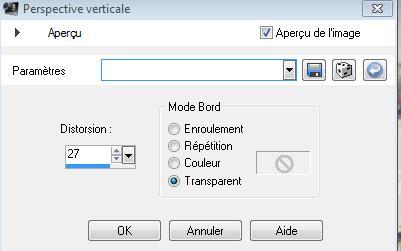
35. Selections- Deselect All /Layers- Merge- Merge Down 36. Effects- Geometric Effects / Perspective Vertical with these settings
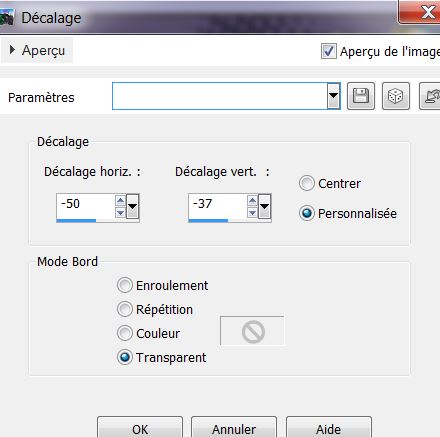
37. Effects- Image Effects- Offset with these settings
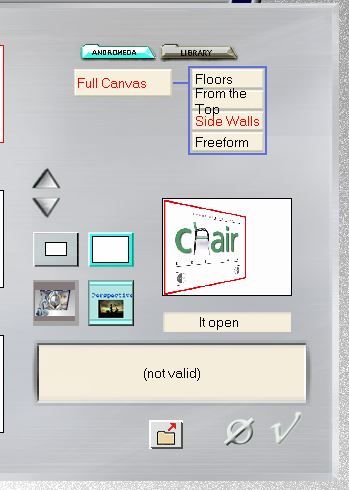
38. Activate the bottom of the Layer palette /Image Flip 39. Effects- Plugins -Unlimited 2.0 - ''@Italian editor effect /grana-www.italianeditors.com '' - 81 Activate the top of the Layer palette 40. Open the tube "1293007517- feerie-nikita"/Image- Resize to 75% - Edit/copy- Edit/ paste as new layer on your working image- With the move tool, place it in the right place (see finished image) Effects- 3D Effects-Drop Shadow using the default settings 41. Layers - Merge- Merge Visible 42. Effects- Plugins - Andromeda Perspective /Preset it open
43. Effects- 3D Effects-Drop Shadow with these settings :
Repeat Shadow -negative -12/-10 44. Layers- New Raster Layer/ Activate Flood Fill Tool and fill the the layer with this color: #5e5e7f 45. Layers- Arrange- Moe Down Activate the top of the Layer palette 46. Open the tube « 1228507044-feerie » activate raster 1 of this tube /Edit/copy- Edit/ paste as new layer on your working image -Move tool / place your tube on the right side of your image - Double click on this Layer and set the Blend Mode to "Hard Light " -Set the layer opacity of this layer to 57% - Layer palette look like this now
47 Open the tube « 1228507044-feerie '' activate layer " calque '' of the tube ( female fish) Edit/copy- Edit/ paste as new layer on your working image -Move tool / place your tube on the right side of your image 48. Effects- Plugins - Eyecandy5/perspective shadow - tab Settings/User settings choose my preset: "renee monde magique de cousteau" 49. Layers- New Raster Layer 50. Selections –load/save selection –load selection from disc and choose:" @renee cousteau4" 51. Open the tube« calguismowave08102011 »Edit/Copy-Edit Paste into selection /Selections- Deselect All 52. Layers- Duplicate -Image Mirror 53. Effects- Image Effects- Offset with these settings
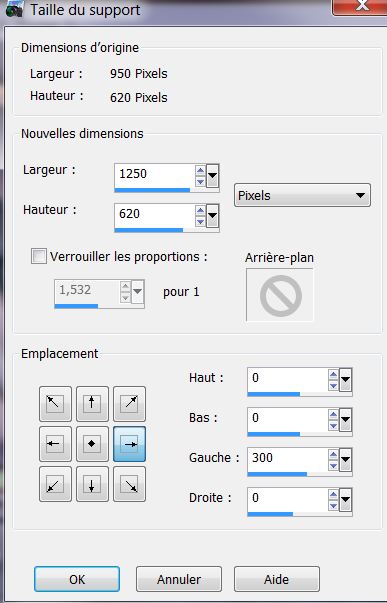
54. Layers- Merge- Merge Down 55. Activate the tube ‘’titre"=Text-- Edit/copy- Edit/ paste as new layer and move 56. Open the tube « bulles « Edit/copy- Edit/ paste as new layer -With your Move Tool /place it to the bottom right 57. Activate the bottom of the layer-Palette 58. Image Canvas Size with these settings
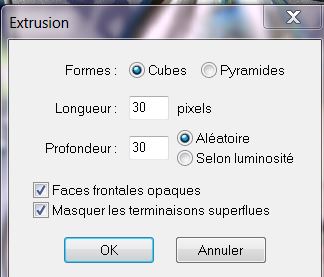
59. With the Magic Wand -select the left part Activate Flood Fill Tool and fill the the selections with this color #5e5e7f 60. Selections- Promote selection to layer 61. Selections- Deselect All 62. Effects- Plugins - Esthétique - Extrusion with these settings
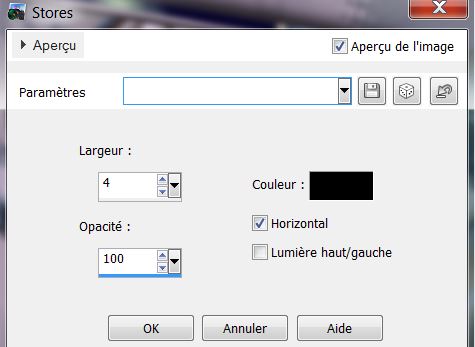
63. Open the tube ''Fish_hat _Cibijoux '' -Image Mirror - Image Resize to 75% Edit/copy- Edit/ paste as new layer on your working image - With the move tool, move it in the right place (see finished image) 64. Effects- Plugins -EyeCandy 5 Impact -Perpsective shadow - Preset - Drop shadow blury 65. Layers- Merge- Merge Visible 66. Image - Add borders-Symmetric checked: 10 pixels black 67. Image - Add borders-Symmetric checked: 35 pixels #dadee3 68. Image - Add borders-Symmetric checked: 10 pixels black 69. With the Magic Wand -select the border of 35 pixels 70. Effects-- Texture Effects- Blinds with these settings
71. Selections- Deselect All Image Resize to 1015 pixels width Save as JPG
I am part of Tutorial Writers Inc. My tutorials are regularly recordedt ReneeGraphisme_All rights reserved
*
|
 Translations


 Let's start the lesson.