|
New
Translations here
*
Let's start the lesson. 1. Open the Background image :''fond 1'' Window - Duplicate (or shift+D) - Close the original and proceed on the copy -Promote Background Layer =Raster 1 2. Layers-Duplicate 3. Effects-Plugins - Unlimted 2.0 / Alf's Power Sines / 2 Cosine Grads.with these settings..
4. Selections - load/save selection - load selection from disk and select my file:''renee-naked music'' 5. Layers- New raster layer 6. Open the tube ''AC NAKED MUSIC MDZ MIST '' Edit - Copy-Edit - Paste into Selection/Selections -Deselect All 7. Effects-Plugins - EyeCandy 5
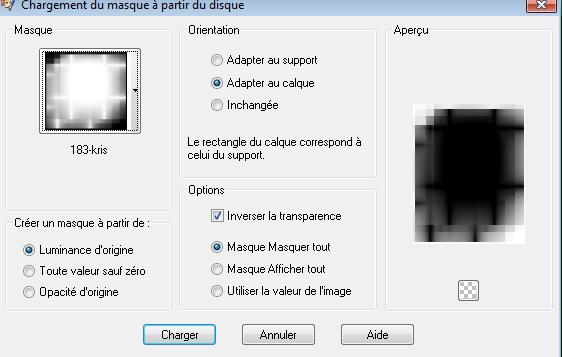
- perspective 8. Layers- New raster layer /Flood Fill Tool: Fill with color White 9.Layers- Layers-load/save Maske Load Mask from Disk and select Mask: ''183-kris''
10. Layers- Merge- Merge Group 11. Effects-Edge Effects-Enhance 12. Open the tube ''40_ben_goossens'' Edit/ Copy-Edit - Paste as new layer on your working area -Activate the Move Tool-move to the right side 13. Double click on this layer and set the Blendmode to Hard Light - Your work look like this now
14. Open the tube ''renee-naked-music image 3 '' Edit/ Copy-Edit - Paste as new layer on your working area -Layers-Arrange-Move Down under Raster 1 15. On the copy raster layer 1 16. Layers- New raster layer 17. Selections-Select All-Open ''renee-naked-music-image 1'' Edit - Copy-Edit - Paste into Selection 18. Selections Deselect All 19. Open the tube ''renee-naked-music-image2'' Edit/ Copy-Edit - Paste as new layer on your working area and move as shown in the example below
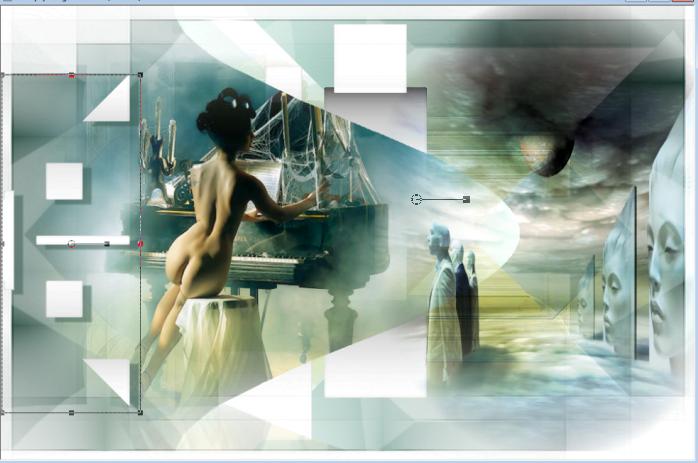
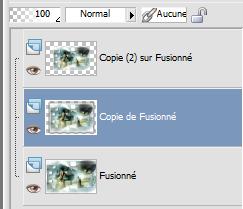
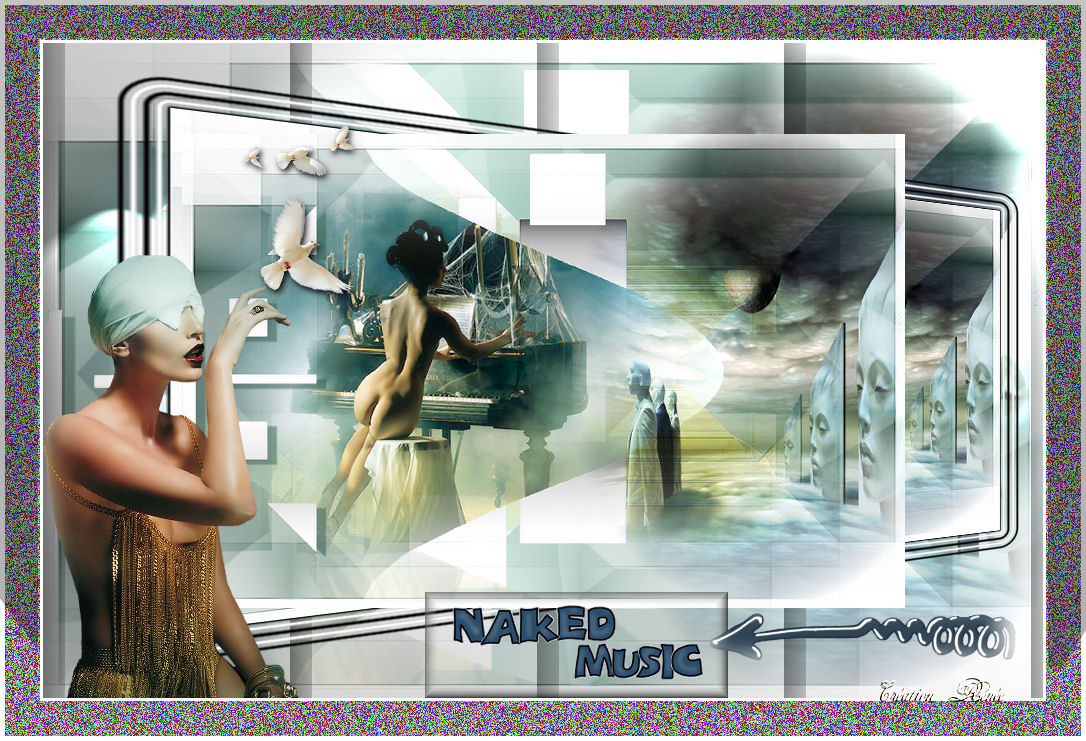
20. Effects 3D Effects - DropShadow with these settings: 7/13/50/3 and use color #395c52 21. Layers- Merge-Merge Visible 22. Layers-Duplicate- Image Resize with 85% (Resize all the layers not checked) 23. Layers-Duplicate-Image Resize with 85% (Resize all the layers not checked) - Your work looks like this now:
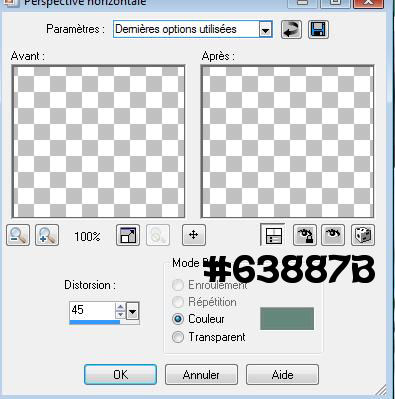
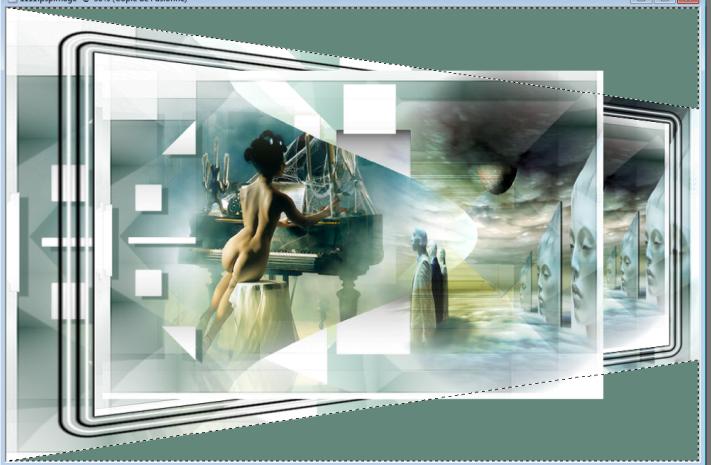
24. Activate the second layer from the bottom of the Layer palette 25. Effects-Plugins - EyeCandy5 /gradient Glow - tab Settings/User settings choose my preset: ''renee-naked-music-gradient glow'' 26. Stay on this layer (the second layer from the bottom of the Layer palette) 27. Effects-Geometric Effects-Perspective Horizontal with these settings
28. Stay on this layer (the second layer from the bottom of the Layer palette) 29. With your magic wand select the two green parts like this
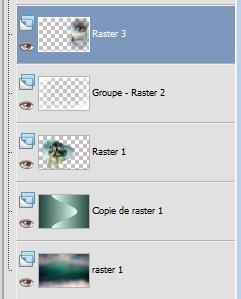
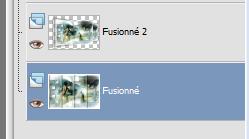
30. Press the Delete button on your key board /Selections Deselect All 31. Layer palette -Close the bottom layer-Activate the top of the layer palette-Layers-Merge-Merge Visible./ Rename -merged 2 32. Open the bottom layer of the layer palette as shown in the example below
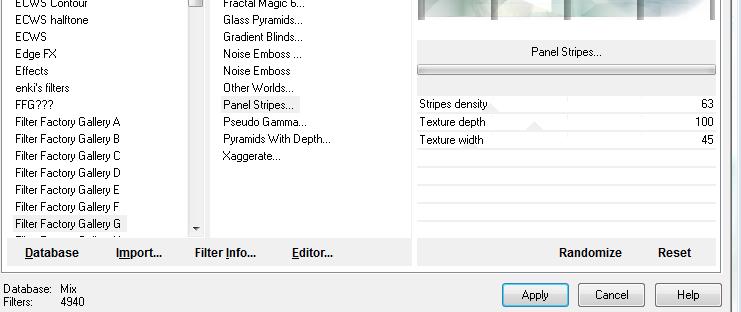
33. Open the tube ''calguisgoldensensual28012012''- Image Resize with 55% -Edit/copy- Edit/ paste as new layer -Move Tool: move to the left 34. Activate the bottom layer of the layer palette 35. Effects- Plugins - Unlimited 2.0 - Factory Gallery G/ Panel Stripes with these settings
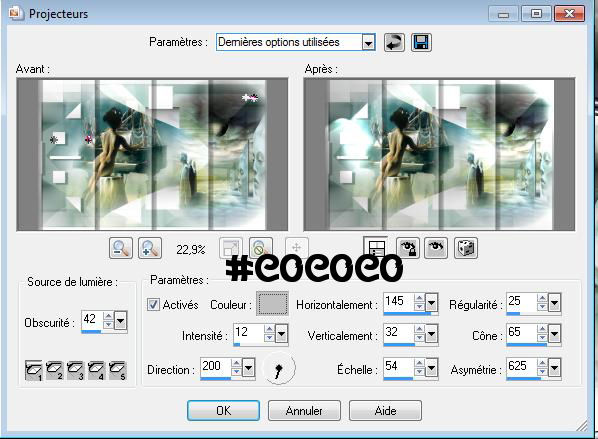
36. Activate the bottom layer of the layer palette 37. Effects-Illumination Effects-Lights with these settings ** If you are having trouble see below
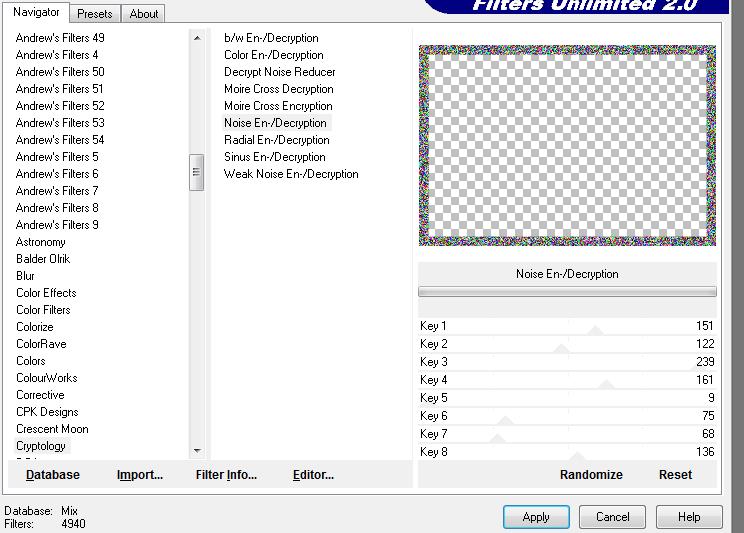
***** I will now show you how to proceed with the same result 38. Layers- New raster layer 39. Activate Brush Tool -Shape Round default-Size 320 /Set the foreground color to #c0c0c0 Stamp your brush on the left side by using your foreground color #c0c0c0 40. Take the brush size /200 /Set the foreground color to /#ffffff Layers- New raster layer -Stamp your brush on the right corner and behind the woman by using your foreground color #ffffff. This is an easy way to become a nice color effect without using a Brush. Attention, if you use different colors, feel free to change the opacity and/or the blend mode of the layers 41. Open the tube ''oiseaux'' -Edit-Copy– Edit - Paste as new layer on your working area - With your Move Tool -move to the left side 42. Open the tube du texte- Edit-Copy– Edit - Paste as new layer on your working area 43. Open the tube ''renee-naked-music-fleche'' /Image Mirror /Edit-Copy– Edit - Paste as new layer on your working area-With your Move Tool -move to the bottom right corner 44. Layers- Merge- Merge All 45. Image - Add borders-Symmetric checked:3 pixels color white 46. Image - Add borders-Symmetric checked:35 pixels #365671 47. Image - Add borders-Symmetric checked:5 pixels color white 48. Activate the magic wand and select the border of 35 pixels 49. Selections- Promote selection to layer 50. Effects-Plugins - Unlimited 2.0 / Cryptology/ noise En-/Decryption with these settings
51. Selections- Select All 52. Selections- Modify-Contract 38 pixels 53. Effects-Plugins - EyeCandy 5/impact /perspective shadow/tab Settings/User settings choose my preset: ''renee-naked-music-perspective ''Selections-Deselect All Save as JPG
I hope you enjoyed this lesson Renée This lesson was written by Renée Placing 2011 * Any resemblance with an existing lesson is merely a coincidence * * Don't forget to thank the people who work for us and with us. I named the tubeurs - Testers and the translators. Thanks Renée.
*-*-*-* I am part of Tutorial Writers Inc. My tutorials are regularly recorded ReneeGraphisme_All rights reserved
|
 Translations