|
New
SECOUONS LES HEURES translations here
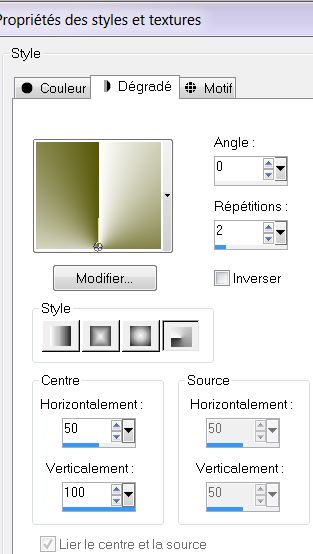
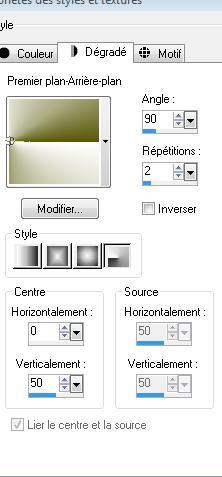
Let's start the lesson. 1. File- Open a New Transparent image of 950 x 600 pixels 2. Color-palette:Set your foreground color to color #ffffff -Set your background color to color #575707 Properties Forground; Set your Foregroundcolor to foreground-background radial gradient, with these settings
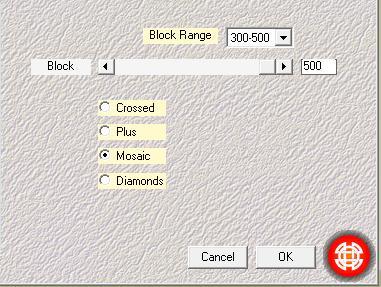
3. Activate Flood Fill Tool and fill the layer with the gradient 4. Image Resize to 80% / All layers not checked 5. Activate your Magig Wand -Select the transparent part Do not add a new layer !! Activate Flood Fill Tool and fill the selection with the gradient 6. Effects- Plugins -Medhi /Sorting tiles
7. Effects- Edge Effects- Enhance More 8. Selections - Invert 9. Effects- 3 D Effects- Drop Shadow use settings below (BG-Color )
10. Selections- Deselect All 11. Layers- New Raster Layer - Color Palette: Change the settings of the gradient in these settings-Activate Flood Fill Tool and fill the layer with the gradient
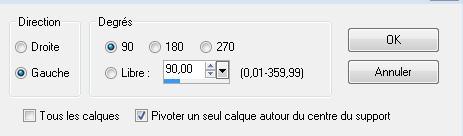
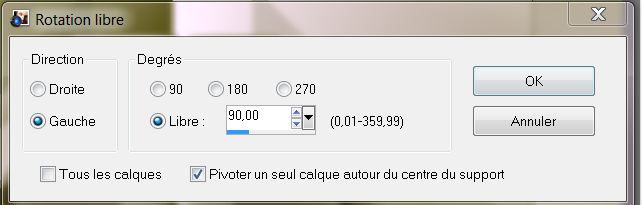
12. Image Resize to 80% All layers not checked 13. Effects-Plugins - Andromeda perspective / Floors /Front low - Layer Palette - Double click on this Layer and set the Blend Mode to "Multiply " 14. Effects- Image Effects- Offset with these settings = H = 0 and Vertical = - 96 Transparent 15. Layers- Duplicate 16. Image Free Rotate 90 to Left
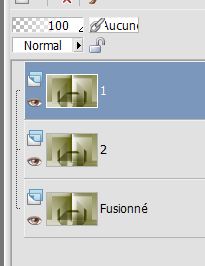
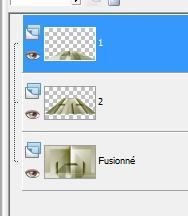
17. Effects- Image Effects- Offset with these settings- Horizontal -294 and Vertical -128 / Transparent 18. Layers- Duplicate /Image Mirror 19. Layers- Merge- Merge Layers Visible 20. Layers- Duplicate twice -Rename 1 and 2 as shown in the example below
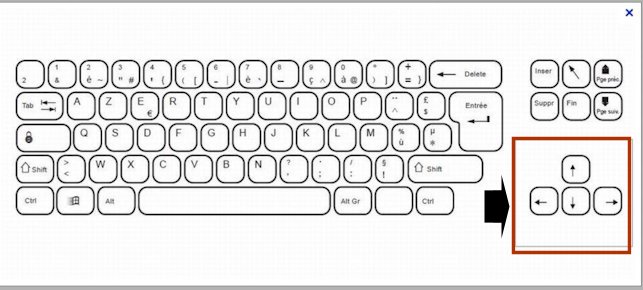
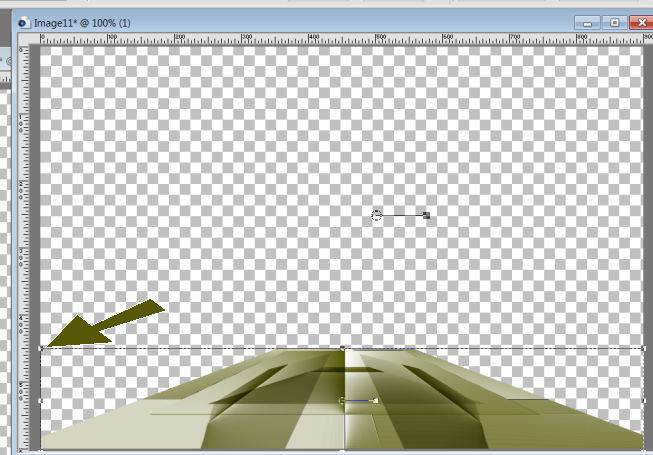
21. Activate the top of the layer palette = 1 22.Effects- Plugins - Andromeda Perspective/Floors /Front low -Activate Pick Tool (K)- With your arrow keys on the keyboard bottom button until it abuts against the edge -Activate the Pick Tool/Deformation tool (K) Mode Scale Pull the Top Node down to 450 high as shown in the example below
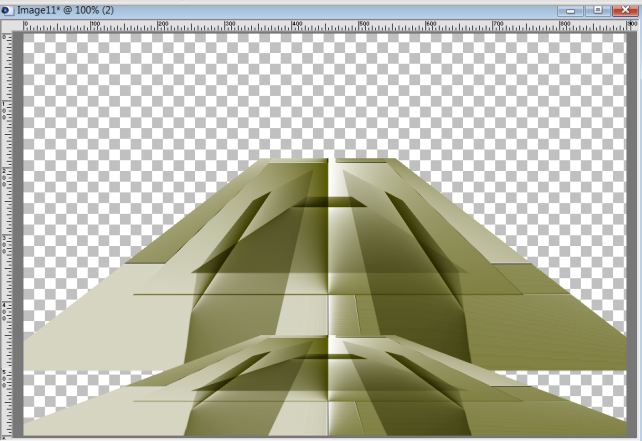
23. Activate 2 in the layer palette 2 24. Repeat- Effects -Andromeda Perspective with the same settings - Look at layer 2 >>> 500 pixels from the bottom
- - Layer Palette look like this now-You should have this result
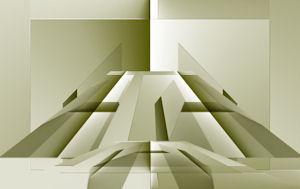
25. Activate 2 in the layer palette 26. Image Free Rotate 90 to the left
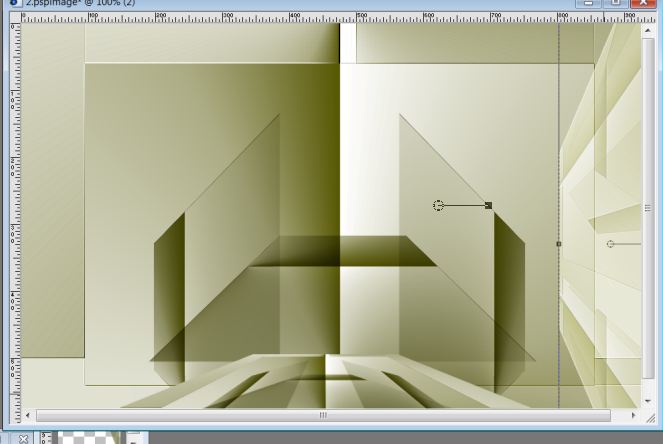
- Double click on this Layer and set the Blend Mode to "Screen " Set the layer opacity of this layer to 73% 27. Activate the Pick Tool/Deformation tool (K)Mode Scale Pull the left node to 800 px as shown in the example below
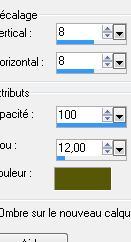
Activate the bottom of the layer palette !!!! 28. Layers-New Raster Layer 29. Open the tube ''image'' - Edit-Copy !!! 30. Selections –load/save selection –load selection from disc and select my selection: ''selection safiera '' -Edit-Paste into selection 31. Selections- Deselect All 32. Effects- 3 D Effects- Drop Shadow use settings below -Color #57560D
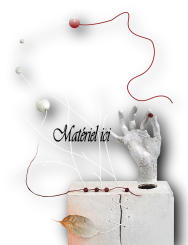
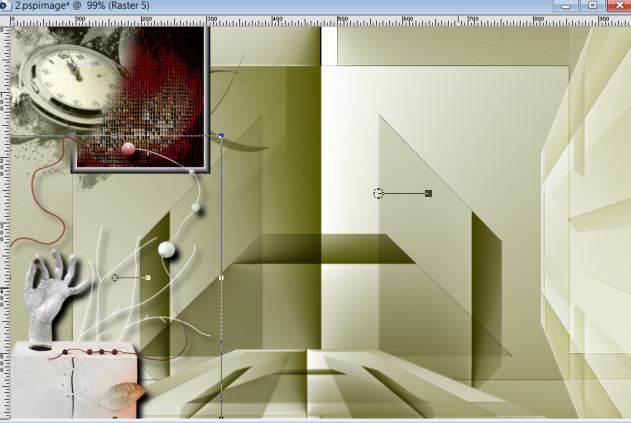
33. Open the tube « horloge « Edit/ Copy-Edit - Paste as new layer on your working image and move to the upper left corner Double click on this Layer and set the Blend Mode to "Luminance " Set the layer opacity of this layer to 89% Image Resize what you like !! Your Work look like this -Now-You should have this result
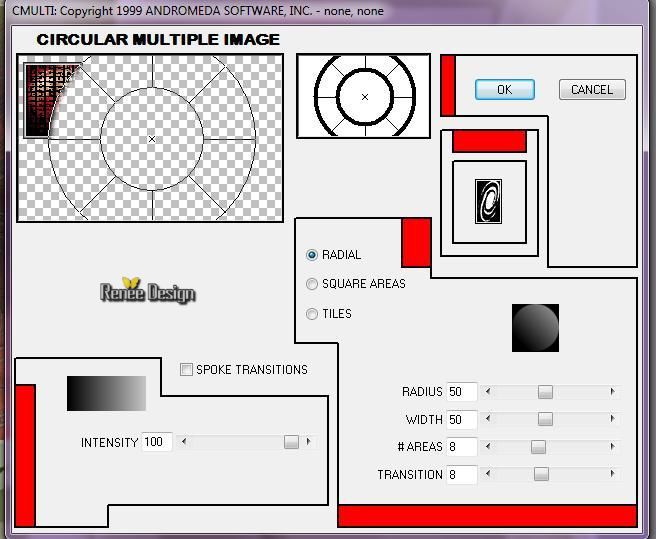
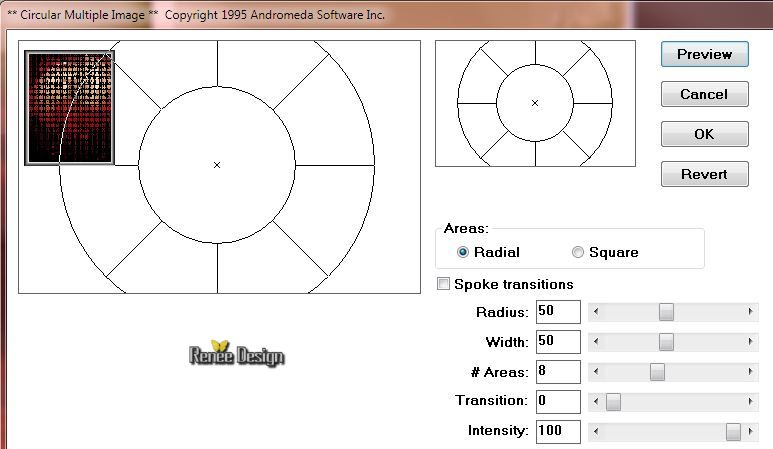
34. Layers-New Raster Layer 35. Selections –load/save selection –load selection from disc and select my selection: "selectiontemp0 " 36. Open the tube" fond 2" - Edit-Copy-Edit-Paste into selection 37. Effects-Plugins - Vm Experimental /Painting by mumbers at 255 38. Effects- 3 D Effects Chisel /Size 10 transparent checked-color #ffffff - Properties Background: Set your background color to color #ffffff 39. Effects- Plugins- Andromeda/Cmulti with these settings
Do you have problems with this-image is into the zipfile and paste as a new layer on your working area and continue with step 41
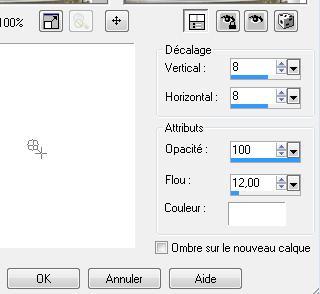
40. Effects- Plugins - Transparency -Eliminate White - Image Mirror /Image Flip and move to the upper left corner 41. Open the tube « nicole -divers ky katerinaBelkinab » - Image Resize to 65% / Edit/ Copy-Edit - Paste as new layer on your working image and move to the bottom left - Effects- 3 D Effects- Drop Shadow with these settings: 8/8/100/12 black 42. Open the tube « nicole -etrange « activate raster 3 of the tube - Image Resize to 50% / Edit/ Copy-Edit - Paste as new layer on your working image and move - Activate raster 2 in the layer palette ( side wall right ) 43. Selections- Select All-Selection Float-Defloat 44. Layers- New Raster Layer 45. Open the tube « lapresse journaux «Edit-Copy-Edit-Paste into selection 46. Selections- Deselect All Double click on this Layer and set the Blend Mode to "Difference " -Set the layer opacity of this layer to 20% 47. Effects- Edge Effects-Enhance 48. Open the tube ''escalier '' - Edit/ Copy-Edit - Paste as new layer on your working image and move 49. Layers- Merge- Merge Layers Visible 50. Open the tube « nicole etrange 22 « / Image Resize to 80% -Edit/ Copy-Edit - Paste as new layer on your working image and move 51. Effects- Plugins - Eyecandy 5 Impact /perspective shadow /Preset = drop shadow blury 52. Open the tube « nicole etrange 24 » Edit/ Copy-Edit - Paste as new layer on your working image - Image Resize to 75% all layers not checked -and move 53. Open the tube "titre"Edit/ Copy-Edit - Paste as new layer on your working image and move 54. - Effects- 3 D Effects- Drop Shadow with these settings-Color #ffffff
- Is all in place? 55. Layers- Merge- Merge Layers All 56. Image - Add borders-Symmetric checked: 5 pixels #5d0c13 57. Image - Add borders-Symmetric checked: 45pixels #c0c0a2 58. Activate the Magic Wand and select the border of 45 pixels
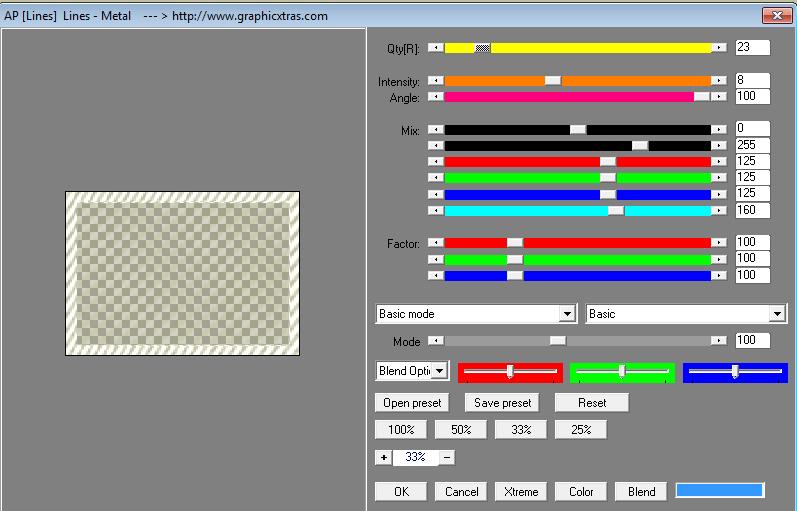
59. Selections- Promote selection to Layer 60. Selections- Deselect All 61. Effects- Plugins - AP[lines] Utility /Lines Metal use settings below
62. Effects- Edge Effects- Enhance More 63. Layers- Merge- Merge Layers All Save as JPEG
I am part of the Tutorial Writers Inc. My tutorials are registered regularly ReneeGraphisme_All rights reserved
*
|
 Translations