|
Let's begin
1.
Open the Image: ''fond_steampunk_14''/ Promote Backgroundlayer = raster 1
2.
Activate the tube'' _k@rine_
Dreams_Misted_Face_2910_Avril_2014.jpg''Edit/copy
3.
Layers-New raster layer/Selections-Select All /Edit paste into selection
4.
Selections - Deselect all
5.
Effects-Image Effects-Seamless Tiling
default
6.
Adjust-Blur-Gaussian Blur: Radius 50
7.
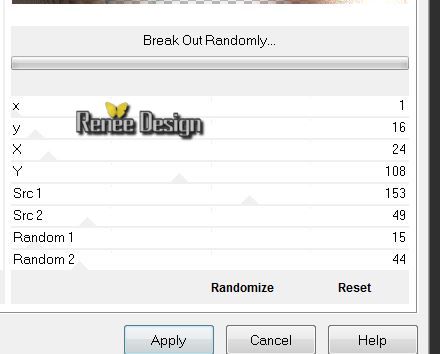
Effects-Filter Unlimited - Plugins AB 07/ Break Out
randomly
8.
Effects-Filter Simple -Top left
Mirror
9. Layers-Duplicate
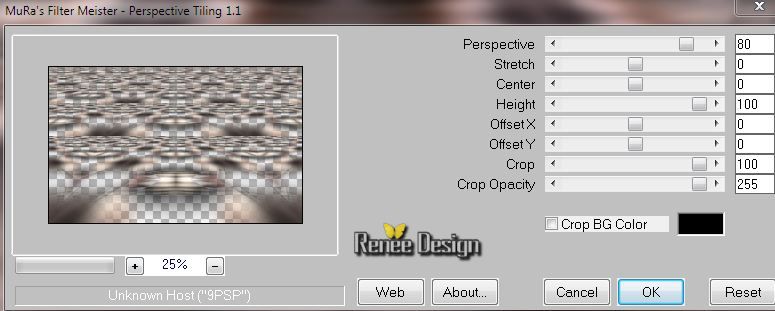
10. Effects-Filter - Mura's Meister-Perspective
Tilling
11.
Selections - load/save selection - load selection from disk and choose ''steampunk_14''/
Selections-Promote selection to layer
12. Adjust-Blur-Gaussian Blur: Radius 42
13. Effects-Filter - L and K's / Zitah
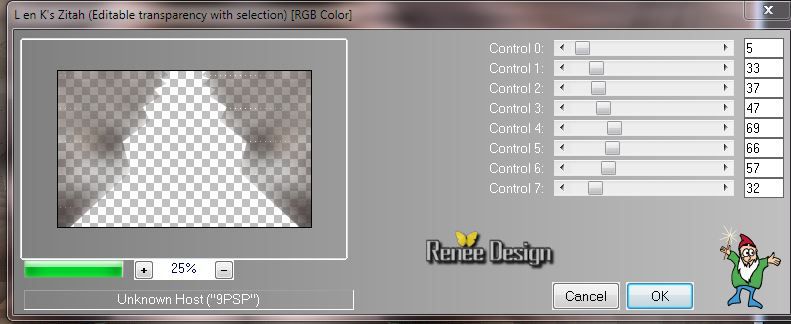
14. Repeat: Effects-Filter L and K's / Zitah with the same settings
Keep Selection
15. Layer Palette: activate layer underneath (Copie de Raster 2)
16. Delete
17. Effects-3D effects-Drop Shadow: 0/0/65/25 black
18. Aktivate the top of the Layers palette (Selection transformed)/Selection
Invert
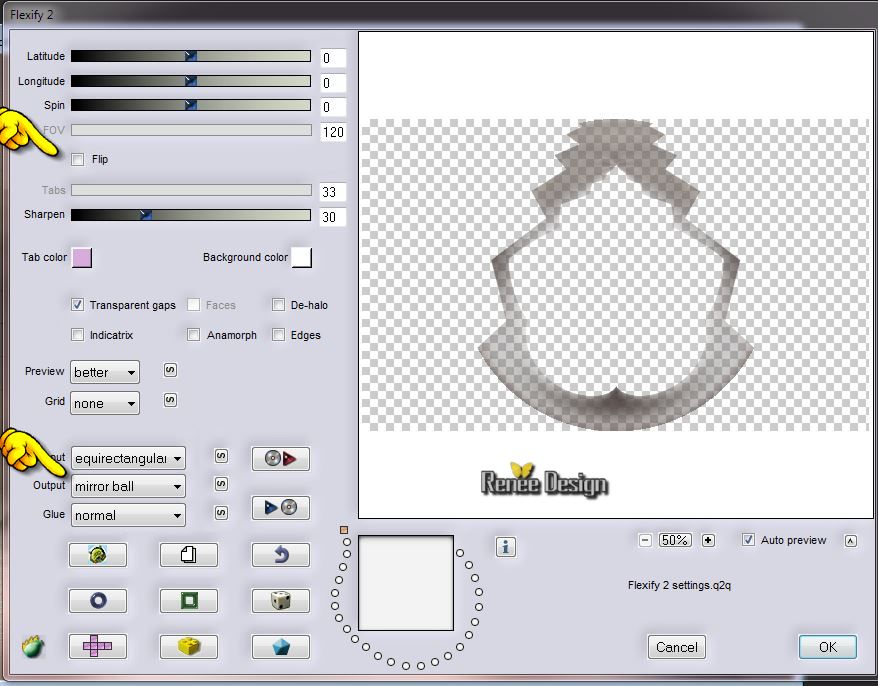
19. Effects-Filter -Flaming Pear -Flexify 2
20. Effects-3D effects-Drop Shadow: (with the same setting)
Selections- Deselect All
- Layer Palette: Stay on this layer (Copie raster 2)
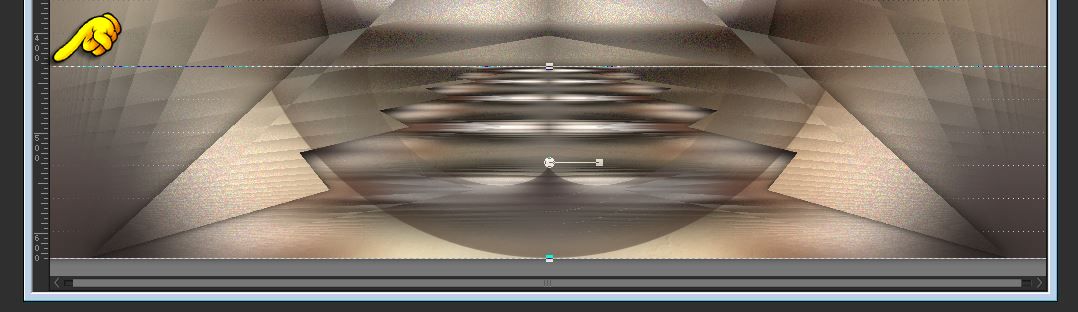
21. With
your Pick Tool (K) push the layer down like this
Aktivate the top of the layers palette
22. Layers-New raster layer
23. Material of the foreground color to color:
#ccd2c9
Flood Fill Tool: Fill the layer with the FG-Color
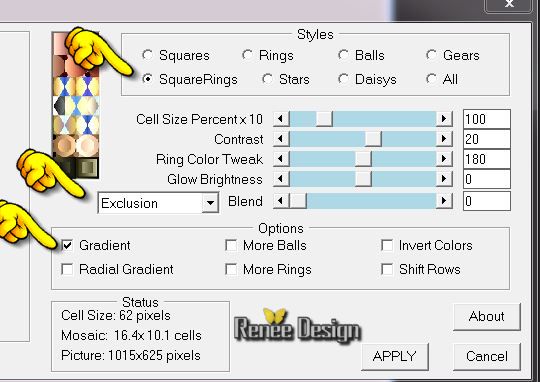
24. Effects-Filter - Lotis Filters / Mosaic Toolkit
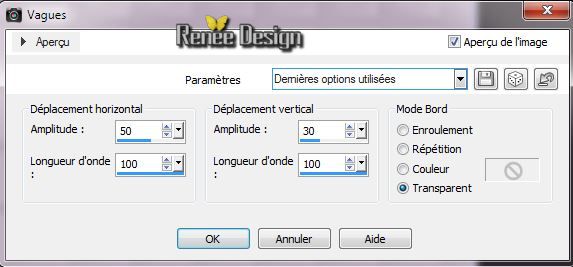
25. Effects-Distortion Effects-Wave with these settings
26.Effects-3D effects-Drop Shadow: 3/3/50/18 black
27. Layer Palette: Change the Blend Mode to "Multiply"
28. Layers-Duplicate / Image Mirror
29. Layers- Merge- Merge Down
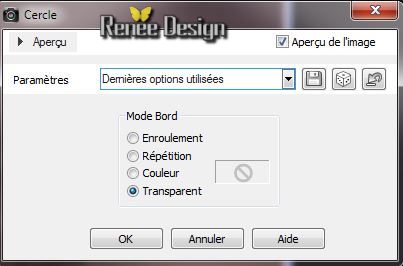
30.Effecten-Geometrie Effecten - Circle
31. Layers-New raster layer
32.
Selections - load/save selection - load selection from disk and choose ''steampunk_14_1''
Flood Fill Tool: fill the selections with the FG-Color
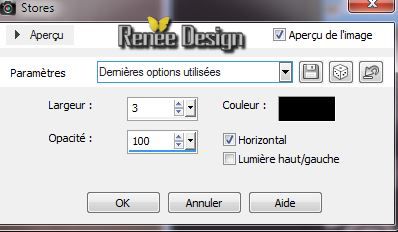
33. Effects- Texture Effects-Blinds
34. Effects-Filter -EyeCandy 5 Impact / Glass -tab Settings-User Settings and choose my preset''steampunk14_glass''
-Selections- Deselect All
35. Effects-Filter - EyeCandy 5 Impact/Extrude- tab Settings-User Settings and choose my preset
''extrude_steampk_14"
Layer Palette: change your Blend Mode to "Overlay"
36. Magic Wand with these settings / select inside the
form

37. Layers-New raster layer
38. Activate the tube '' steampunk_14_miroir''/Edit/copy -Edit paste into selection /Layers-Arrange-Move Down
- Aktivate the top of the Layers palette /Layers-Merge-Merge Down
- Layer Palette: change your Blend Mode to "Hard Light"
Selections- Deselect All
39. Activate the tube ''steampunk14_plaque /Edit/copy- Edit/paste as a new layer.
40. Effects-Image Effects-Offset

41.
Selections - load/save selection - load selection from disk and choose
''steampunk_14_2''
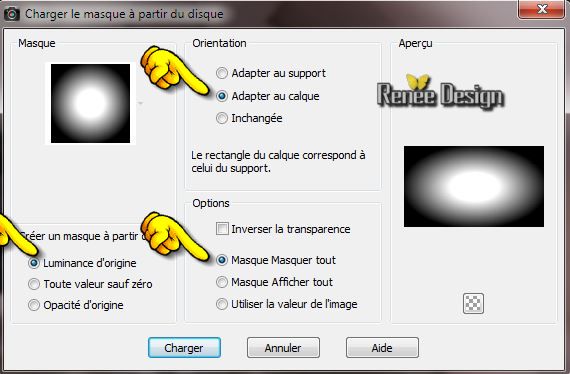
42. Layers Load/save mask-load mask from disk and choose mask ''masque
20/20""
43. Layers- Merge -Merge Group
44. Effects-Edge Effects-Enhance/ Layer Palette: change the Blend Mode to "Luminance-Legacy"
45. Activate the tube '' Alies 1MA943-man-28032014.pspimage''/ Edit/copy- Edit/paste as a new layer.
(do not move it is in the right place )
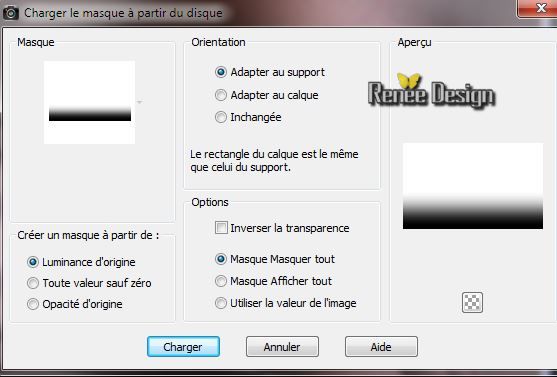
46. Layers Load/save mask-load mask from disk and choose mask''mask_fade_suave''
Layers- Merge -Merge Group
47. Effects-Edge Effects-Enhance
48.
Opacity down to 65 %
49 .
Activate the tube ''steampunk14_cubes ''/ Edit/copy- Edit/paste as a new layer. With your move tool place it in the right place
50. Layer Palette: chance de Blend Mode to "Luminance".Opacity down to 79%
51. Layers-New raster layer
52.
Selections - load/save selection - load selection from disk and choose ''steampunk_14_3''/ Pot of Paint: lower the opacity 65%. Flood Fill Tool: fill the selections with the FG-Color
53.
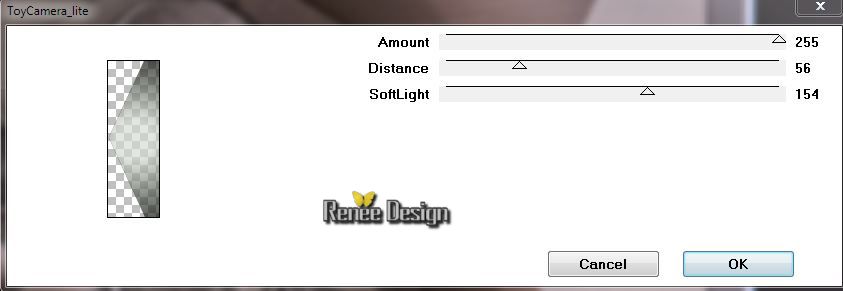
Effects-Filter - Penta Com /Toy
Camera_lite
54. Effects-Filter - Penta Com- Jeans / 141/ 4
55. Effects-Filter - Graphic plus - Quick Tiles II/
default 0/0/0/0
56. Effects-3D effects-Drop Shadow/white

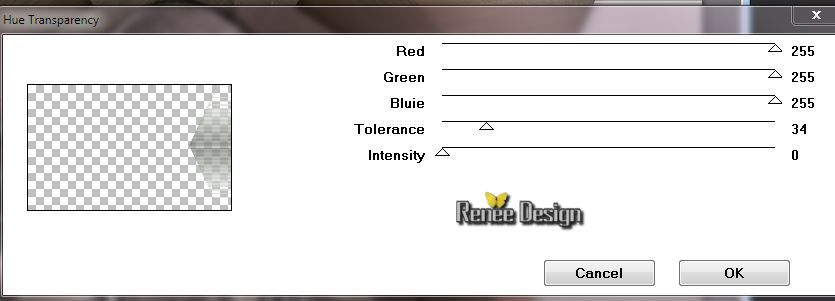
57. Effects-Filter - Visual Manipulation /Hue
Transparency
Selections- Deselect All
58. Activate the tube ''KBK_SteamyElegance (7).pspimage''/ be placed on the layer of the tube ''renee_steampunk13_compo''/Edit/copy-Edit paste as a new layer .With your move tool place it in the right place
(This curtain I make it nicer for the previous operation)
59. Activate the tube ''steampunk-14_titre''/ Edit/copy-Edit paste as a new layer. (2 parts of title) With your move tool place it in the right place
60. Activate the tube ''KRYSSTEAMPUNK-12-O2-14-017.pspimage'' (attention erase the signature) / Edit/copy-Edit paste as a new layer .With your move tool place it in the right place
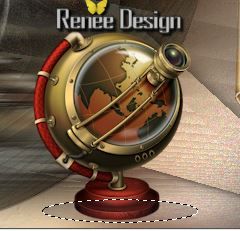
61. Layers-New raster layer
62.With Selection Tool (S) Mode Ellipse/make a selection as in the example
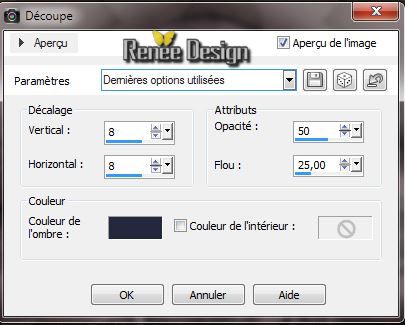
63. Effects-3D Effects-Cutout/black
64.Selections - Deselect all - Layers-Arrange-Move Down
65. Layers-Merge-Merge Visible
66. Image - add borders 1 pixels black
67. Image - add borders 50 pixels FG-Color
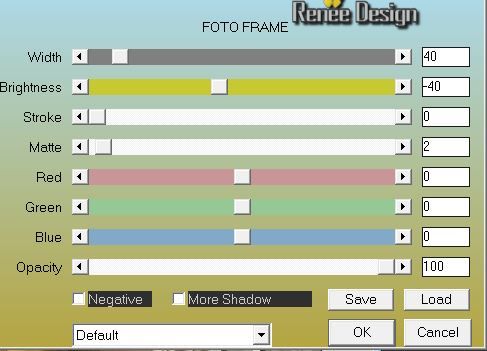
68. Effects-Filter - AAA Frame - Foto Frame
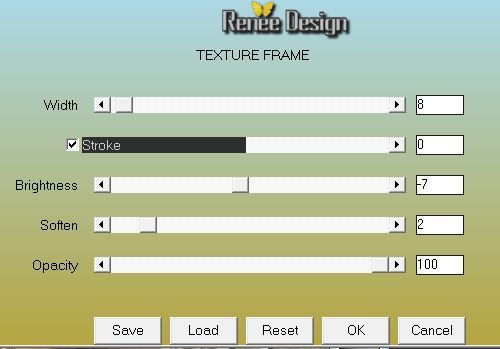
69. Effects-Filter- AAA Frame - Texture Frame
70. Image - add borders 2 pixels black
71. Image - add borders 10 pixels FG-Color

I hope you enjoyed this lesson
Renée
This lesson was written by Renée the 21/05/2014
Created the 30/05/2014
*
Any resemblance with an existing lesson is merely a coincidence
*
Don't forget to thank the people who work for us and with us. I named the tubeurs - Testers and the translators.
Thanks Renée.
| 
 Translations