|
On commence
1. Open the fond
''fond_story_of_my_forest"promote to background layer. (raster 1)''
2. Open the tube
''sory_forest_image_1 ''Edit/copy-Edit/paste as a new Layer
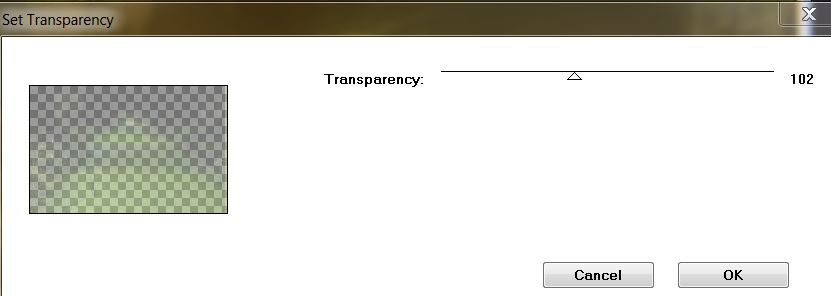
3. Effects -Plugins Unlimited2.0 -
Transparency - Set transparency
4.
Blend Mode of this layer "Hard Light"
5. Open the tube
''chrysantheme'' - Edit/copy-Edit/paste as a new Layer
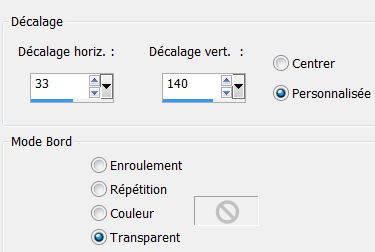
6. Effects - Image Effects /Offset
7. Adjust-Blur-Gaussian Blur -Radius: 35
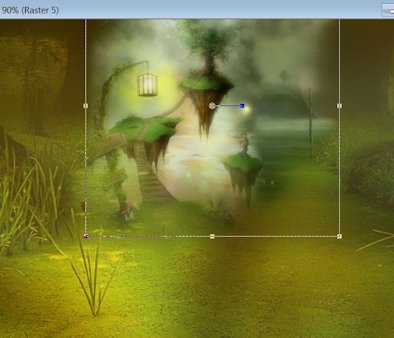
8. Open the tube
''story_forest_image_2'' Edit/copy-Edit/paste as a new Layer and place as shown
9. Activate
raster 1
10. Selections - load/save selection - load selection from disk and choose ''renee_story_forest''
11. Promote selection to layer
12. Selections- select none
13. Arrange-Bring to top
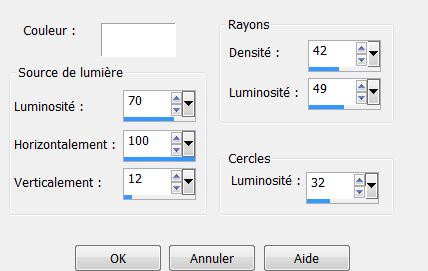
14. Effects - Illumination Effects-Sunburst
15. Layers - New raster layer
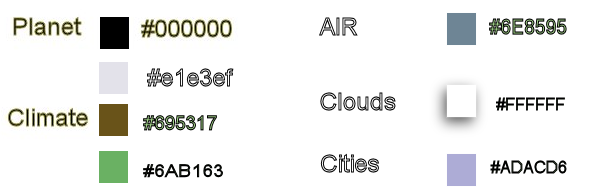
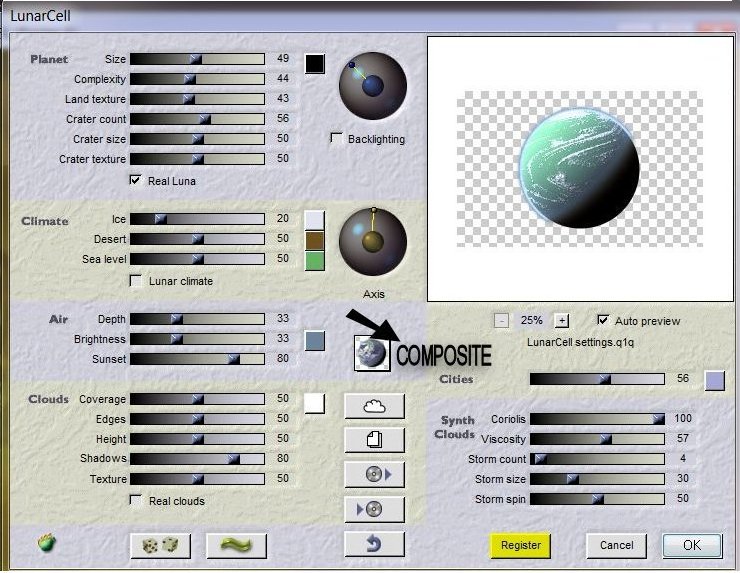
16.Effects-Plugins Flaming Pear -Lunar
Cell (These are the colors that you need)
17. Image Resize 35% and place in the top right corner
18.
Blend Mode of this layer "Hard Light"
19. Layers - New raster layer
20. Material Properties: Foregroundcolor to color white
21. Open your Brush pinceau @
ann-brushes_Tip_191111_brushes'' click 2 or 3 times with your brush
and place in the top right corner /size of the brush 600

If you do not succeed the brush is in the folder'' pspimage brush of my forest''/Edit/copy-Edit/paste as a new Layer and place
22. Layers - New raster layer
23. Selections - load/save selection - load selection from disk and choose ''renee_story_forest_1'' Flood Fill Tool: fill the selection with white
24. Selections- select none
25. Open the tube ''les
2freres'' Edit/copy-Edit/paste as a new Layer.Lower the opacity to
57%
26. Open the tube
''story_forest_image_3 '' Edit/copy-Edit/paste as a new Layer
27. Place on the bottom of your working area. Blend Mode of this layer "Dodge"
28. Layer-Duplicate /Image
mirror
29. Open the tube
''Treagen3082'' Image Resize 55% .Edit/copy-Edit/paste as a new Layer and place as shown
30. Open the tube ''story_forest_image_4' .Edit/copy-Edit/paste as a new Layer and place as shown
31. Open the tube
''1813_2013_byTreagen'' Edit/copy-Edit/paste as a new Layer /and place as shown
32. Effects -Plugins EyeCandy5- Impact-
Perspective shadow-choose my preset ''renee_story_forest_persp''
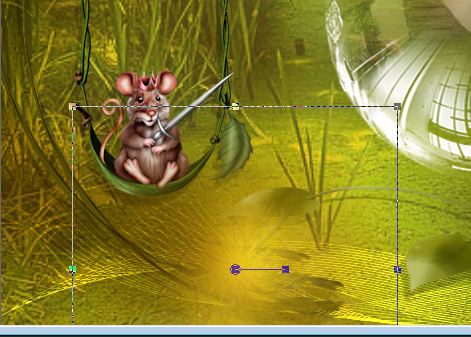
33. Open the tube''renee_story_forest_image_souris .Edit/copy-Edit/paste as a new Layer /and place as shown
34.Open the tube« renee_story_forest_image_5 Edit/copy-Edit/paste as a new Layer /and place as shown
35.Open the tube
''story_forest_image_7'' .Edit/copy-Edit/paste as a new Layer /and place as shown
36.
Blend Mode of this layer "Hard Light"
-Everything is in place/ Layers-Merge-Merge All ( Flatten)
37.Image - add borders symmetric
1 pixels white
38.Image - add borders symmetric 45 pixels color #555729
39. With your magic wand-
select the 45 pixels border
40. Open the tube
''story_forest_cadre '' Edit/copy-Edit paste into the selection
41. Selections-select none
42. Layers-New raster layer
43. Selections-Select all / tube du cadre. Edith past into the selection .(Always in memory)
44. Selections- select none
45. Blend Mode of this layer"Soft light"
46. Open the tube raster3
de »story_of_my_forest_2titres ». Edit/copy-Edit/paste as a new Layer /and place as shown
47. Open the tube raster2
de »story_of_my_forest_2titres ».Edit/copy-Edit/paste as a new Layer /and place as shown
48.Image - add borders symmetric 2 pixels white
*
I hope you enjoyed this lesson
Renée
This lesson was written by Renée
Created the
the 16/03/2013
*
Any resemblance with an existing lesson is merely a coincidence
*
Don't forget to thank the people who work for us and with us. I named the tubeurs - Testers and the translators.
Thanks Renée
*
|  STORY OF MY
FOREST
STORY OF MY
FOREST


 Translations


