|
Translations here
Web Etrange
New
Let's start the lesson.
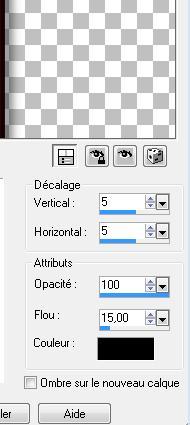
1. File: Open a New Transparent image of 1000 x 600 pixels 2. Properties foreground:-Set your foreground color to: #e6d7d0- Properties background:-Set your background color to: #6b010f - Activate Flood Fill Tool :Fill the Layer with color the background color 3. Selections /Select All. 4. Layers- New Raster Layer 5. Open the tube « mds 164 « Edit/copy-Edit paste into selection 6. Selections - Deselect all 7. Layers- New Raster Layer /Selections –load/save selection –load selection from disc and choose my selection:''renee web etrange'' 8. Activate Flood Fill Tool and fill the selection with the color black /Selections - Deselect all 9. Effects- 3 D Effects- Drop Shadow with these settings
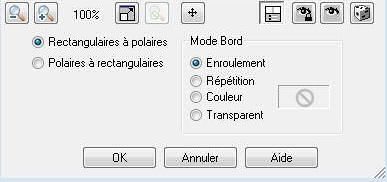
10. Effects- Distortions Effects-Polar Coordinates-Rectangular to Polar-Wrap checked
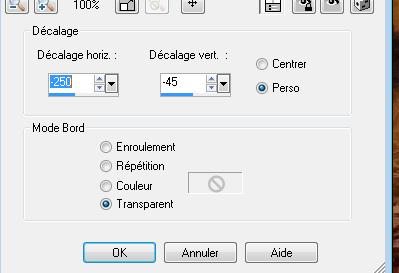
11.Layers- Duplicate /Image Mirror /Layers- Merge- Merge Down 12. Effects- Plugins- Eyecandy5 Impact /black light-tab Settings/User settings choose my Preset ''renee-web etrange-light'' 13. Activate the bottom of the layer palette =Raster 1 14. Layers- New Raster Layer /Selections-Select All. 15. Open the tube « canyon « Edit/copy-Edit paste into selection 16. Selections- Deselect All 17. To replace the top of the layers palette 18. Open the tube « femme robot-lee-142 »Image Resize to 580 pixels Height Edit/ Copy-Edit - Paste as new layer on your working image 19. Effects- Image Effects- Offset with these settings:
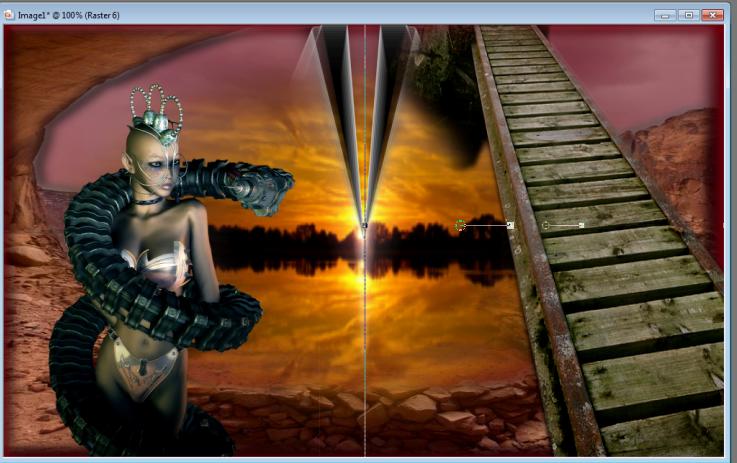
20. Open the tube « pont «Edit/ Copy-Edit - Paste as new layer on your working image and move to the bottom right side Activate the Pick Tool/Deformation tool (K)Mode Scale Pull the Top Node high as shown in the example below
- Layer Palette - Double click on this Layer and set the Blend Mode to "Luminance" 21. Open the tube « y-thor-11 » Image Resize to 75% -Activate your Pick Tool /-Deformation tool (K) Mode Scale -place it in the right place as shown in the example below
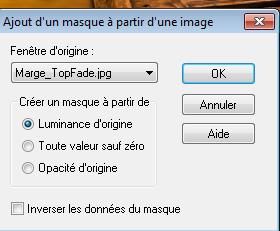
On this Layer !!!! Layers- New Mask Layer From Image and choose: "Marge _TopFade " Layers-Merge-Merge Group
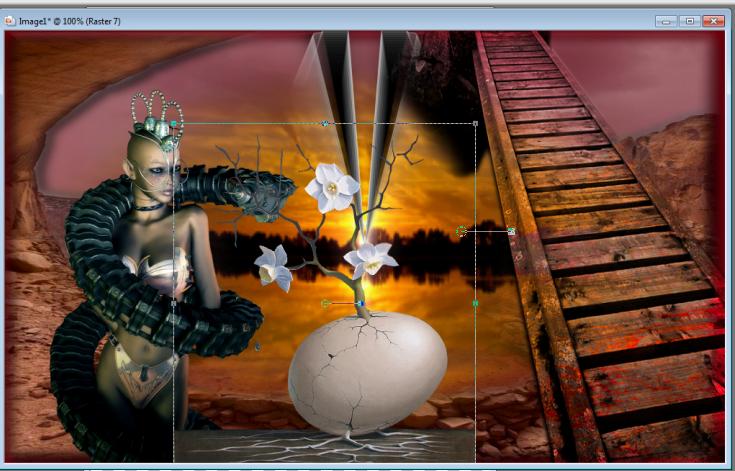
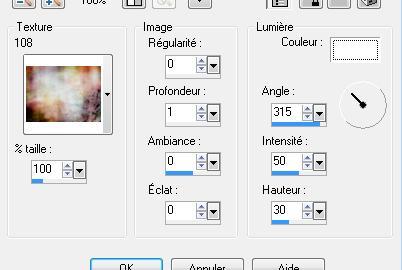
22. Layers- Duplicate- Layers- Merge- Merge Down 23. Open the tube « jen_Vrouw-45-24-08'' » Edit/ Copy-Edit - Paste as new layer on your working image 24. Image- Mirror and move on the bridge 25. Effects- 3 D Effects-Drop Shadow with these settings 5/ 5 /100 /15 black 26. Activate the bottom of the layer palette=Raster 1- Layers- Duplicate -Close the bottom layer in the layer palette /Activate an open layer in the layer palette 27. Layers- Merge- Merge Visible 28. Effects- Plugins - Andromeda perspective /side walls /it open center- Move to the left against the edge 29. Open the bottom of the layer palette=Raster 1 30. Activate the top of the layer palette 31. Effects- 3 D Effects-Drop Shadow with these settings 5/ 5 /100 /15 black and Repeat Drop Shadow- Negative -5/-5 /100/15 - Activate the bottom of the layer palette=Raster 1 32. Effects- Texture Effects- Texture and select « 108 »with these settings
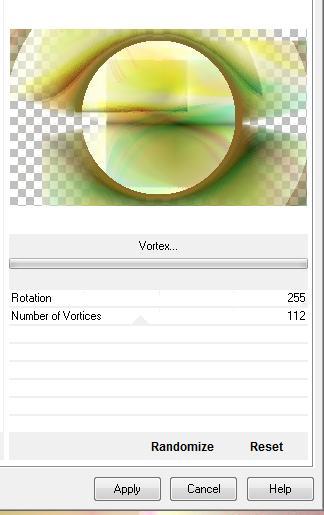
33.Effects- Edge Effects- Enhance More 34. Layers- New Raster Layer 35. Effects- Artistic Effects- Balls and Bubbles- and select my file -preset "balls_And_Bubbles _ bulle web etrange) and OK 36. Effects- Edge Effects- Enhance 37. Layers- New Raster Layer 38. Selections /Select All./ Open the image « tramage « Edit/copy-Edit paste into selection 39. Selections- Deselect All 40. Effects- Plugins -Déformation -Vortex ( (Included into the zipfile) Import into Unlimited )
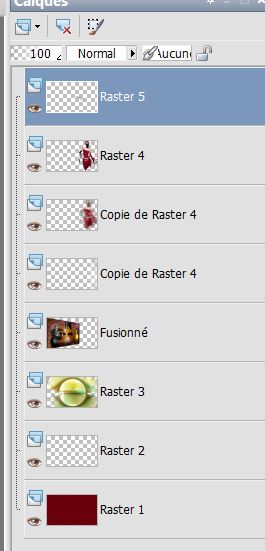
- Layer Palette - Double click on this Layer and set the Blend Mode to " Hard Light " 41. To replace the top of the layers palette 42. Open the tube « onde « /Image Free Rotate 90° to the left /Edit/ Copy-Edit - Paste as new layer on your working image 43. Effects- Image Effects- Offset with these settings: H= 455 and V= 0 transparent 44. Effects-Distortion Effects-Wind-Winddirection From Left -Wind strength 100 45. Open the tube « thiara 13 «Edit/ Copy-Edit - Paste as new layer on your working image - Image Resize to 80% Resize all Layers not checked 46. Effects- Image Effects- Offset with these settings: H= 350 and V =0 47. Layers- Duplicate 48. Effects-Distortion Effects-Wind-Winddirection From Right -Wind strength 100°/ Layers- Arrange- Move Down 49. Open the tube « baguette « Edit/ Copy-Edit - Paste as new layer on your working image (Put the tube into the right hand of the girl) ( see finished image ) 50. Apply shadow 51. Layer Palette look like this now Layers- Merge- Merge Layers All
52. Image - Add borders-Symmetric checked: 5 pixels #780a17 53. Image - Add borders-Symmetric checked: 50 pixels #ffffff 54. Activate the Magic Wand -select the border of 50 pixels 55. Layers- New Raster Layer Properties foreground:-Set your foreground color to: #e6fa54 - Properties background:-Set your background color to: #7c0513 Set your foreground to gradient 'Foreground-background' - Linear use settings below Activate Flood Fill Tool and fill the selection with the gradient
56. Selections- Deselect All 57. Effects- Plugins -Vanderlee Unplugged x use settings below
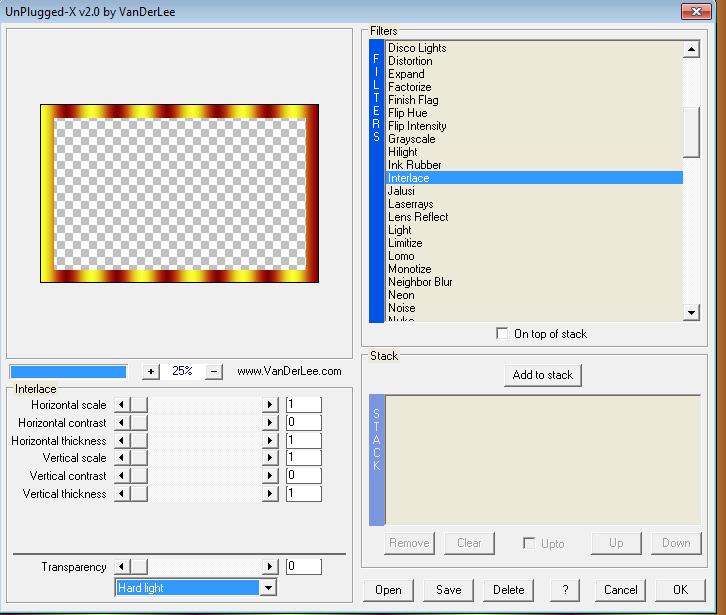
58. Image - Add borders-Symmetric checked: 15 pixels BG-Color #7c0513 59. Open the 2 tubes " texte '' web weaver 'and "web etrange'' -Edit/ Copy-Edit - Paste as new layer on your working image and move * Ore.... Write your own text 60. Image - Add borders-Symmetric checked: 15 pixels black 61. Activate the Magic Wand -select the border of 15 pixels 62. Activate Flood Fill Tool and fill the selection with the gradient 63. Effects- Plugins- Video / Interlace use settings below (even scanlines)
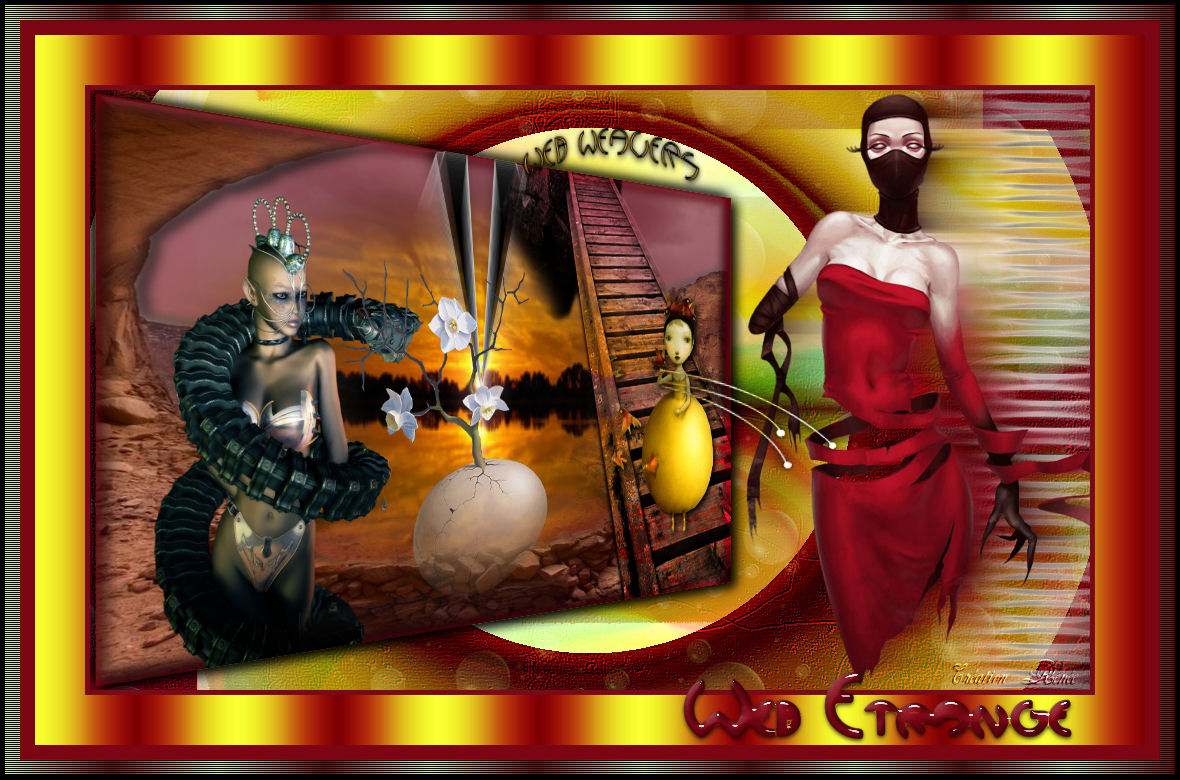
64. Selections - Deselect all 65.Image - Add borders-Symmetric checked: 5 pixels black Save as JPEG
I hope you enjoyed this lesson Renée This lesson was written by Renée 2008 Edited and Update Renée 04/2008 Any resemblance with an existing lesson is a coincidence * Do not forget to thank the people who work with us and for us I have appointed the tubeurs and translators Thanks Renée
I am part of the Tutorial Writers Inc. My tutorials are registered regularly ReneeGraphisme_All rights reserved
*
|
 Translations